
New GP Carbon build
-
thebassmasta
- registered user
- Posts: 152
- Joined: Wed Jan 02, 2013 10:03 am
- Main scooter: GP TS1 240
- Location: Leicester
- Contact:
Just started to build myself a carbon fibre GP, not sure what to do with the frame, Paint? Carbon dip or cut it off and try and get someone to build a carbon fibre loop, whats your thought guys
Hi, when I did my GP 500 I got the tube part of the frame powdercoated a fine textured black. This in turn gives a depth to it and kind-of-matches. But the frame loop I covered in real carbonfibre cloth and painted over it with clear epoxy resin to a depth that could then be sanded flat. Then I clearcoated over that and buffed and machine polished it. The prosess is called "carbonfibre skinning" if you want to have a look over on Youtube.
The carbonfibre I got from work but there are loads of off cuts for sale on E-bay and the resin I bought from http://www.carbonmods.co.uk/ http://www.easycomposites.co.uk/ They the same company but one is more home freindly and the other is trade but will sell to anyone as its all mail order. They have videos on the very same subject. They sell all the stuff you will need including a resin that is thick enough for the job. Go too thin on the resin and it sags very badly as most resin is very slow to dry.
I will try to put up a few pictures of when I did mine but I'm in China for another week working. "The Great Firewall of China" is a real pain to get around sometimes.
Last edited by T5-190 on Fri Jan 30, 2015 8:51 am, edited 2 times in total.
Lets have a try.
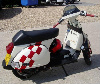
Filled and painted.
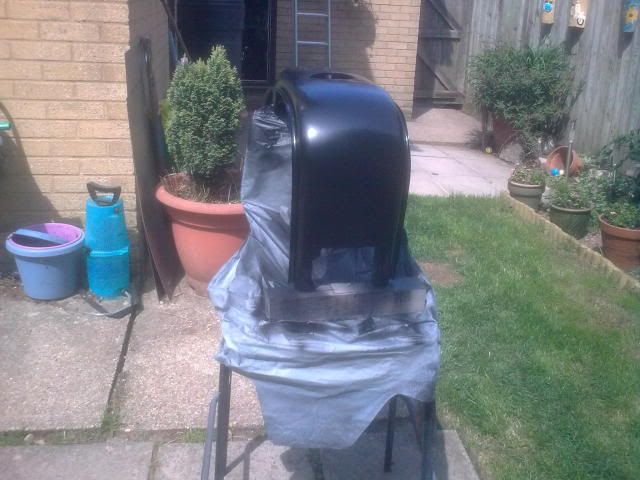
This shows a bit more rubbing as I was not happy with the flatness of it and it shows one layer of epoxy resin painted on to act as the glue. This you leave to tack off just like using a contact adhesive. If you are brave enough you can use contact adhesive but boy does it grab the dry carbon cloth and there is no going back. But the epoxy is a more forgiving.
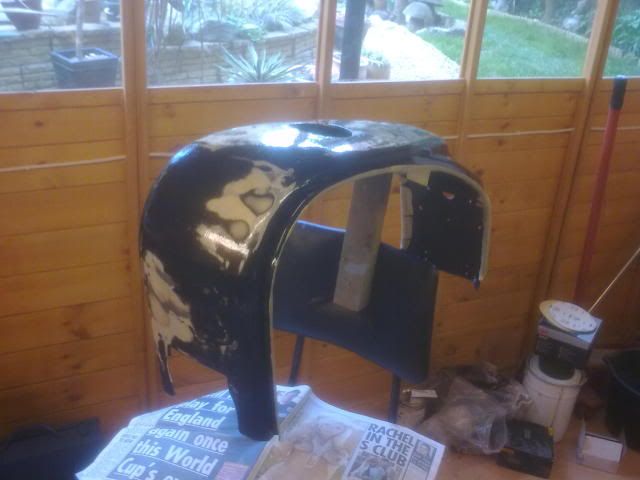
Carbon cloth placed on, you need to rub it home with your hands. I then leave it over night before aplying the clear epoxy resin. This you brush on nice and thick and leave to tack off then put more on. I found on a warn day or warm shed you should get about three layers on per day.
Sanded flat and ready to be trimmed and clear coated.
Filled and painted.

This shows a bit more rubbing as I was not happy with the flatness of it and it shows one layer of epoxy resin painted on to act as the glue. This you leave to tack off just like using a contact adhesive. If you are brave enough you can use contact adhesive but boy does it grab the dry carbon cloth and there is no going back. But the epoxy is a more forgiving.

Carbon cloth placed on, you need to rub it home with your hands. I then leave it over night before aplying the clear epoxy resin. This you brush on nice and thick and leave to tack off then put more on. I found on a warn day or warm shed you should get about three layers on per day.

Sanded flat and ready to be trimmed and clear coated.

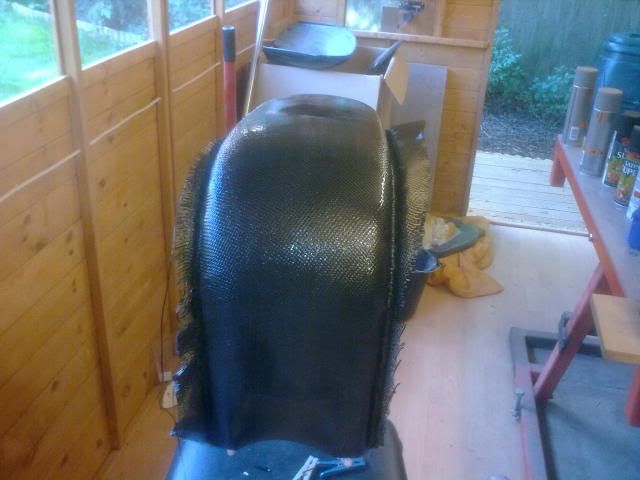
After it was trimmed and cleared but before polish and buffing.

When ordering carbonfibre cloth go for 200g as anything heavier is a pain to work into places. And there are two main patterns of cloth too. The 3D zig zag looking one is called 2x2 twill and the plain one is called plain weave.

When ordering carbonfibre cloth go for 200g as anything heavier is a pain to work into places. And there are two main patterns of cloth too. The 3D zig zag looking one is called 2x2 twill and the plain one is called plain weave.
-
alanscottj
- registered user
- Posts: 960
- Joined: Fri May 23, 2014 6:54 pm
- Main scooter: Lambretta GP SS250 Casa
- Contact:
That is AMAZING! Fair play 
Lambretta Series 2 Rat - RB260, SuperTourer, Cyclone 5 gearbox 😎👍
-
thebassmasta
- registered user
- Posts: 152
- Joined: Wed Jan 02, 2013 10:03 am
- Main scooter: GP TS1 240
- Location: Leicester
- Contact:
you are a genius. i think that will be the route to take
i just made a little sex wee
That looks amazing.. and you made it look so easy. Did you stop at the edge where the panel trim channel is? or did you go all the way in there too? it's hard to tell in the pic.. but it looks fantastic.. and if you did go into the channel, was it hard to work with the carbon? seems like it would be bulky.
Great work.. inspiring
Great work.. inspiring
Good question, I put a couple of layers of 1" masking tape in the side panel rubber channel. Then just cut off the access with a craft knife. But you could use a little mould re-lease in the channels too or a litttle car wax would do the same as long as its silicon free.vader wrote:That looks amazing.. and you made it look so easy. Did you stop at the edge where the panel trim channel is? or did you go all the way in there too? it's hard to tell in the pic.. but it looks fantastic.. and if you did go into the channel, was it hard to work with the carbon? seems like it would be bulky.
Great work.. inspiring
To get a good edge I sprayed a black line to blend it in and the side pannel rubber hides the rest.


