
my first ever scooter build. cagiva mito 125 engine
Some great engineering you've done on that. look forward to seeing it on the road.
-
tonydevon
- registered user
- Posts: 553
- Joined: Wed Jun 08, 2011 12:26 pm
- Main scooter: '71 GP125
- Location: Northam, Devonshire
- Contact:
cheers, I do often wonder if I will get banned from this site for posting pics and updates LOL, just what is the boredom threshold of people LOL
I tend to rely on the net and facebook etc for info and peoples opinions, nobody round here doing this sort of thing, know a handful of guys from local scooter club but only see them maybe once a month and none of them really into conversions etc.
I tend to rely on the net and facebook etc for info and peoples opinions, nobody round here doing this sort of thing, know a handful of guys from local scooter club but only see them maybe once a month and none of them really into conversions etc.
heavy is good, heavy is reliable, and if it does fail, hit them with it!!!
-
tonydevon
- registered user
- Posts: 553
- Joined: Wed Jun 08, 2011 12:26 pm
- Main scooter: '71 GP125
- Location: Northam, Devonshire
- Contact:
ok so some more crap, erm I mean info 
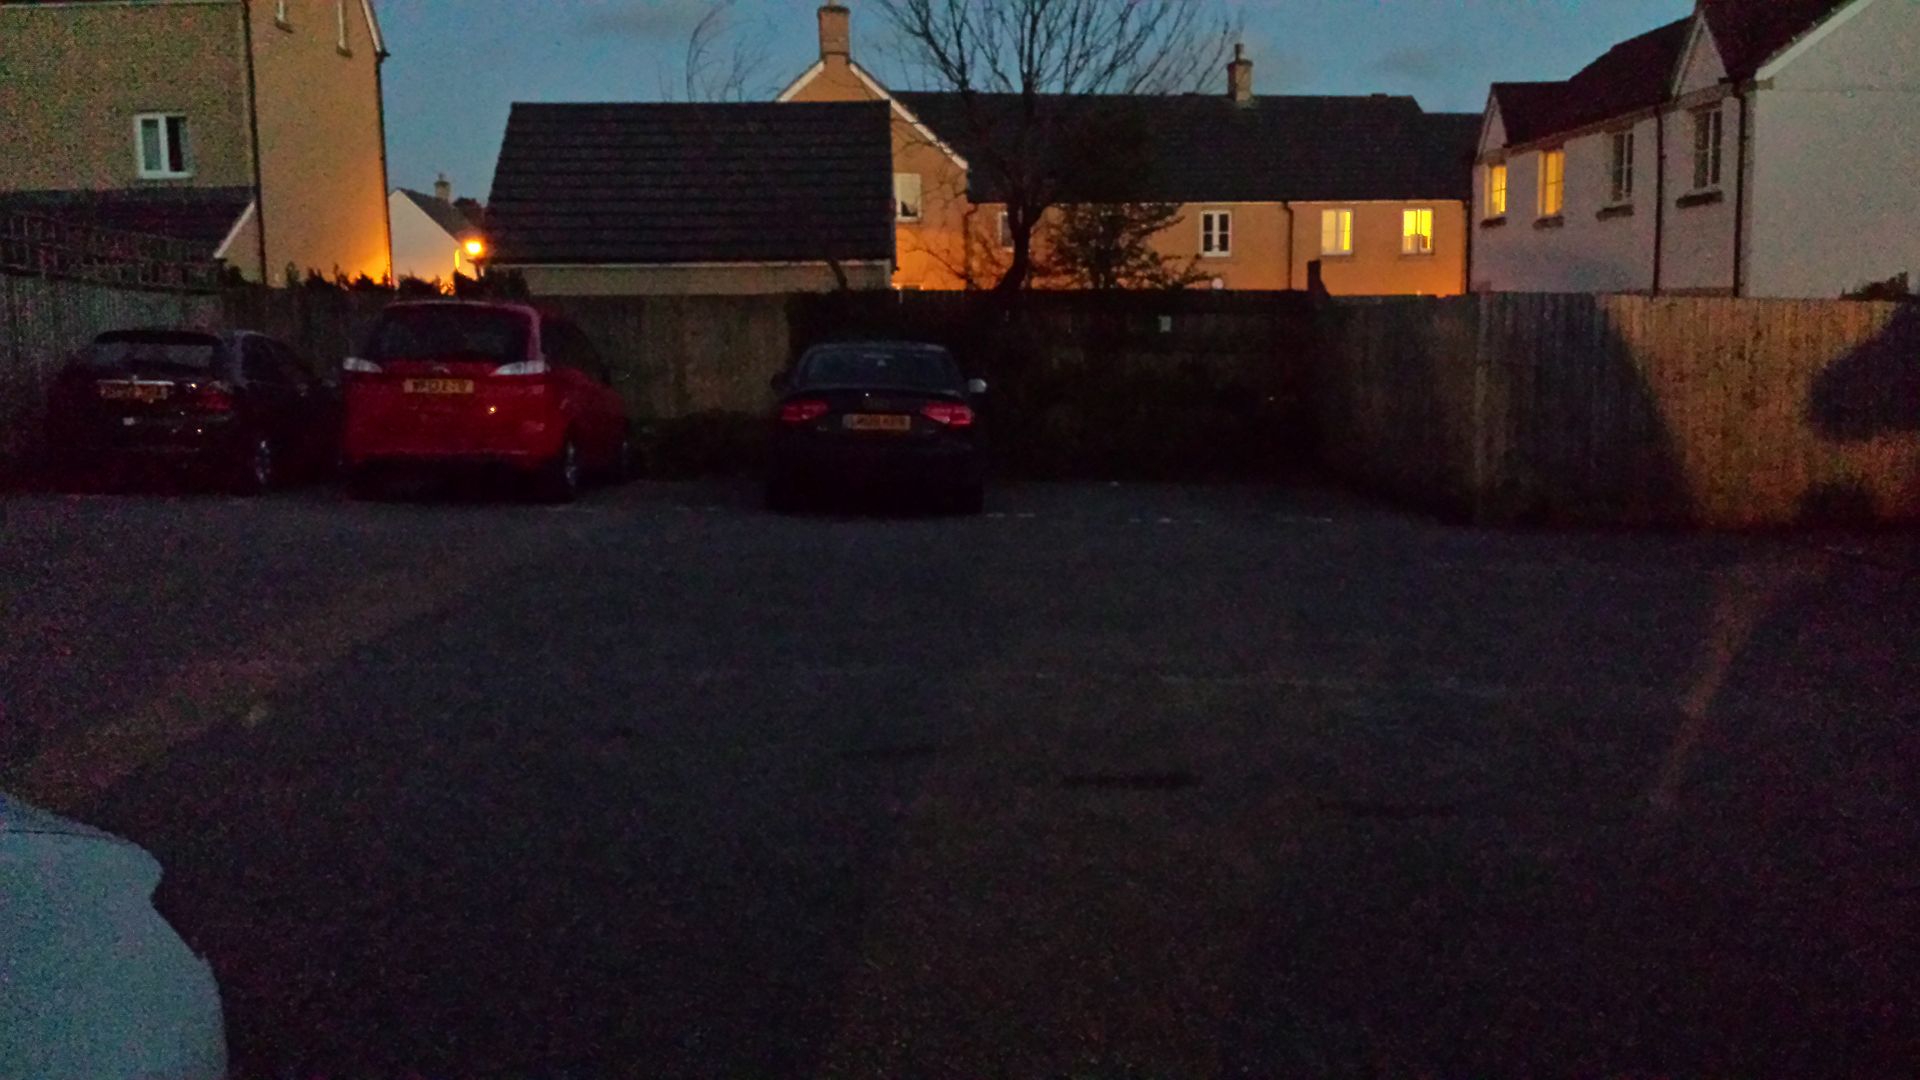
carpark at dusk
headlight on, not sure about using it, but it looks cool, I dont really ever ride anywhere at night.

central heating
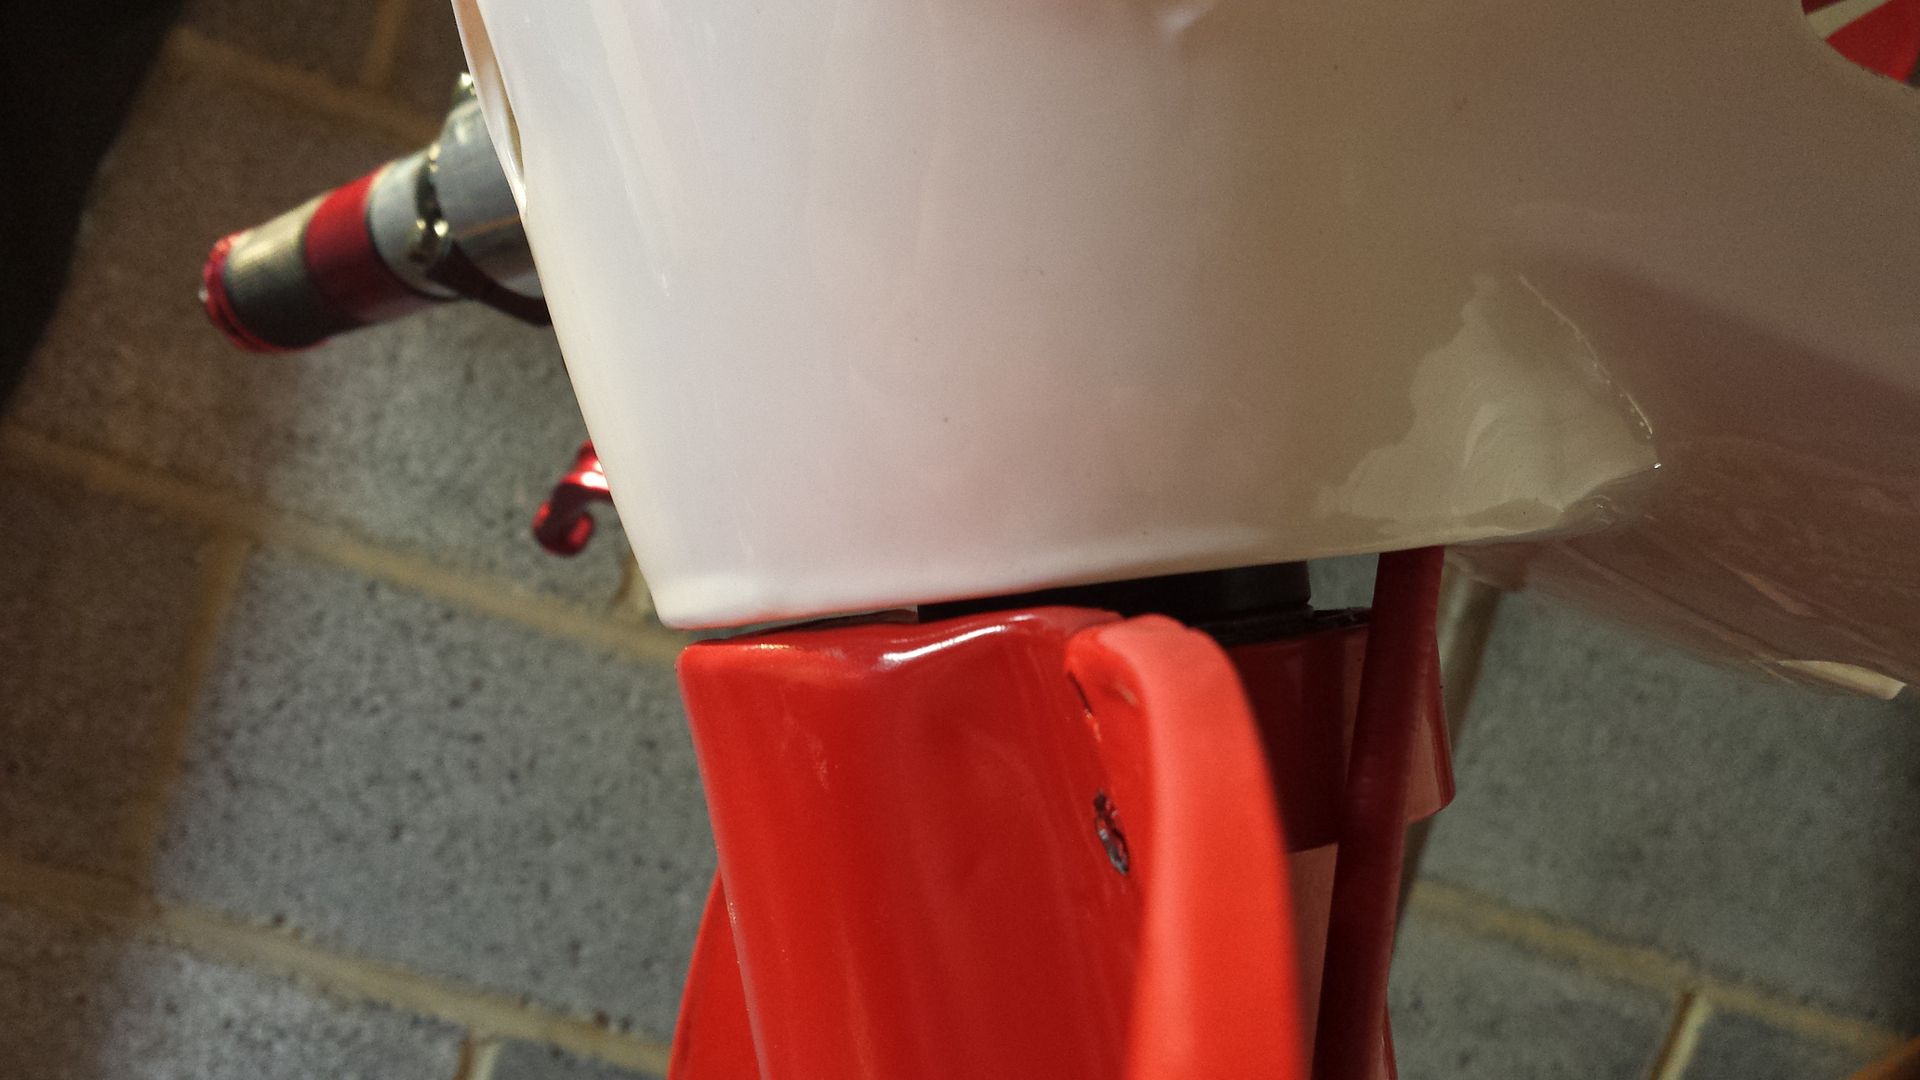
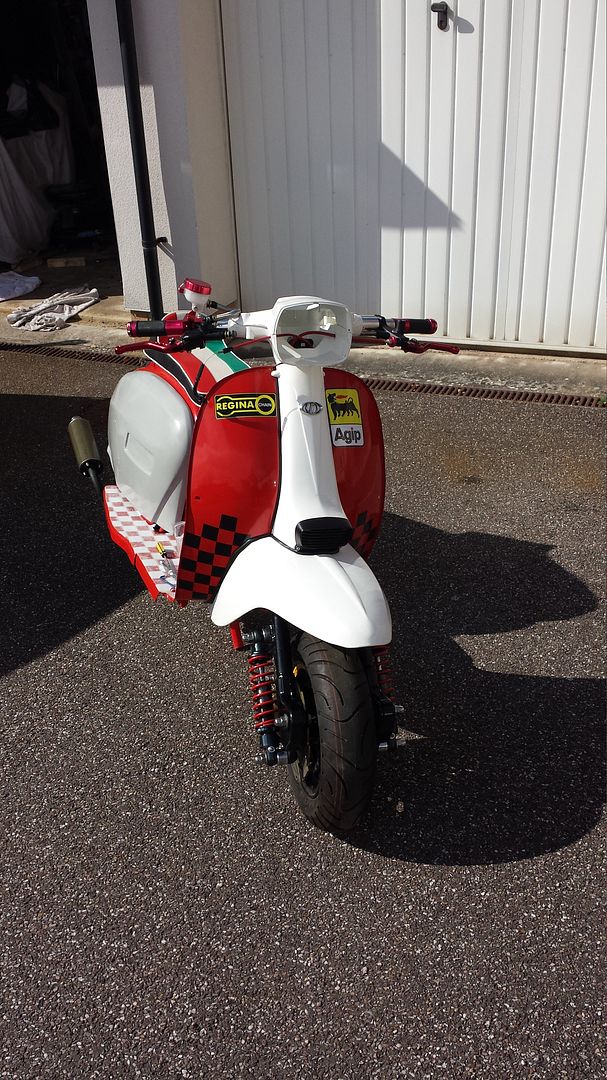
headset fit which Im quite proud of, seeing as the frames not lambretta and all the parts were ebay specials and repairs etc

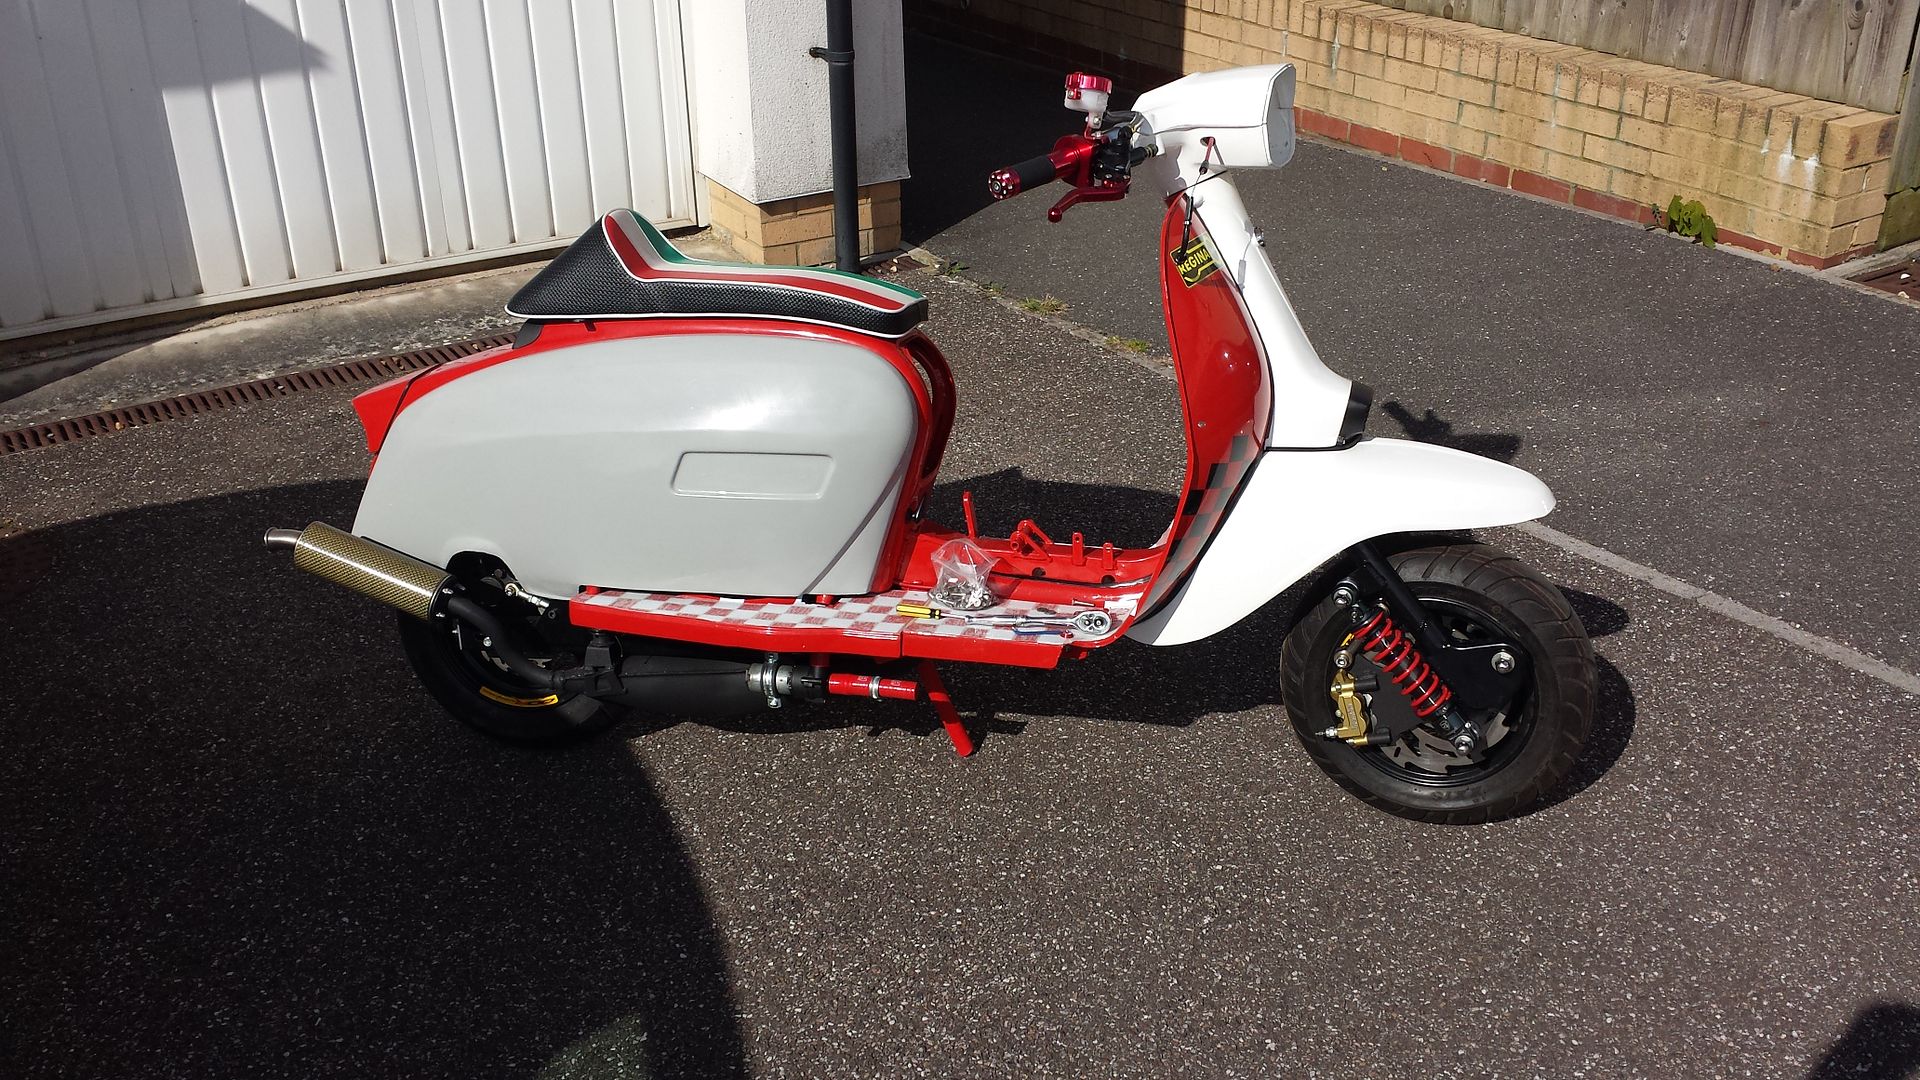
getting there...not, still heaps to do, but seeing it like this spurs me on, sidepanels are currently with the painter. Rear runners not bolted on in these pics, now mounted properly.
carpark at dusk

headlight on, not sure about using it, but it looks cool, I dont really ever ride anywhere at night.

central heating

headset fit which Im quite proud of, seeing as the frames not lambretta and all the parts were ebay specials and repairs etc


getting there...not, still heaps to do, but seeing it like this spurs me on, sidepanels are currently with the painter. Rear runners not bolted on in these pics, now mounted properly.


heavy is good, heavy is reliable, and if it does fail, hit them with it!!!
-
ricalnic
- registered user
- Posts: 156
- Joined: Fri Jan 09, 2009 11:14 am
- Main scooter: Lambretta GP Monza 225
- Location: Livingston
- Contact:
What an absolutely cracking job, in such a short time. Photos won't be enough. I for one would love to see a video of it running up the road once it's all finished
Let me assure you, i'm sure nobody is bored with the updates, i for one check eveyday to see how much progress you have made.
I only wish i had the skill / facilities to build something similar.
Please keep the updates coming.
I only wish i had the skill / facilities to build something similar.
Please keep the updates coming.

-
gerryjunior
- registered user
- Posts: 291
- Joined: Sat Jul 31, 2010 8:53 pm
- Xbox live gamer tag: no
- Playstation gamer tag: no
- Main scooter: lambretta li 2
- Contact:
the bike looks great, im enjoying this build ,,well done
-
tonydevon
- registered user
- Posts: 553
- Joined: Wed Jun 08, 2011 12:26 pm
- Main scooter: '71 GP125
- Location: Northam, Devonshire
- Contact:
cheers, had 4 day weekend but only got a couple of hours out there, weather was so nice and wanted to spend time with my daughter
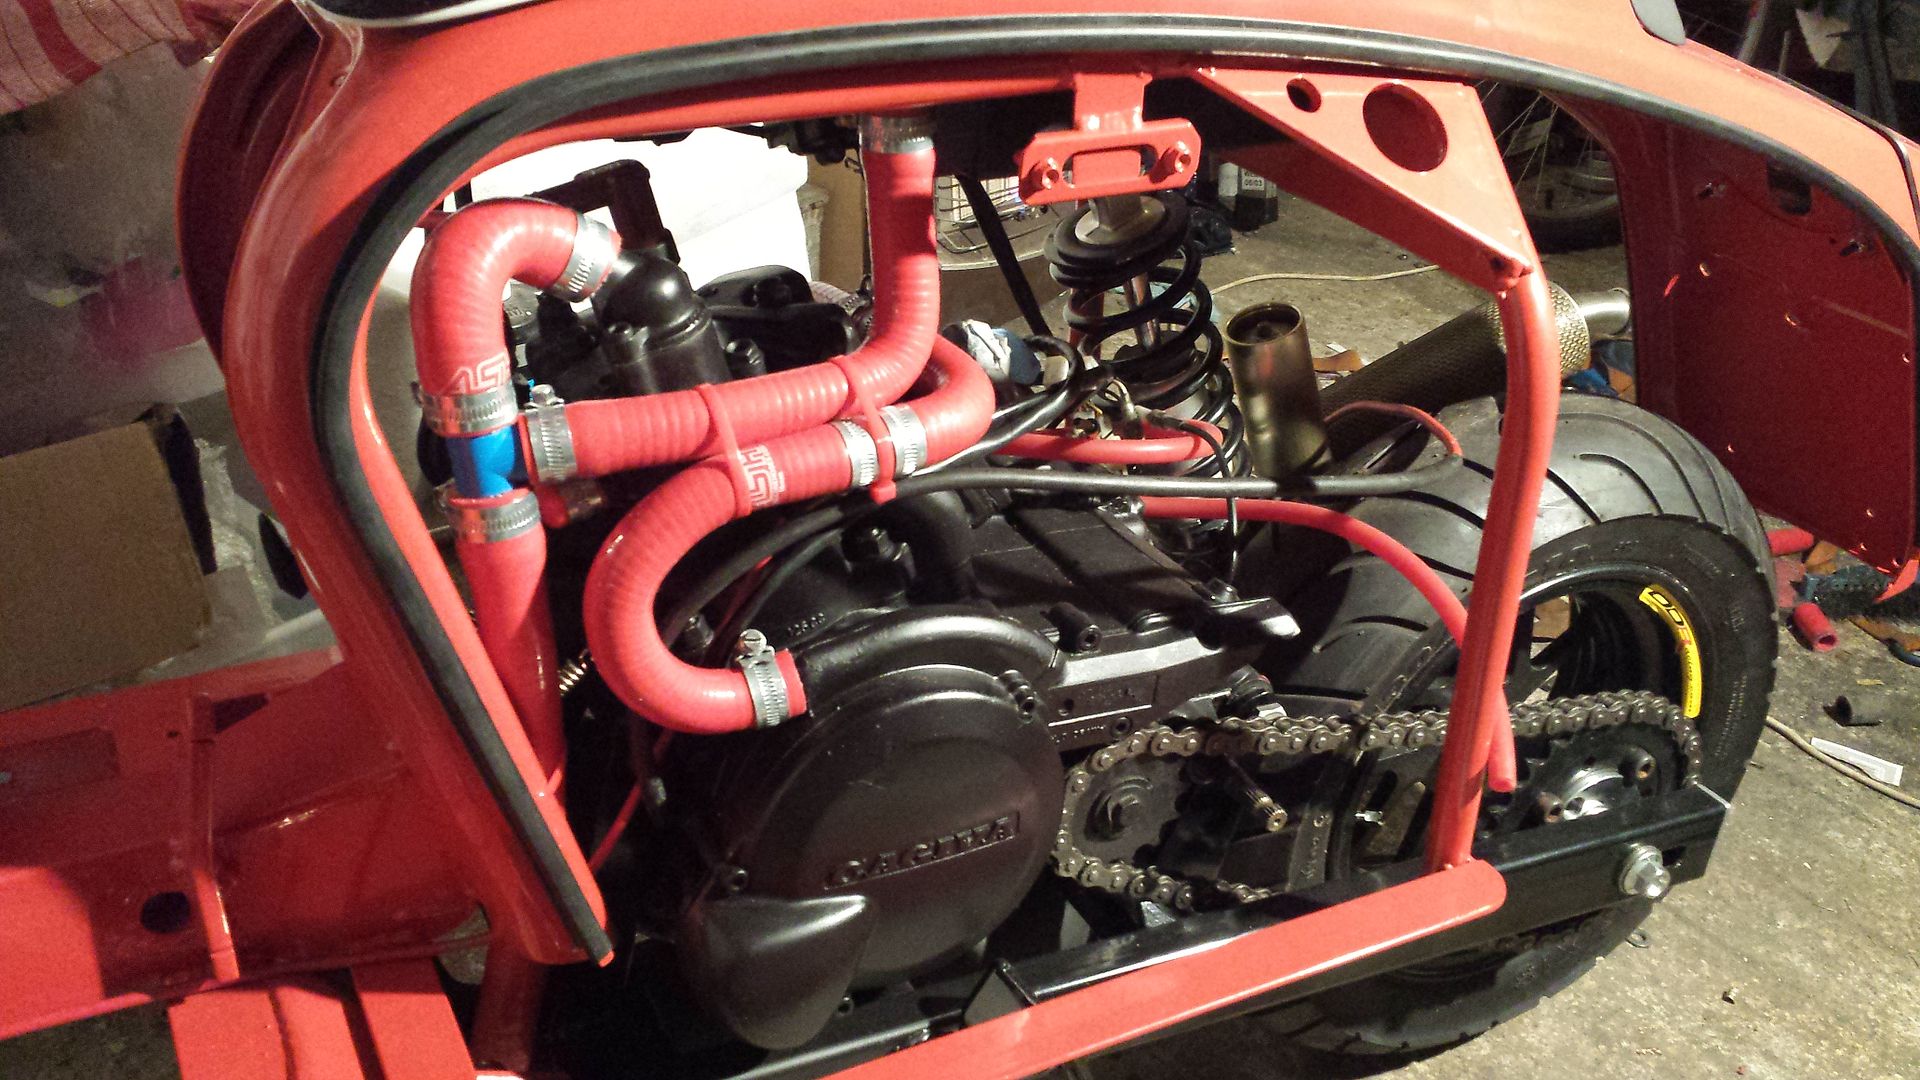
brakes are all bled and working, front is feeling great (anti dive doesnt lock it solid, it moves a bit and I like it the way its worked out), rear I think I got calculation wrong somewhere, master cylinder too big, so it works but appears to lack feel, however thats only from testing in the garage, also its new pads and disc so maybe they need time to bed a bit, if it prooves to be horrid on the road then I have an identical master but with smaller piston, that will give more stroke and should equate to bit more feel at the pedal.
plumbing is all done, electric waterpump works a treat, starting to sound like a space ship when you turn the key, powervalve cycles and water pump whirring away
hopefully have last of wiring finished tonight, relays for kill switch, water pump, fan, headlight
plan is that I will have tank and sidepanels back from my mate by end of week, sidepanels arent a worry, tank I need, but I have a test tank I can just test fire the engine with, need to start getting busy with plug chops and try to get the jetting somewhere near right, except I havent a clue LOL
got the choke setup using the original GP choke lever, that was a nice feeling as its just one more bit that helps it look original, got to check for clearance and fit but think I will put a fan bypass switch in the fuel tap hole, so I can bring the fan in manually in case of any problems
oh I forgot to mention I did have a go at that 3M DiNoc carbon effect film stuff, took a little bit of heat and stretching but I was quite pleased with the result.
yes I know the door lock is the wrong side, BUT I got it from ebay for a quid and the hole was made for it to go through this way, some numpty had filed it out, badly LOL

heavy is good, heavy is reliable, and if it does fail, hit them with it!!!
-
tonydevon
- registered user
- Posts: 553
- Joined: Wed Jun 08, 2011 12:26 pm
- Main scooter: '71 GP125
- Location: Northam, Devonshire
- Contact:
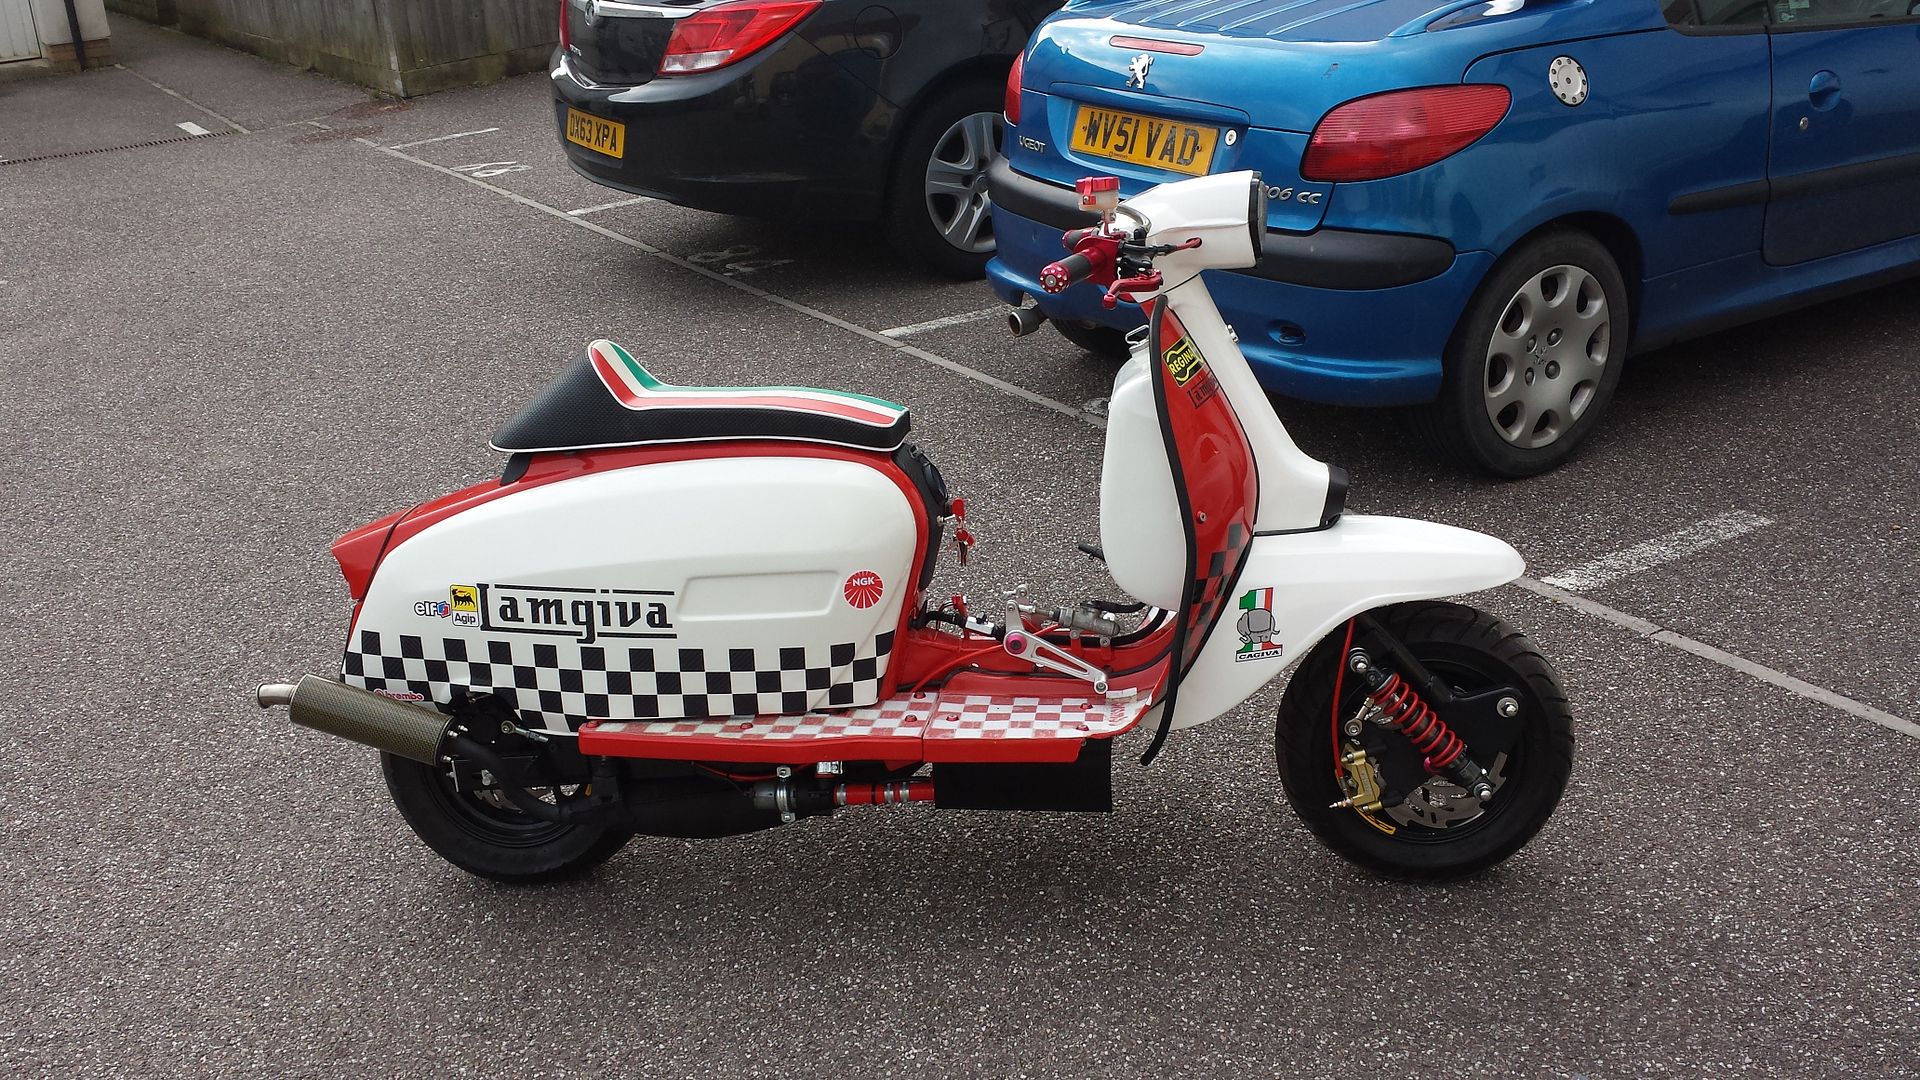
made some progress, its up and running, been up the road and pushed it home LOL
first off had fuel starvation issues, was using a minimoto tank bungeed to the seat just as a test tank, wierd things happened, the petrol appeared to be stripping off the inside of the tank and depositing a clear jelly like substance in the fuel lines and carb
Ive messed about and played tih the jetting, but havent a clue what Im doing, its currently running a PHBH28 carb, but also putting together a PWK28 setup as I was told by a tuner that the PWK is easier to jet for something like mine thats dependant on an airbox and now running a ramair filter
legshield trim needs finishing, just waiting for the sharks teeth, and last night I dug out the old tacho from the bike, I knocked up a basic bracket and its going to be mounted on the RHS of the legshield, nice big face and illuminates red
front brake setup works very well, rear brake is dogpoo, think theres a problem with it, as the master from the original was 12mm, and Im now running a 1/2" master, but it goes rock hard with minimal travel and simply does nothing, can stand on it and bike doesnt slow down, strip and check caliper, any issues will either source new one, or change it for another type, maybe match the front but then have to make all new mounts
rear brake reservoir isnt on in the pics as it was removed to strip and clean it all in case of fluid contamination


heavy is good, heavy is reliable, and if it does fail, hit them with it!!!

Looking Really Spot on Tony !!!!