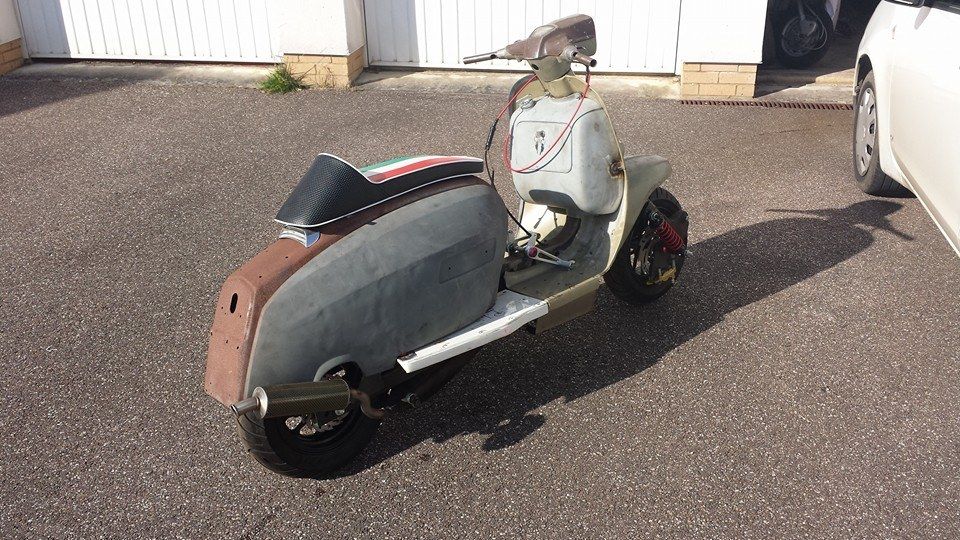
my first ever scooter build. cagiva mito 125 engine

Post pics & videos of your scooter, projects you're working on, a lovely Vespa that you saw at a rally, or anything else scooter related.
tonydevon
registered user
Posts: 553
Joined: Wed Jun 08, 2011 12:26 pm
Main scooter: '71 GP125
Location: Northam, Devonshire
Contact:

well I been flat out busy with my job and really am running behind on this build, its currently all stripped and ready to go for powdercoat 7:30am on Friday morning :)

Im going to be cheating for this year LOL, all powdercoat, some vinyls/decals, if I get time then bung a layer of lacquer over it and off I go.

the panels really are a mess, soon as money allows I will get some new ones, probably fibreglass to save weight and avoid the golfball dented style ones I have got now.

Im going to put some vinyl on the floors and cover with clear griptape, slightly different to anything I have seen, but cheap and easy :)

these pics were the last time that I loosely assembled it just to check how it will look, posted a couple on facebook and a few people didnt even realise at first that it was bike engined, thats really pleased me.

front brake caliper will either be vertical or running at the same angle as the fork leg, thats my current and last job to get done before thursday night
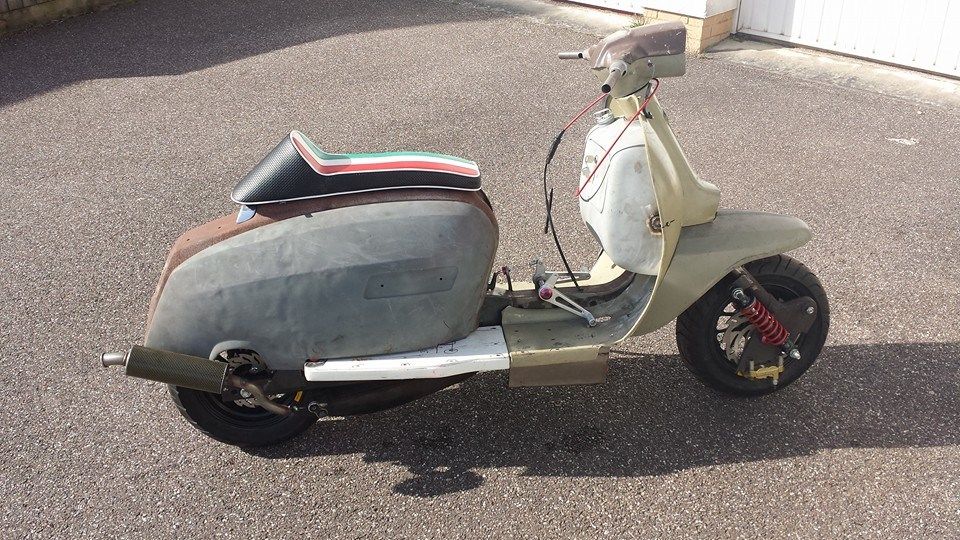
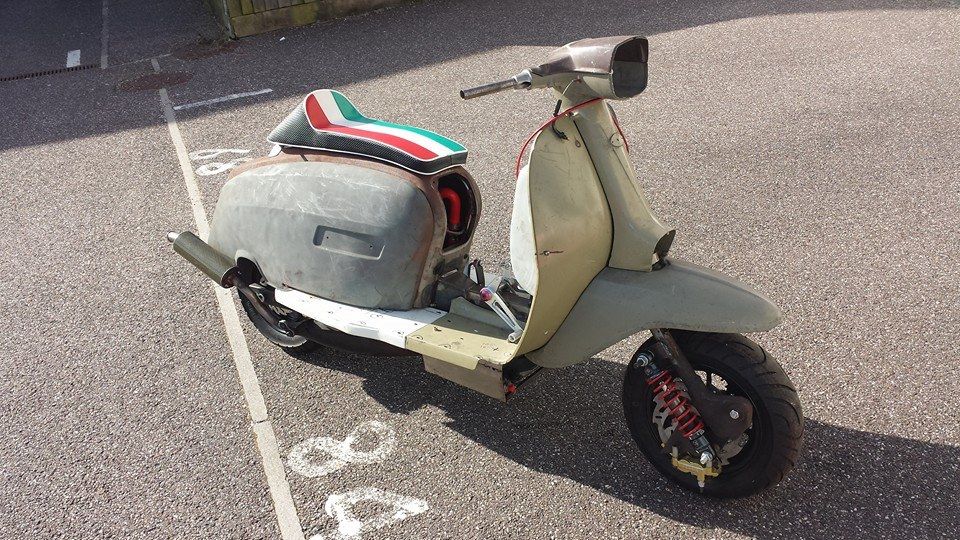
Image

Image

Image
heavy is good, heavy is reliable, and if it does fail, hit them with it!!!
gaz_powell
registered user
Posts: 1208
Joined: Sat Mar 28, 2009 1:10 pm
Location: hartlepool
Contact:

that sits very nice

very impressive

great thread
tonydevon
registered user
Posts: 553
Joined: Wed Jun 08, 2011 12:26 pm
Main scooter: '71 GP125
Location: Northam, Devonshire
Contact:

Its all loaded into wifes car ready for a trip to powder coaters tomoro morning at 5:30am
heavy is good, heavy is reliable, and if it does fail, hit them with it!!!
tonydevon
registered user
Posts: 553
Joined: Wed Jun 08, 2011 12:26 pm
Main scooter: '71 GP125
Location: Northam, Devonshire
Contact:

well that was quite a sad moment, dumping it all on the floor of the coaters unit and then driving away :(

like abandoning a child.

Im not expecting the best job, but I decided to go with a bit more local company cheap and cheerful, I will live with any problems and use lots of stickers LOL

frame, swingarm, forks, legshields, sidepanels, rear runners, headset top and bottom, horncasting, tail light and front mudguard.

apparantly it might be ready for next Friday so another early morning dash across the moors before work.

now to find someone thats got decent quality rubber trim in stock, and get the vinyl cutting man all sorted with the bits I want.
heavy is good, heavy is reliable, and if it does fail, hit them with it!!!
MADSPEEDRB260
registered user
Posts: 305
Joined: Mon Jul 26, 2010 11:28 pm
Main scooter: lambretta gp200
Contact:

caspa2006 wrote:very nice project and coming along very quickly too, I wish I had more time to play with Ninja Vepsa, I am trying to
find somebody local (West Midlands) to take it to drop it off and say play with that for a bit and I will see to when its done... otherwise
it might not ever get done.........Madspeed I might be in touch with you if you a fancy a challenge
there is a guy close to me here but he has a few broken bones so he cant do much for a while which is a shame
Nice one mate thank 's for the offer but we'v just got to much on this year. 8-)
tonydevon
registered user
Posts: 553
Joined: Wed Jun 08, 2011 12:26 pm
Main scooter: '71 GP125
Location: Northam, Devonshire
Contact:

well while I am waiting for the powdercoaters to do their job I have been busy finishing off the odds and sods, brake caliper mounts that needed tidying and the little finishing bits.

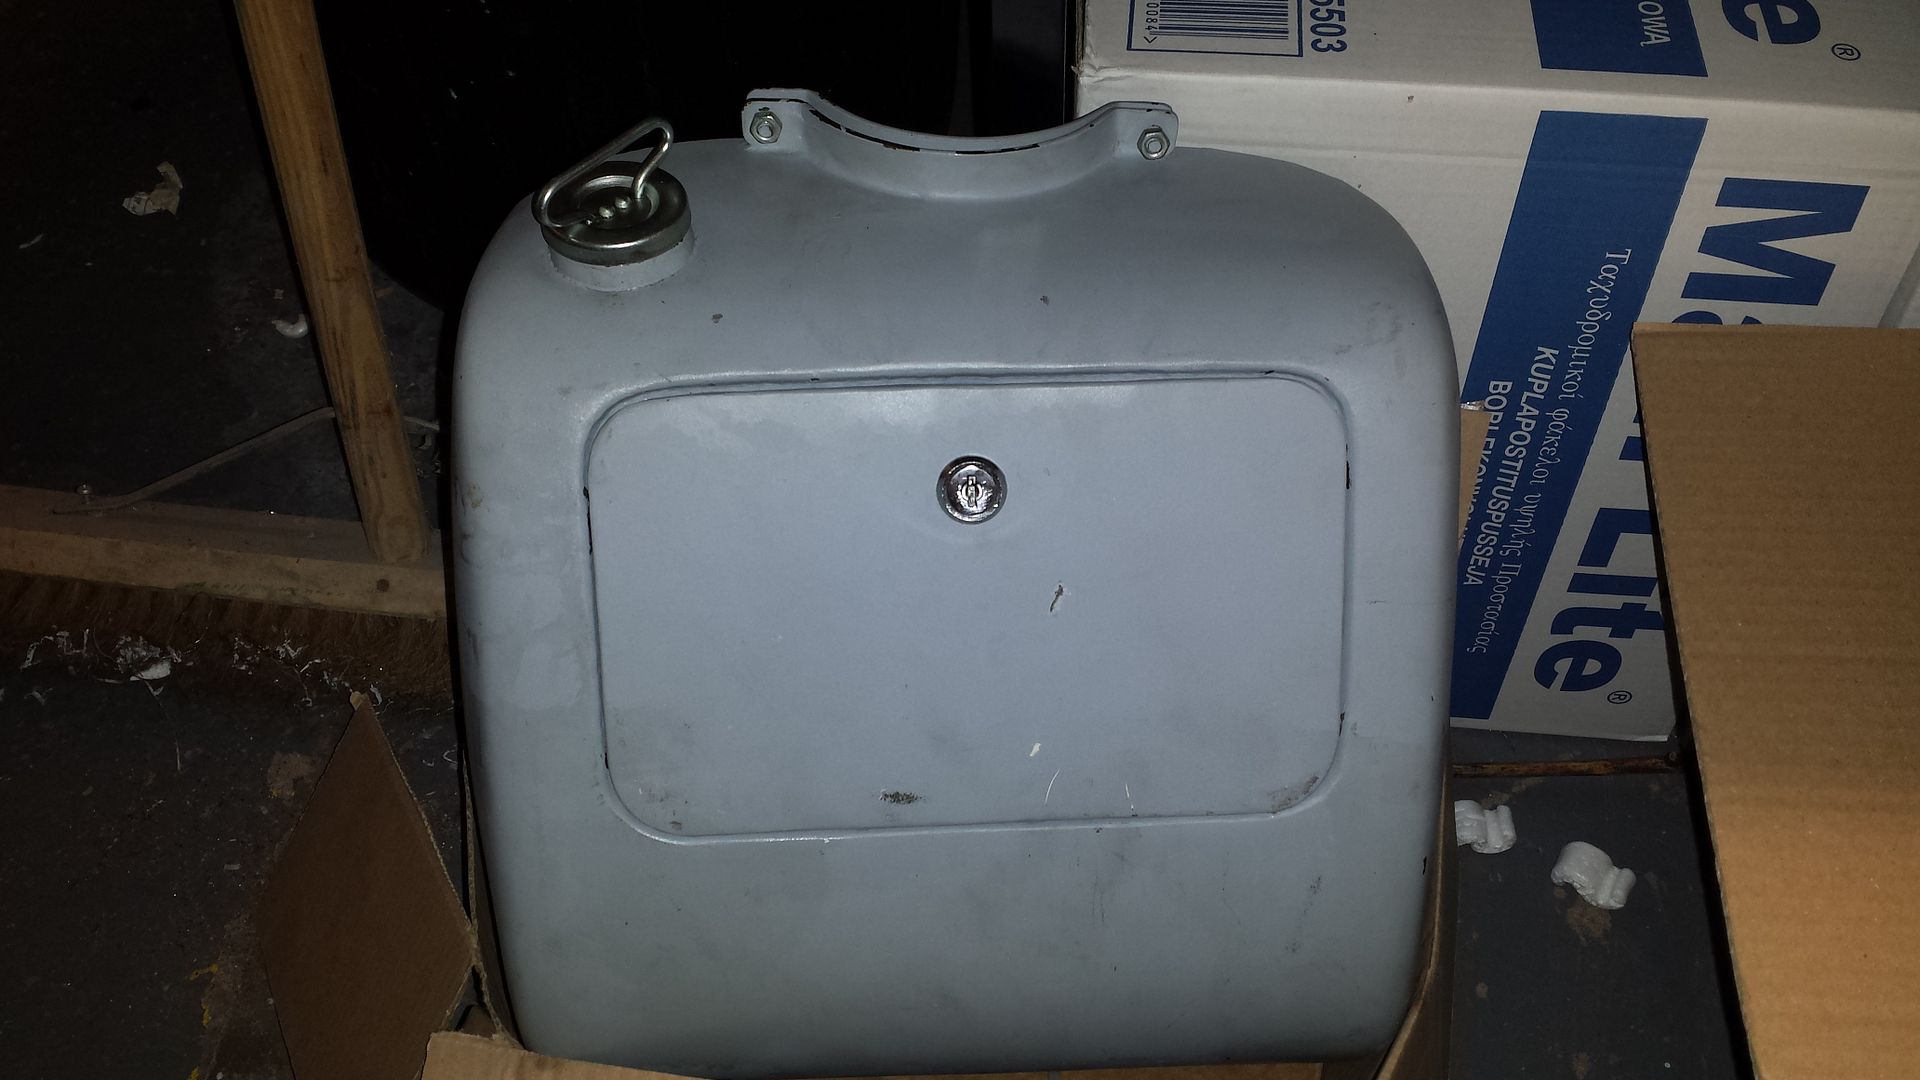
turned my attention to the legshield fuel tank I had bought ages ago when I had spare cash

what a crock of crap, the supplier very "kindly" fitted a tap for me, I decided thats no use to me as I wanted a fast flow anyway, turned the nut about 1/8th turn and nut just popped off, eventually got the tap out the tank, had been forced through the too small hole with such force that the filter housing was knackered

the boss on the tank was about 6mm long, it was tapered and the 3 threads that you could just about see must have been drawn on!!!

most unimpressed, ended up welding up that boss and then turning and welding a boss on the tank of my own, I only have MIG so had fun and games trying to seal it, however during those fun and games I found more leaks.

so now its turned into a full clean out and seal job, money I hadnt budgeted for, as well as adding an inline fuel tap as I was only able to knock up a boss with M12 internal thread, so a hose barb with short tail of fuel pipe will lead to the inline tap.

still got to get the engine proper cleaned and painted, give the exhaust a clean and paint it, then fabricate the battery box/frame thing

and to think I was worried about the powdercoat turnaround, at this rate it will all be sat untouched for about a week after it comes back
heavy is good, heavy is reliable, and if it does fail, hit them with it!!!
tonydevon
registered user
Posts: 553
Joined: Wed Jun 08, 2011 12:26 pm
Main scooter: '71 GP125
Location: Northam, Devonshire
Contact:

Today i realised that if i sell my build then im going to have to write a manual for it lol. Like a giant jigsaw that only builds 1 way and in a certain order. Huge discs and calipers etc with 10" rims means that you have to loosen or remove the disc to get the calipers on lol.
A little tip that might help others. I make some slave axles. In my case they are both 15mm dia so i make 15mm dia bars that are slightly smaller in length than the total gap between swingarm. This way you can pick up the wheel with all spacers etc in place. Slide it in. Then press proper axle through and et voila your axle is in place without dropping any spacers etc.
heavy is good, heavy is reliable, and if it does fail, hit them with it!!!
tonydevon
registered user
Posts: 553
Joined: Wed Jun 08, 2011 12:26 pm
Main scooter: '71 GP125
Location: Northam, Devonshire
Contact:

yeah baby, thats the call I wanted, powdercoaters confirming that I can collect it all Friday morning 7am :)
they recoating the frame as they say its a bit thin in one place, and just got swingarm and forks to do
so Friday morning I either smile so wide the top of my head falls off, or I get dissapointed and chuck a hissy fit LOL
but the fact that they redoing the frame as they not totally happy, thats confidence inspiring

total of 13 pieces, 2 pieces black, 3 pieces white, 8 pieces red. I made life easy for them as most of it is either bare metal or thin primer, no filler to blast out, I did spend some time sanding, wet flatting and even polishing some of the alloy parts to try and avoid defects

£150 plus VAT so £180 :)

proper job
heavy is good, heavy is reliable, and if it does fail, hit them with it!!!
gavi4t
registered user
Posts: 92
Joined: Tue Jan 31, 2012 8:00 pm
Main scooter: lambretta gp450
Contact:

great build tony ,I made a fuel tank for mine myself using a set of old legshields for the back ,that way they fit snuggly inside legshields so you can get more fuel in ,made a box and migged the two together then added a bike cap ,there was a few pin holes due to gas in the weld but nothing that silver solder wouldn't fix, I run a pressurized fuel pump in that tank and has been fine for three years with no leaks at all ,try and fix all your holes and just take your time ,avoid at all cost tank sealer :)
tonydevon
registered user
Posts: 553
Joined: Wed Jun 08, 2011 12:26 pm
Main scooter: '71 GP125
Location: Northam, Devonshire
Contact:

Im tempted to have one more go at the leaks, but the boss area is really building up with weld LOL

speaking of the boss, I been a right proper tw@7, all my fixings and my tools etc are M12 1.75P

I made the boss, its M12, didnt actually think about it, the hose barb rocks up and the friggin things M12 1.5p grrrr LOL

oh well should have done this in the first place, out with some brass bar, make a hose barb myself right thread.

I really wish I had made my own tank to be honest, my original thought was to pick up some legshields, and a toolbox, weld together and deal with seams etc, but I decided that I would spend the money on a made tank as its such a safety item, what a mistake, its a total crock of shite

looked ok to start with
Image

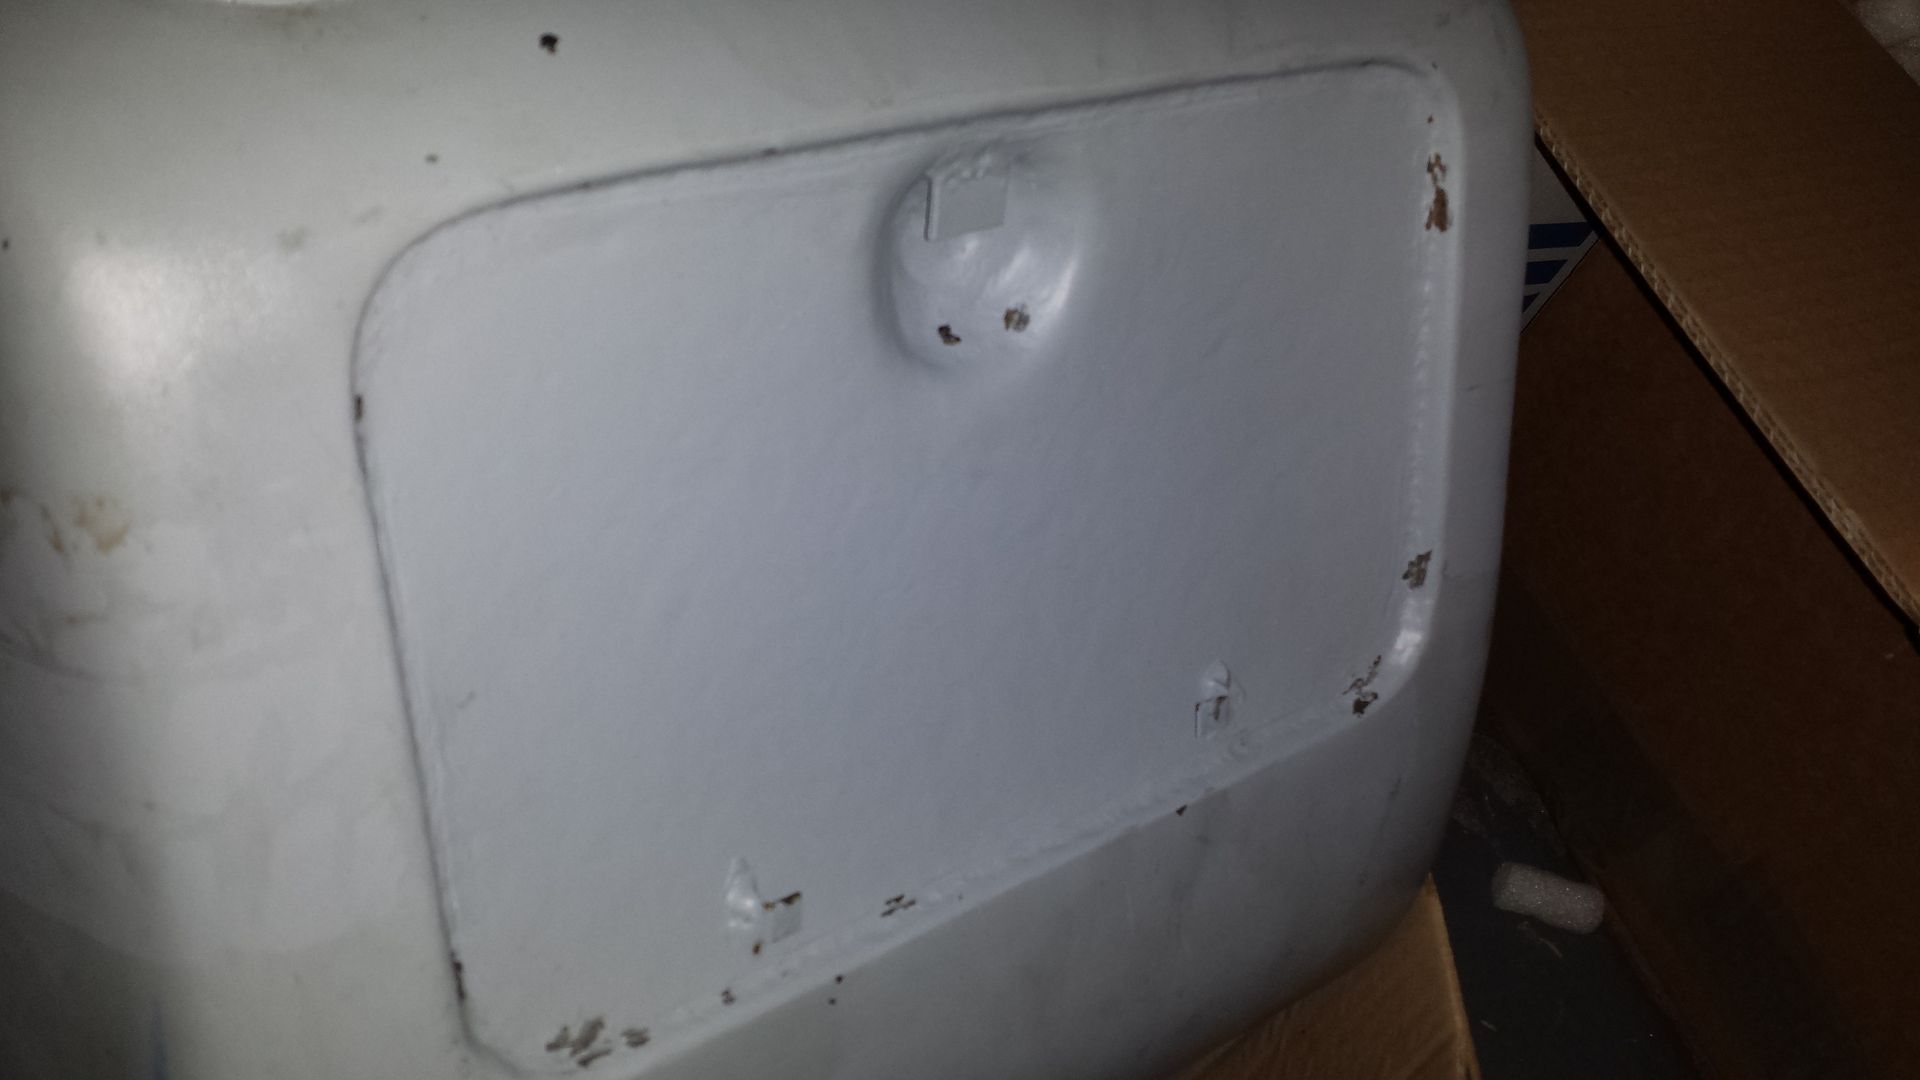
hmm the "glovebox" might just hold 1 woollen glove?? if Im lucky
Image

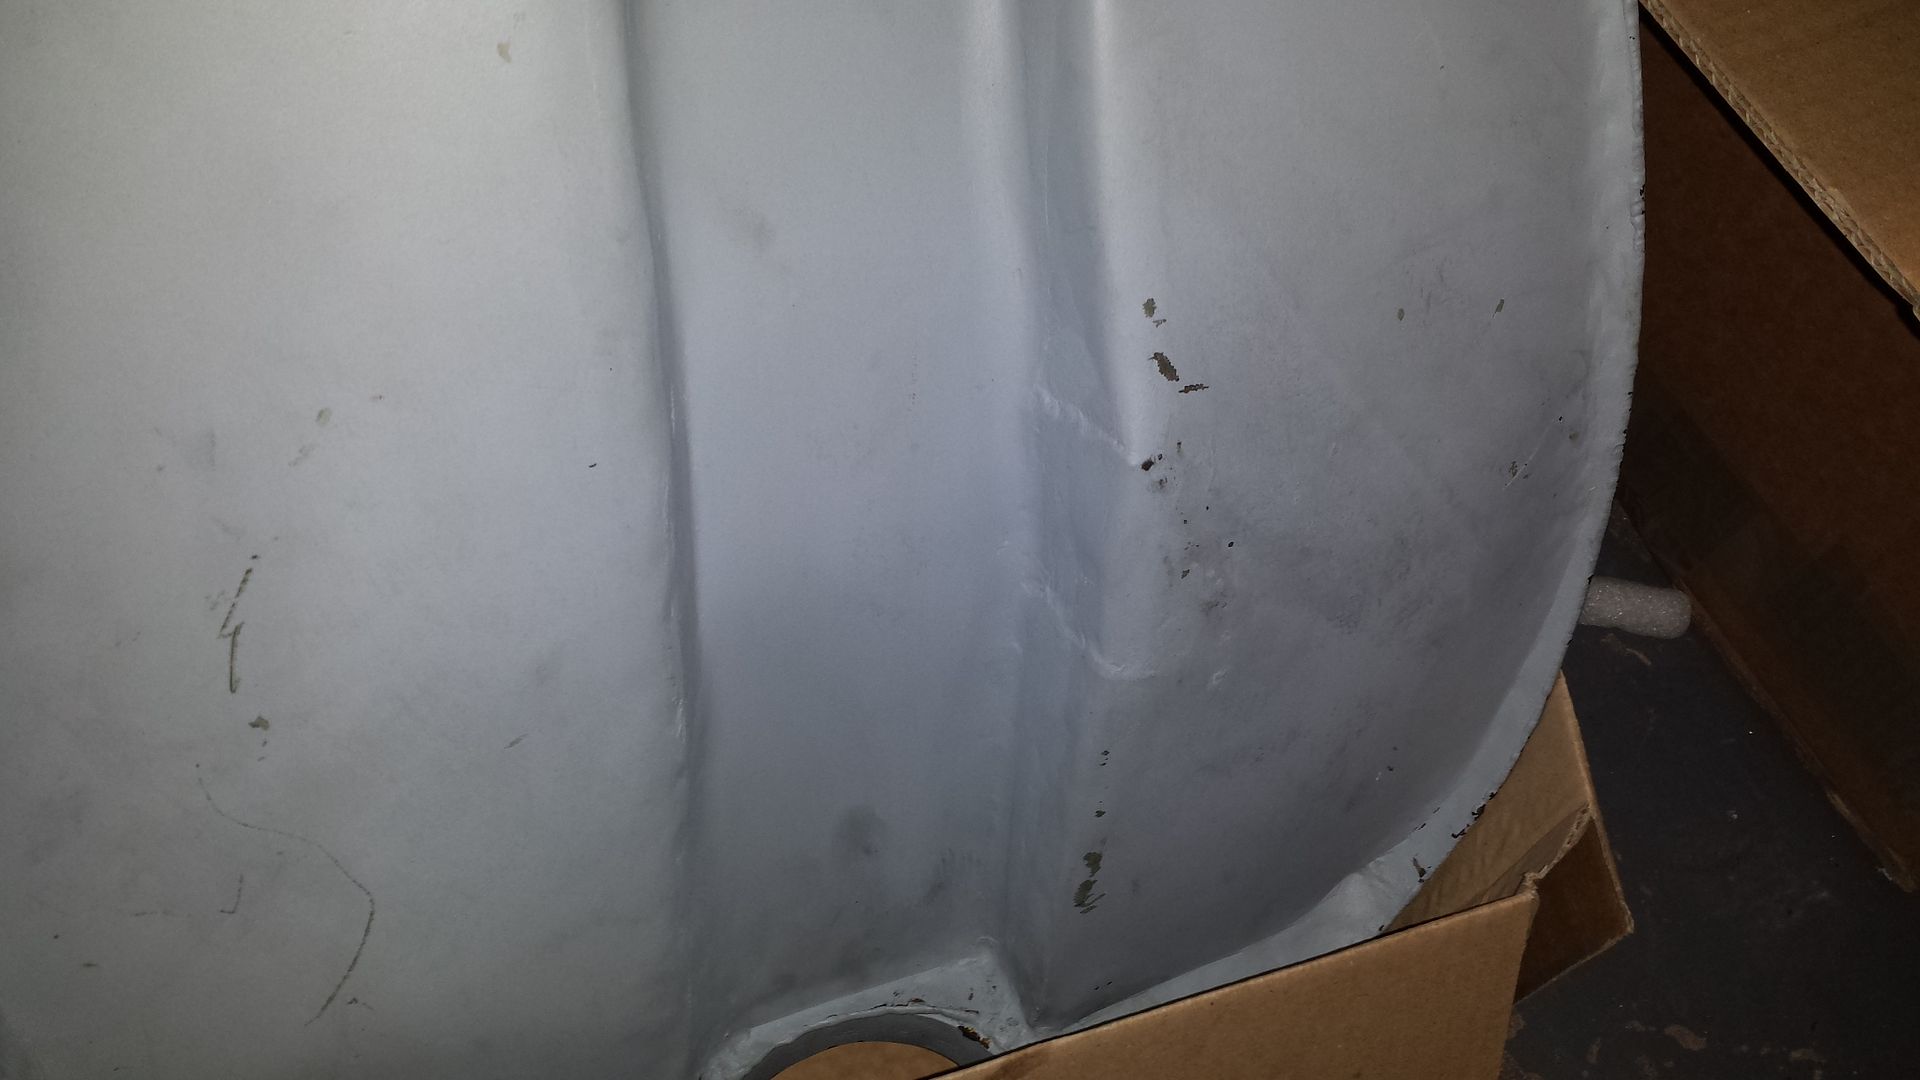
think this might be a bit of a saucepan from the local curryhouse???
Image

once I started to try and sand away paint to give me metal to weld mounting tabs to I found just how much filler there is over the whole thing
heavy is good, heavy is reliable, and if it does fail, hit them with it!!!
Post Reply Previous topicNext topic
  • Information
  • Who is online

    Users browsing this forum: No registered users and 1 guest