Paint and pinstripe attempt

Anything related to paint & bodywork issues on scooters....
sydduckett
registered user
Posts: 1900
Joined: Wed Jan 14, 2009 12:21 am
Contact:

As title says, im going to attempt and add some colour on my scoot, in this case cream on the current pewter colour. Never done the spraying part myself but i have had a few beers while watching other people and it looked quite straight forward... :D Im starting with the panels as i will still be able to ride while im bodging them. im planning on doing some pinstriping in the cream using the pewter colour. I did think about adding a 3rd colour but i think id be pushing my luck .... :?

Anyway ill post as i go and seek advice i suspect on a regular basis... :D So far iv rubbed the panels down with 400. 800 and 1200 and after iv masked the rear grills up ill give them a coat of primer ready for the pewter.

Image
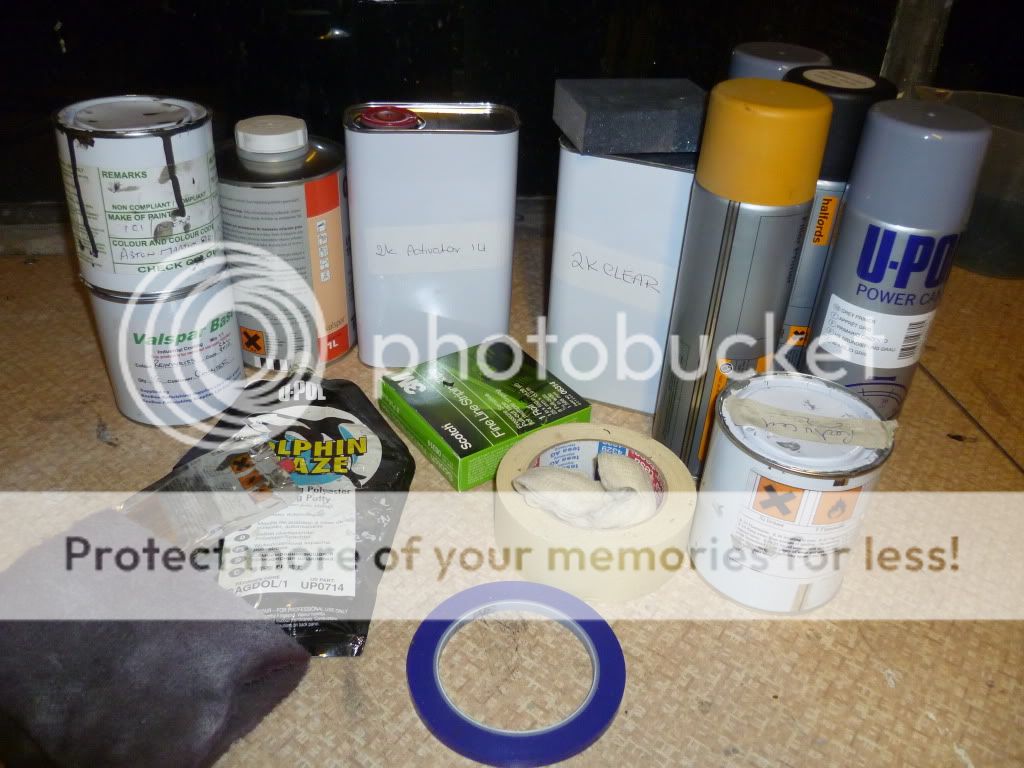
Some of my materials, begged & borrowed and iv still managed to spend nearly £100 on whats here... :(

Image
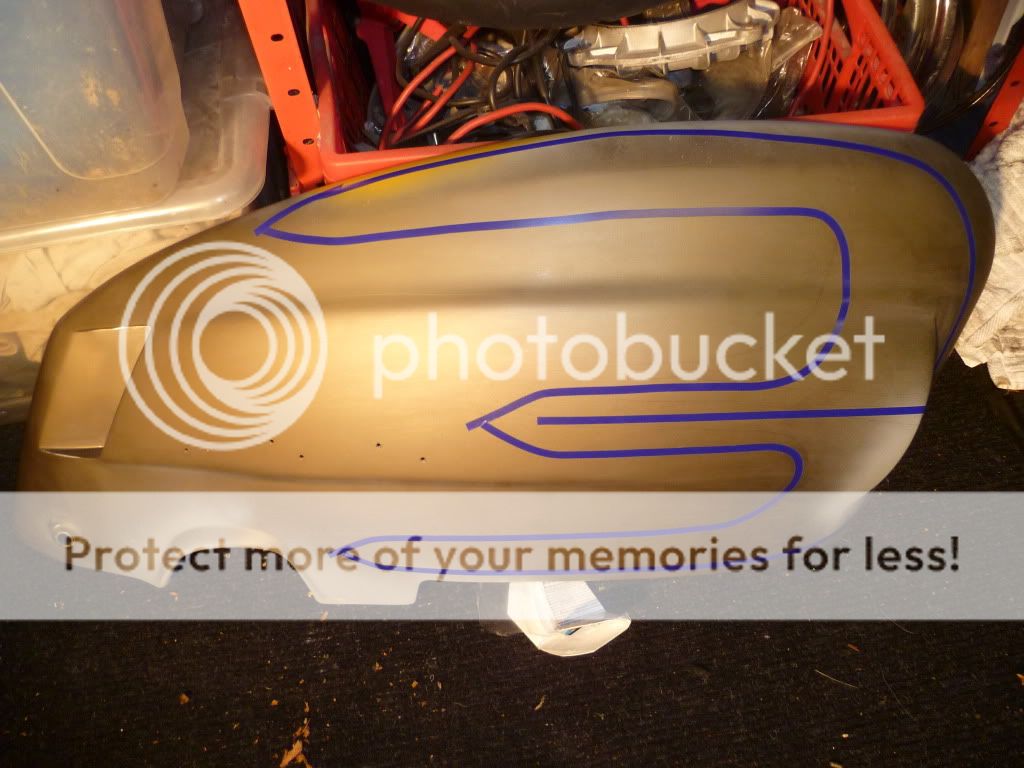
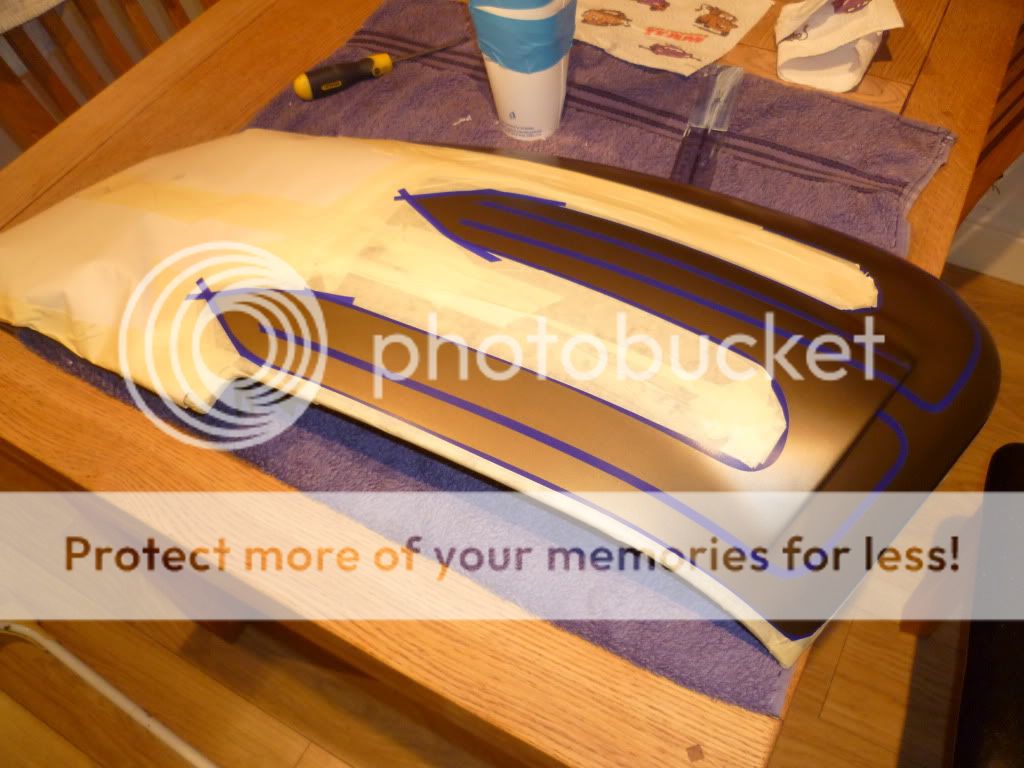
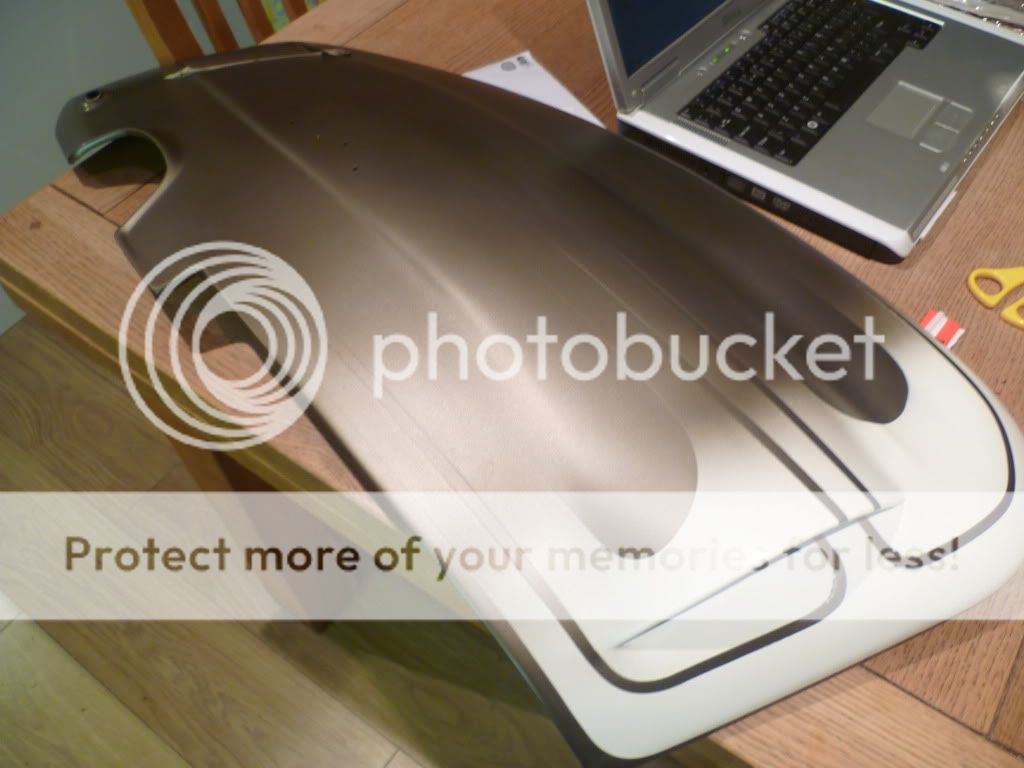
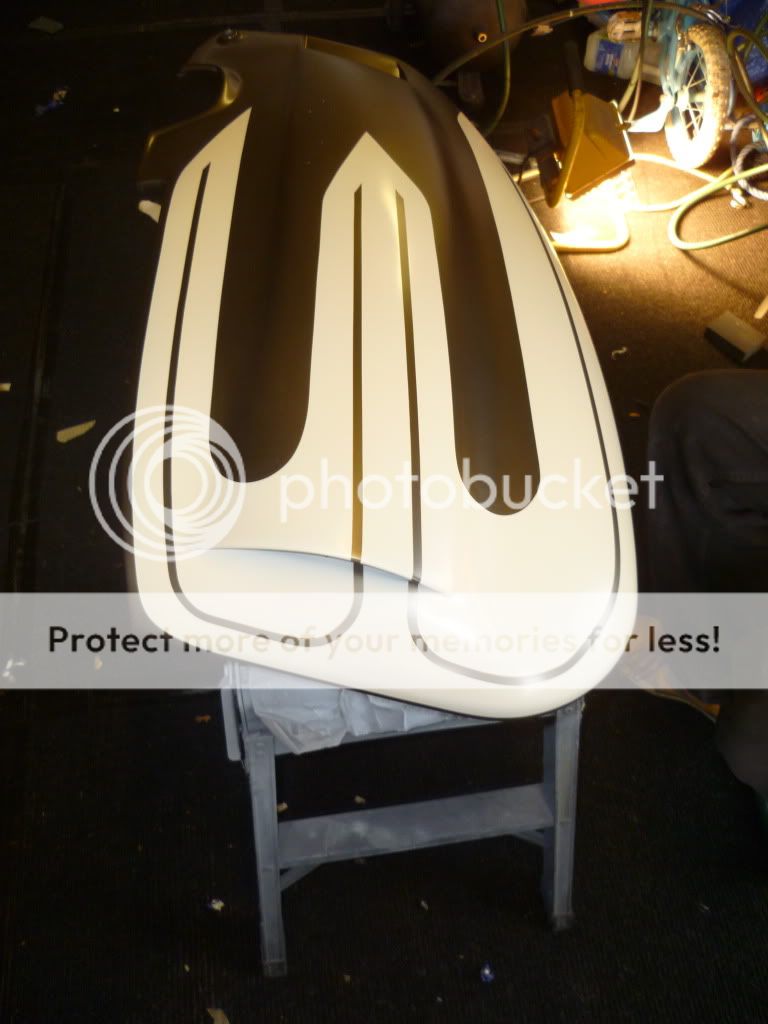
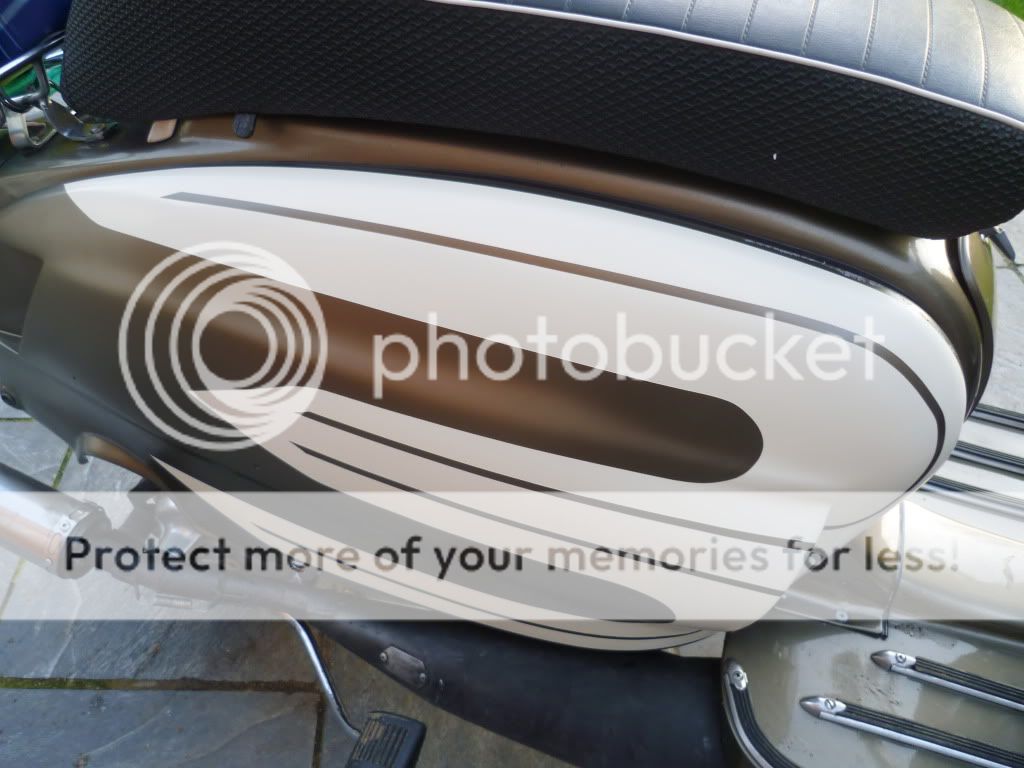
Wanted to have a go with the pinstriping tape to get the shapes i wanted and see how easy it is to curve, its 6mm and i will need to do some tight curves so i may get the 3mm to do the pistripes.

Image
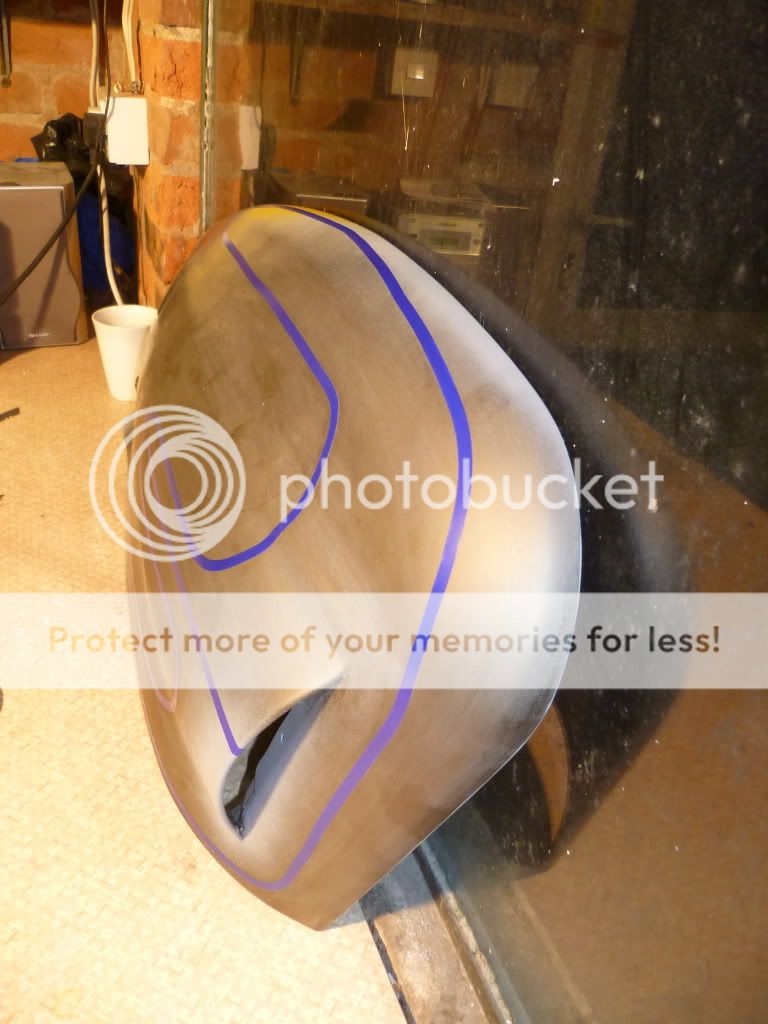
Realised that i will need to have a bit of a practice with the tape as some of the lines were well off when i stood back and looked. I found i had pull the tape back off quite a bit before realining it. Can you do this? if its a one attempt only job then im fu**ed... :D
sydduckett
registered user
Posts: 1900
Joined: Wed Jan 14, 2009 12:21 am
Contact:

Have now got paint and pinstripes on one panel. Im happy with the way they look but there are a few areas that are a bit ropey.. :( I will have to sort these out once the paint has gone off a bit. any suggestions on the best way to to do this are welcome therewise ill have to start again....

Image
Masked off and ready to go for a nighttime spray session.

Image

Image
second coat drying with heater going full bore at the back

Image
Well pinstriping pulled off before the paint has gone right off, some good lines some not so good. Was it to wet or to far gone, not sure.

Image

Gutted the 2 tightest cures on the panel have let go and the white has bled in. In hindsight i can see why it happened. I have to re-apply the tape 3 or 4 times to get the tight curve and this has stretched the tape to much. It must have been really thin there and the thinners in the paint has proved to much. should have changed the tape instaed of re-applying the same bit to mant times. Really done want to start again so will have to think of best way to do it. I have the lend of a mated air brush so i may be able to save it..... :?

Image
Quite pleased with the overall look....from about 10 feet..... :D

Image
Couldnt resist

Image
User avatar
coaster
registered user
Posts: 3125
Joined: Wed Jan 07, 2009 12:35 pm
Location: London and Norfolk
Contact:

Well done for having a go, it's a shame about the bleed and it also looks like the lining tape has shrunk with the solvent and pulled inwards on those tight curves. What you need is a very small artists paint brush and a very steady hand. With care you should be able to tidy the areas of blead up, it will always be visible but only if someone gets real close especially when you get the lacquer on 8-) Talking of lacquer, you are going to need a very warm and dry environment to work in and the panels will need to be kept somewhere warm for several hours after painting otherwise you will get 'bloom' (milky finih) due to moisture being trapped.
dapper
registered user
Posts: 930
Joined: Tue Jan 27, 2009 5:30 pm
Main scooter: The Biriani Bullet
Location: Brighton (well Hove actually)
Contact:

Well done for having a go Syd, and nice to put a face to a name at last :lol:
Compact Toolbox Flywheel Holder
sydduckett
registered user
Posts: 1900
Joined: Wed Jan 14, 2009 12:21 am
Contact:

im in two minds whether to touch it up or start again. Apart from the obvious floors which i may or may not be able to sort out im not really happy with the way the 3 ends finish in a point. The edges of the bottom 2 points are pretty porus where the tape has bled. again my fault as i added additional tape over the top of the origonal pinnstripe to try and get a sharper point.

One idea im thinking of is repairing the front part then misting in the 3 points from the back with the base colour. This would mean i wouldnt have to worry about the points as they would no longer be there.... :D I think this might look good.
sydduckett
registered user
Posts: 1900
Joined: Wed Jan 14, 2009 12:21 am
Contact:

After a closer look at the paint on the panel i decided that it was to far gone to try and sort out. So i decided to get creative on the panel before i rub it down and start again and maybe try and mist the green into the white as it would hopfully look quite good and solve my achillies heel, the points at the end of each stripe... ;) As with the best laid plans it went wonky from the start, the borrowed airbrush pot wouldnt stay on and gave to heavy a spray so that was dumped for a small spray gun. This spat all over the panel, then realised that i should have rubbed down the edges far more than i did...not good.

Have to say the final result is far from what id hoped for and a country mile from the gradual mist from cream to green that id fondly imagined... :(

Anyway heres some pics of the results and how not to do it. Rubbing down again tomorrow and prep for yet another base coat of green befor re-masking. Fingers crossed i learn from my mistakes... :D

Image

Image
sydduckett
registered user
Posts: 1900
Joined: Wed Jan 14, 2009 12:21 am
Contact:

After rubbing the panel back again, i took my time masking up and made sure not to repeat the errors of last time... :) I also decided to add a little ochre yellow to make it creamier as the first attempt looked more like an off white. I made sure the tape was laid down in one go where possible and made sure i didnt load the paint up against the tape edges by doing more coats but using less paint....if that makes sense.... :? I also waited a bit longer to take the pinstripe off and made sure i had the tweezers at the ready...I learnt its handy to have them to hand after turning the bathroom upside down half way through the panel last time. I can honstly say i was expecting it to go wonky like last time out but the tape came away fine everywhere and left really sharp lines. I think the slightly changed design sits better as wel,l so maybe the failure of the first time wasnt such a bad thing.

Then made sure i was careful rubbing down the edges with 2000 wet & dry then then a quick once over with panel wipe and on with the shiny stuff. I love this bit as its when the paint comes alive..As with prev comment i made sure the garage was warm but had to have the garage door open the end I was spraying as i didnt have any ventilation...

Anyways, very happy with the results so waiting for some more fine line tape to arrive in the post and then on with the other panel, horncast and mudguard...

Image
Less tape this time but more care

Image
tapes off and so far so good

Image
didnt leak this time

Image
ready for lacquer
matthew
registered user
Posts: 82
Joined: Sat Jan 24, 2009 10:11 pm
Contact:

That looks better, I like it 8-)

The hardest part I found when I painted my panels was making sure that they both matched. Getting the first one right is easy, getting the second to look exactly the same took a long time measuring, checking the radiuses of the curves etc so they ended up mirror images of each other. It took me over a month of evenings and weekends in the garage just to paint my panels!

Image

I like the colours you've chosen, they look really good together.

Matt
Post Reply Previous topicNext topic
  • Information
  • Who is online

    Users browsing this forum: No registered users and 1 guest