Rally 200 Re-build

Post pics & videos of your scooter, projects you're working on, a lovely Vespa that you saw at a rally, or anything else scooter related.
User avatar
paulnobodyimportant
registered user
Posts: 299
Joined: Sun Jan 03, 2010 12:33 pm
Main scooter: varies
Location: Skipton
Contact:

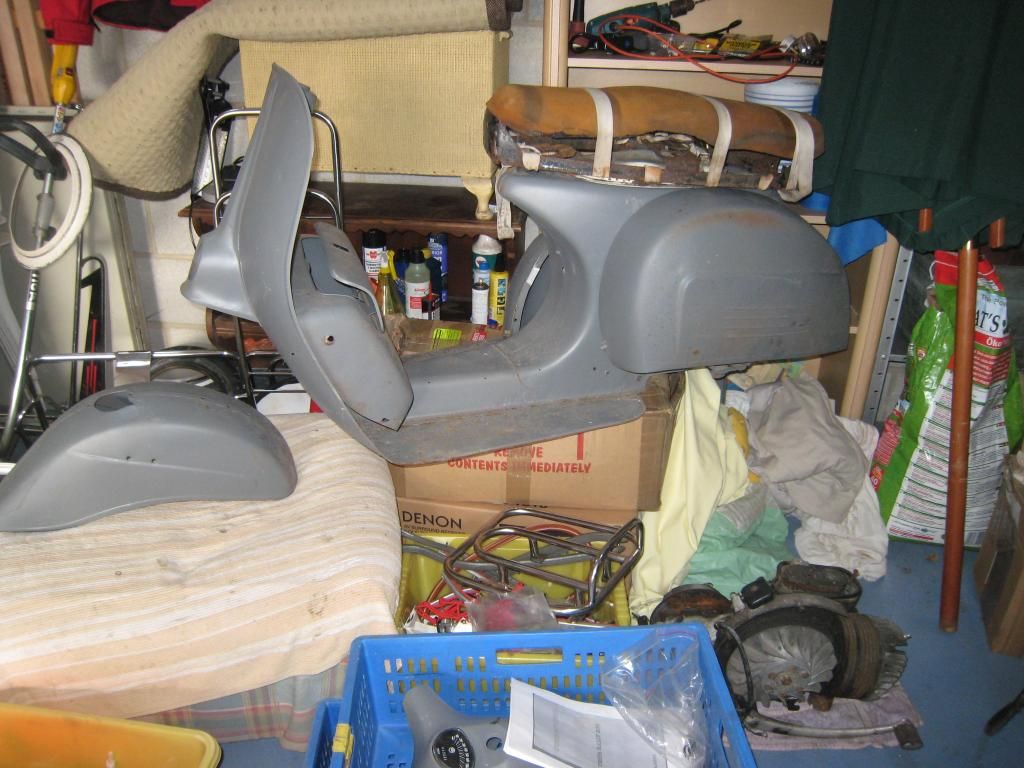
Bought this original UK Rally 200 back in 2010 from a fellow scooterist in Swindon, who had stripped it down some years previous. It came all in bits but more or less complete, registered, but on SORN and with the original 200 Femsatronic engine. Now this re-build will not be upto Craig's (Kirk St Moritz) standards, mainly because I loose patience when it comes to detail, so don't expect miracles.

Since then its sat in my garage,
Image

Now I know Lambrettas back to front, but have never worked on a Vespa. So I suppose the delay in starting the re-build was partly fear of starting, together with the effects of the recession that starved us all of cash, so moved the Rally into my office to stop it rotting further

Image

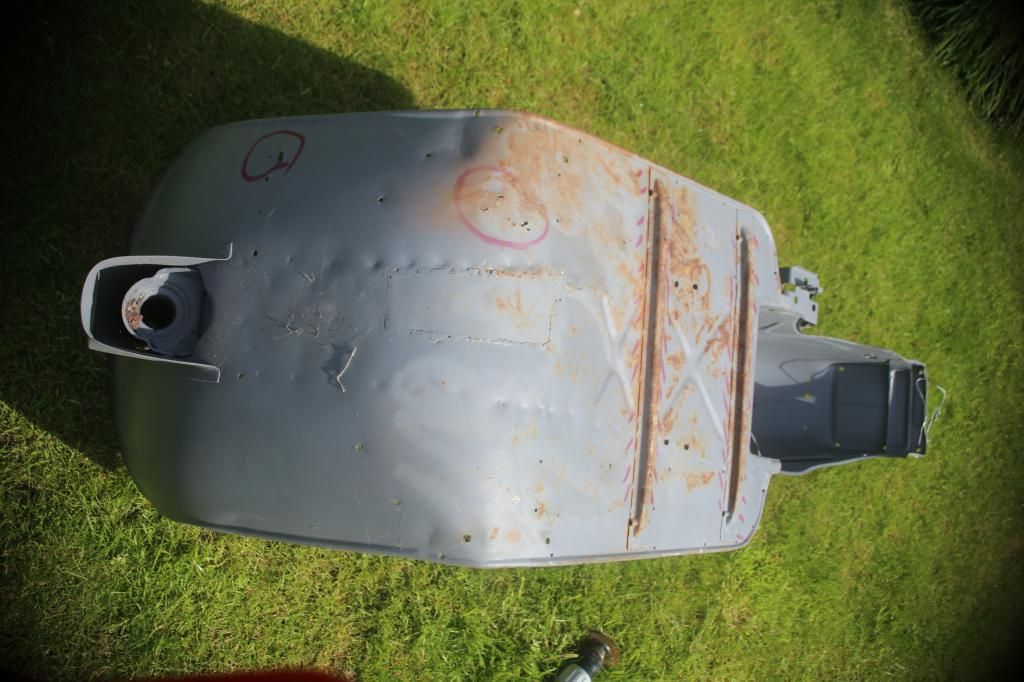
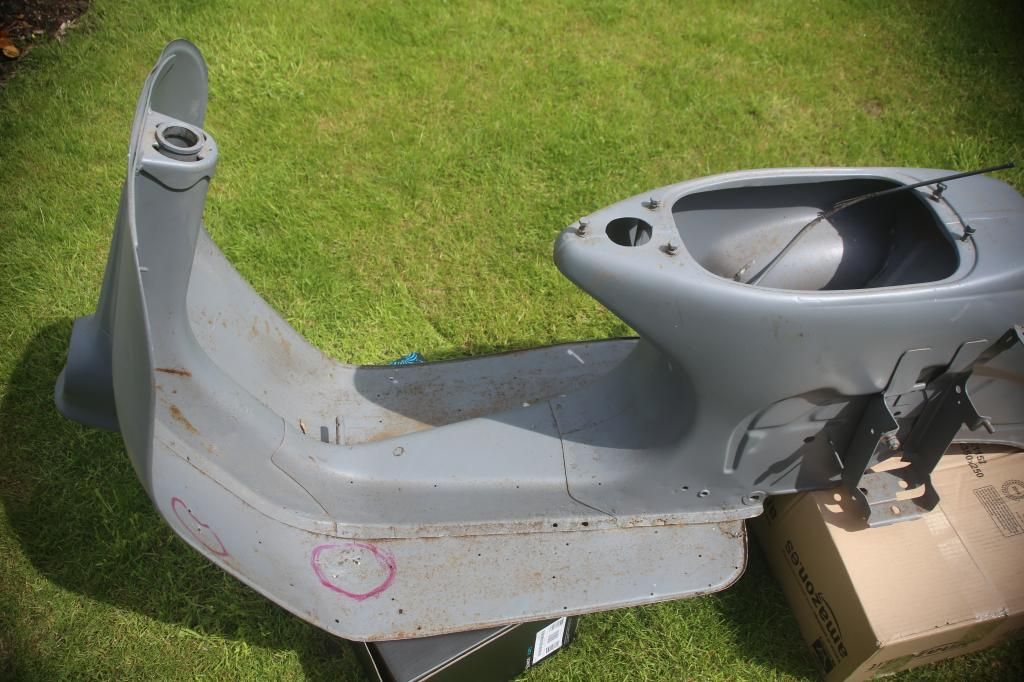
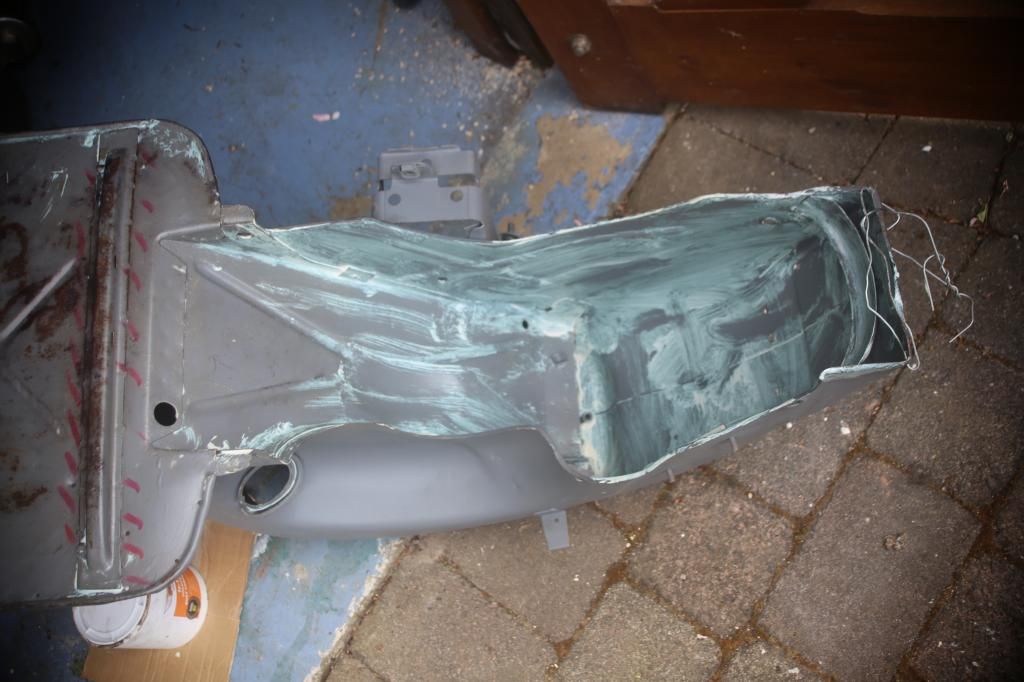
Then earlier this year and the end of the recession for me, I took the plunge to start the re-build. The first thing was to inspect the frame to make sure that there was no serious rot. In fact, although there were some areas that had holed, namley around the fixing for the legshield toolbox, the rest was only surface rust.
Image

Image

Image
User avatar
paulnobodyimportant
registered user
Posts: 299
Joined: Sun Jan 03, 2010 12:33 pm
Main scooter: varies
Location: Skipton
Contact:

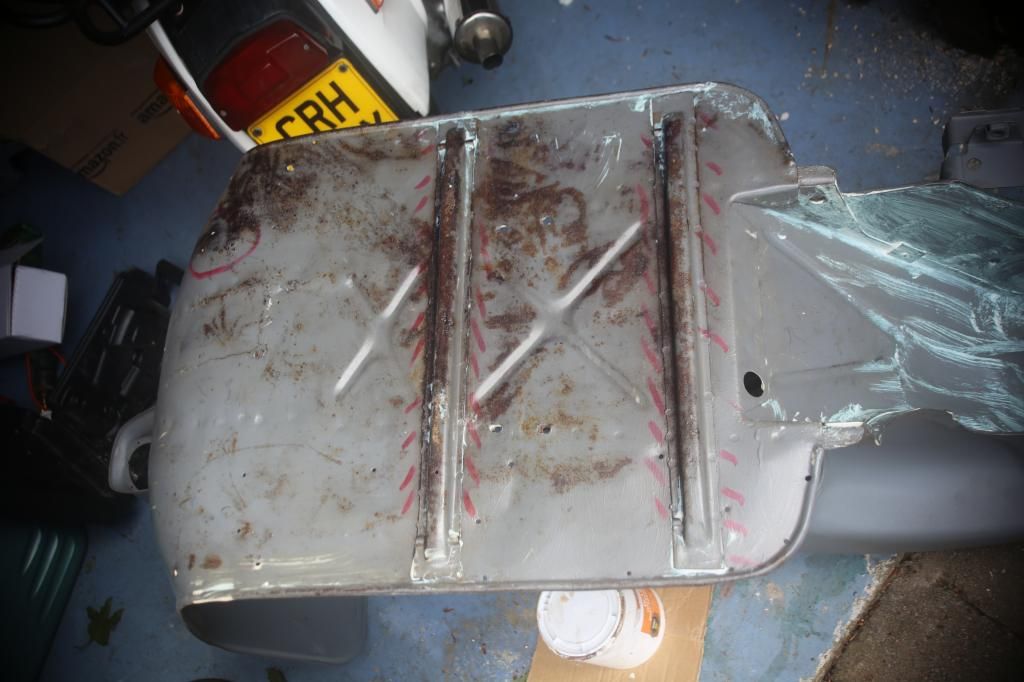
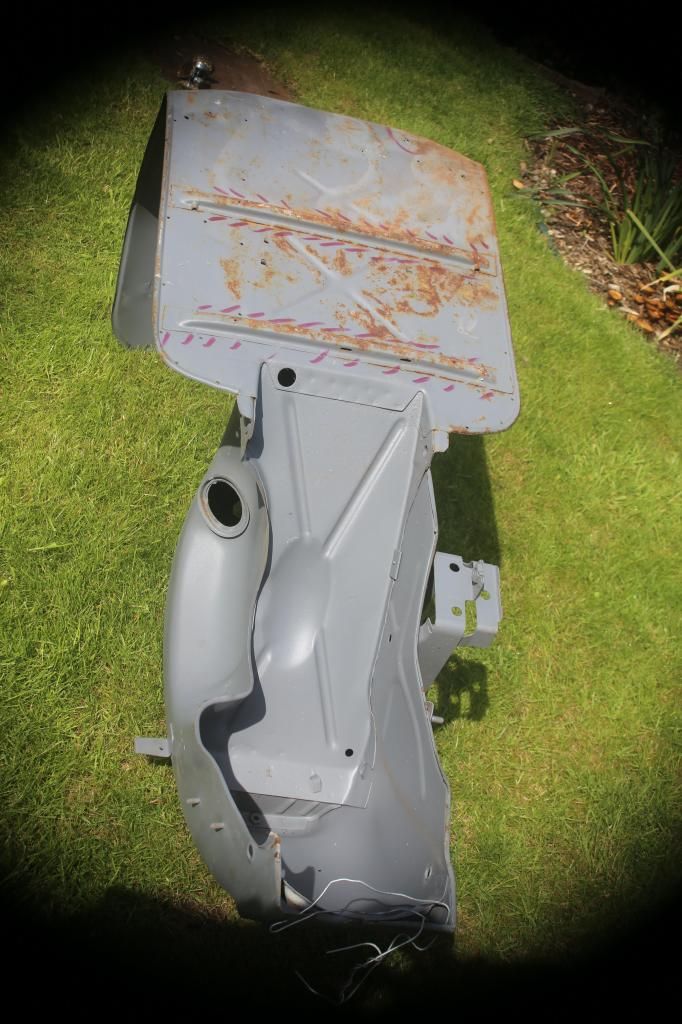
Next job was to wire brush the surface rust and treat with "Rustbuster FE-123 which came from a "classic cars recommendation. http://www.rust.co.uk/filestore/Practic ... r_Test.pdf

Image

The red felt tip marks are where I need some weld applying. I had seen forum tips where it was recommended that the stiffeners, on the bottom of the frame, should be reinforced with additional tack welds. So the frame went to the welders and then to the spray shop. Well, that was back in September 2014 and still waiting!!! However, so far the wait is not a problem as I've been sorting the engine out and juggling with Lambretta engine swaps and upgrades. But after this Christmas break I need the spray shop so I can get the Rally on the road for Spring.

Image

That's all for now, next post will be fork and engine re-build.

Happy New Year

Paul
User avatar
ArmandTanzarian
registered user
Posts: 1103
Joined: Wed Jan 07, 2009 6:26 pm
Location: Kent
Contact:

That's in pretty good condition for a Rally. They're normally as rotten as pears. 70'stastic vespa steel is usually wafer thin and water soluble.
Meus Lambretta est non infractus. Is est quietus.
Manos
registered user
Posts: 81
Joined: Sat Jan 23, 2010 3:39 pm
Location: Greece Hellas
Contact:

I'm also restoring a rally femsatronic. Your frame is match better than mine.

What colore are you planing to spray it?
User avatar
Muttley McLadd
registered user
Posts: 1496
Joined: Wed Jan 07, 2009 6:32 pm
Contact:

Are you putting another couple of frame strengtheners on?
CakeAndArseParty
User avatar
paulnobodyimportant
registered user
Posts: 299
Joined: Sun Jan 03, 2010 12:33 pm
Main scooter: varies
Location: Skipton
Contact:

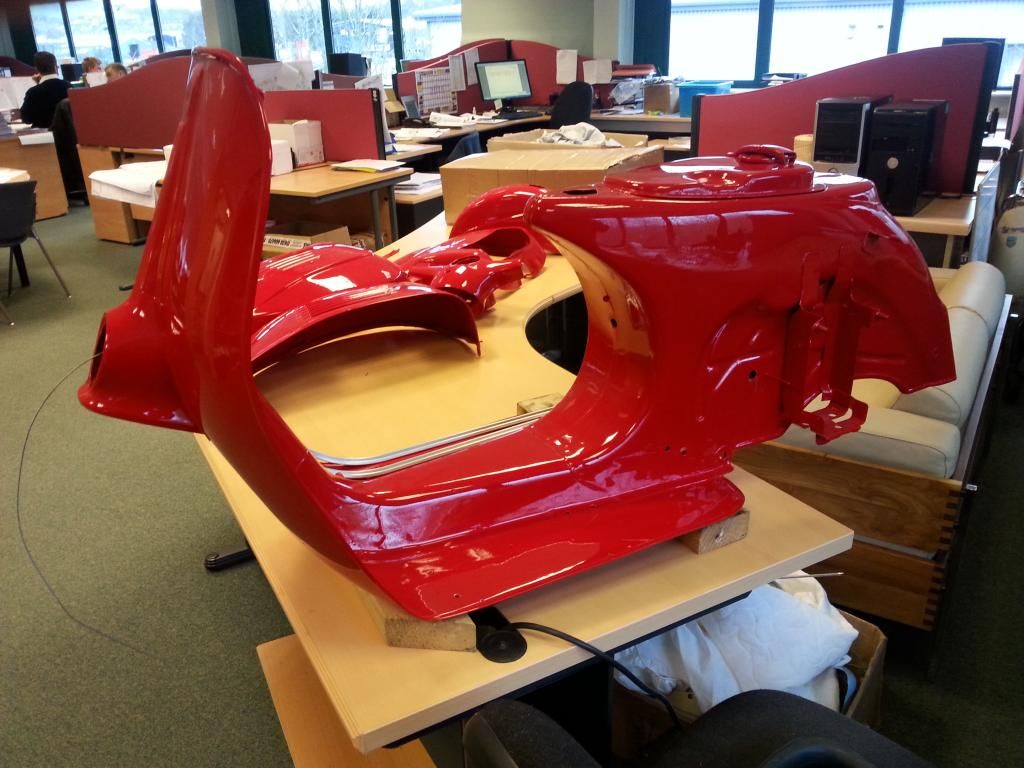
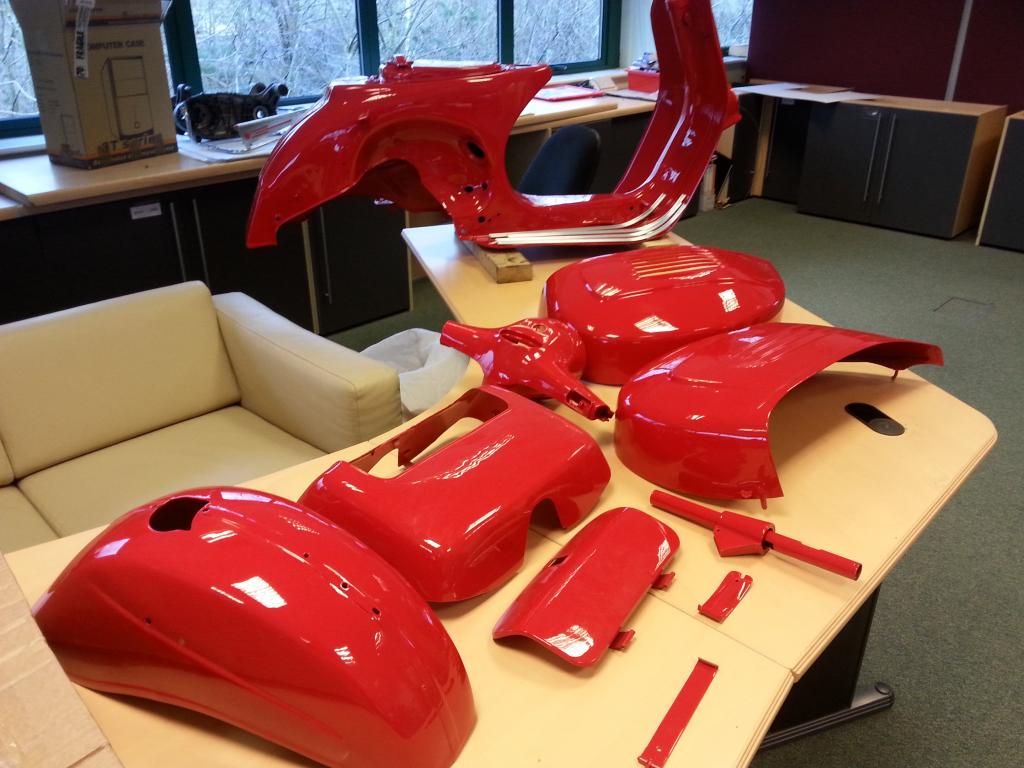
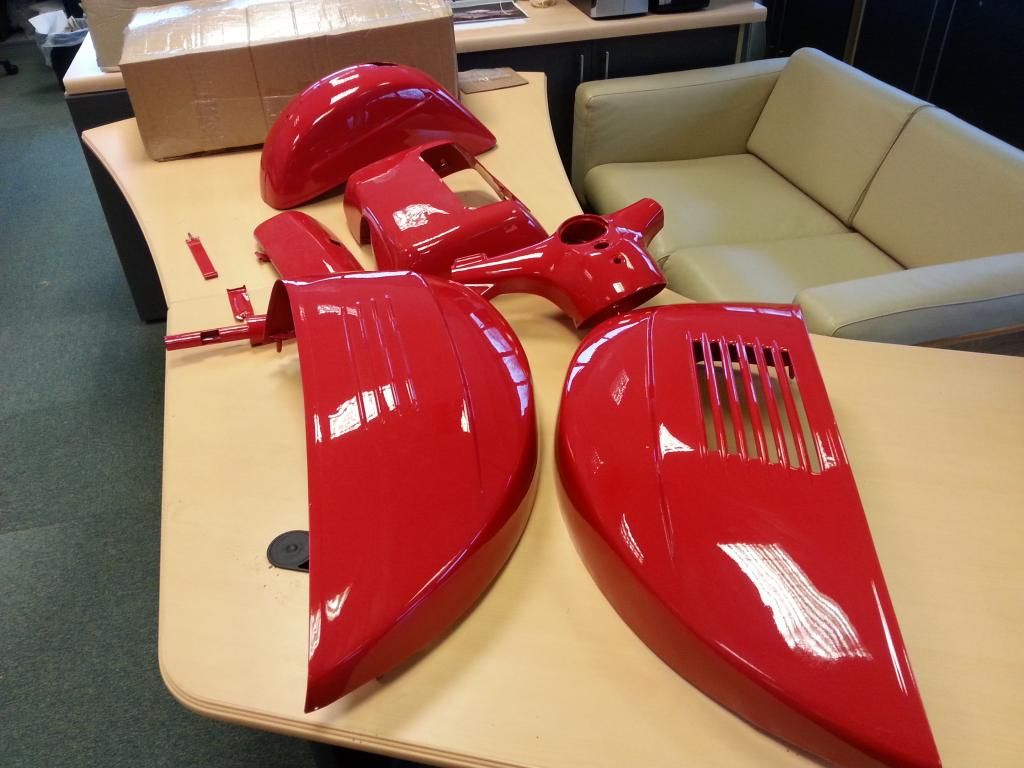
Finally got my Rally bits back from the spray shop, a long wait, but worth it. He's sprayed everywhere, so will have to strip back some of the paint to fit things together, but that should be easy enough.

I did think about an original red colour, but it looked a bit mucky, so went for a Ford bright red, I've got the can at home with all relevant Ford paint codes on. Next task is to thread the loom and cables through. From reading the forums, it sounds a fiddly job. However, yesterday, managed to thread a spare inner cable through from front to mid cavity, so think that i will pull a string through and form a continuous loop to pull all the other stuff through.

Just seen your post Mutley re strengthening, should I have done some more, if so, where?

Fiddly bit look like grabbing the foot brake electrics as they pass by the small hole in the bridge tunnel, any tips?

Engine and front forks already built, so in theory, shouldn't take too long to complete, once I've found what the big bag or original corroded fixings are and where they go.

Image


Image


Image
cgt75b
registered user
Posts: 603
Joined: Thu Sep 22, 2011 8:05 pm
Main scooter: lambretta
Contact:

I am keen to see how u get on with the loom ! It's a nightmare job but best of luck with it ? Are you the guy who bought all the Vespa spares off M&B Braithwaite ?

Paint looks good

All the best.
User avatar
barnsleybilly
registered user
Posts: 120
Joined: Mon Jun 16, 2014 3:55 pm
Main scooter: Li200
Location: Wakefield
Contact:

What do your colleagues think of you rebuilding your scooter in an open plan office lol
a.lo.v2
registered user
Posts: 113
Joined: Sun Sep 30, 2012 2:16 pm
Main scooter: sx 200
Contact:

ref. the wiring, i did a sprint a few years ago and i used some stiff wire i had and threaded two lengths into the tunnel. one from the horn and one from the brake switch.these go back to the tank area and tape them tightly to the wires. the horn wire took the headset bundle and the brake hole took the brake wires. you have to pull them together for a bit and then the brake separate as you see it near. still a faff but this is never an easy job, just accept the fact that you will have to set aside a morning or afternoon to do it. and take plenty of breathers/tea/fag breaks. :)
User avatar
ArmandTanzarian
registered user
Posts: 1103
Joined: Wed Jan 07, 2009 6:26 pm
Location: Kent
Contact:

Looking good.

Once you get the first wire or cable through then it's pretty easy to pull the rest through. It also helps to have skinny, girl arms or at least access to a set.
Meus Lambretta est non infractus. Is est quietus.
Post Reply Previous topicNext topic
  • Information
  • Who is online

    Users browsing this forum: No registered users and 10 guests