Page 5 of 7
Re: Sneak Peak
Posted: Tue Jan 05, 2016 7:17 pm
by garry inglis
all that lovely work covered up with a big piece of rubber lol/////
Re: Sneak Peak
Posted: Tue Jan 05, 2016 7:45 pm
by holty
T5-190 wrote:Hi holty, in the very poor instuctions that came with the Falc clutch ( they were in Italian ) it tells you to tighten the clutch nut to 50 NM. And to use a little high strength loctite on the threads. But however I used a DRT xmas tree which has a bigger thread and nut. Believe it or not it is M11. Also there is a tab washer to knock over in two places. The trick to holding the clutch basket on this type of clutch is to place a 2p piece between the two cogs whilst tightening up the nut. But on a standard type clutch you can use a clutch holding tool which looks like a cluch steel plate with an arm welded on like a Lambretta one. Here's a picture of a home made one.
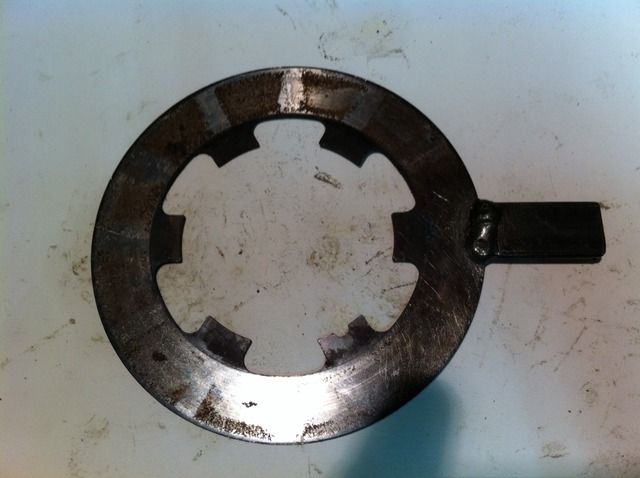
that sounds like a good upgrade, obviously the taper keeps the two together, but the larger thread on the nut and gear will make a diffrence to the amount of force squeezing them together, looking forward to seeing more of this build,
holty

Re: Sneak Peak
Posted: Tue Jan 05, 2016 7:56 pm
by Adam_Winstone
Very nice work

Re: Sneak Peak
Posted: Wed Jan 06, 2016 7:25 pm
by T5-190
holty wrote:T5-190 wrote:Hi holty, in the very poor instuctions that came with the Falc clutch ( they were in Italian ) it tells you to tighten the clutch nut to 50 NM. And to use a little high strength loctite on the threads. But however I used a DRT xmas tree which has a bigger thread and nut. Believe it or not it is M11. Also there is a tab washer to knock over in two places. The trick to holding the clutch basket on this type of clutch is to place a 2p piece between the two cogs whilst tightening up the nut. But on a standard type clutch you can use a clutch holding tool which looks like a cluch steel plate with an arm welded on like a Lambretta one. Here's a picture of a home made one.
that sounds like a good upgrade, obviously the taper keeps the two together, but the larger thread on the nut and gear will make a diffrence to the amount of force squeezing them together, looking forward to seeing more of this build,
holty
Friday will bring a bit more work, next is the top end. Squish and head clearence and put on some timing marks. Then try and fit the exhuast around the back wheel.
Re: Sneak Peak
Posted: Sun Jan 31, 2016 4:07 pm
by T5-190
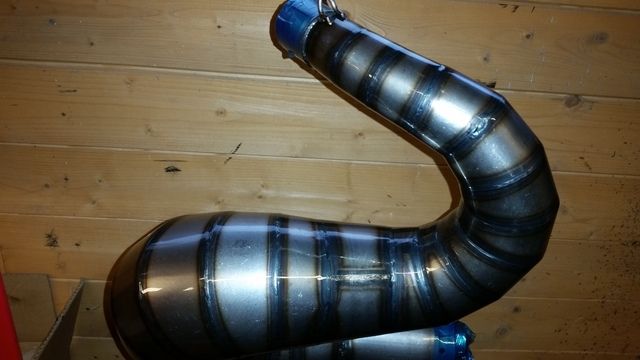
A little more done, the top end is on and the piston to head clearance checked. It worked out at 1.40mm using the solder method. The exhaust was fitted next, the proper exhaust for this engine is about the uglyiest thing I have seen for an exhaust anyway. Others are trickling through now MDM in Italy make a curly and a normal looking one that make very good figures. But I'm going to give a Hammerzombie ago, I know its not the right one for the engine but I like the look of it and I have one from another project. I made a new manifold to mate with cylinder and increase the bore, also made a new mounting bracket. This way I can always use it on something else if it doesn't work out. And last but not least I made a carbon fibre end can. The tube I made in the shed from carbon cloth and clear epoxy resin in a home made mould.
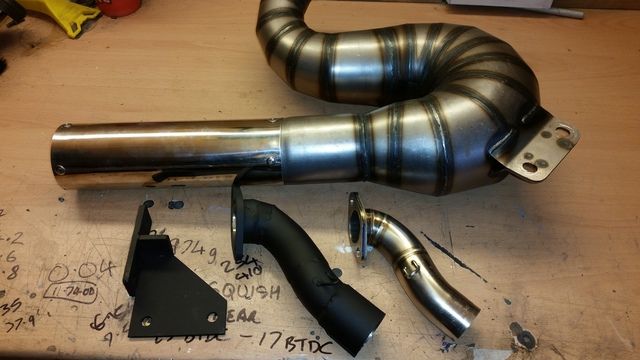
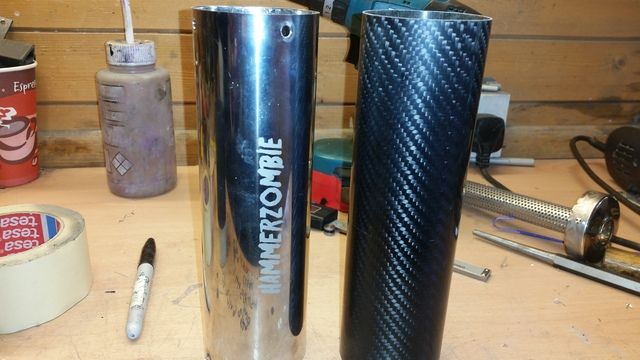
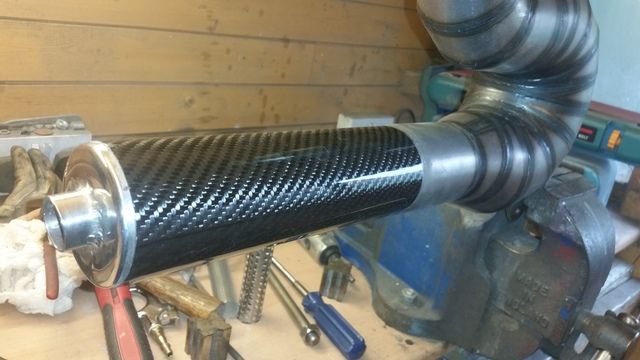
The bare exhaust will be hi temp clear coated and the end can riveted back on. The new can was 200g lighter than the st/st one.
Re: Sneak Peak
Posted: Sun Jan 31, 2016 4:11 pm
by T5-190
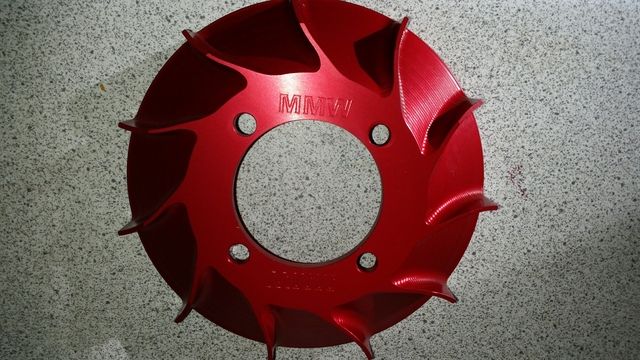
Oh and I got the ally flywheel anodized red at Dorset Anodizing for £15, bargain.
Re: Sneak Peak
Posted: Wed Feb 10, 2016 7:11 pm
by T5-190
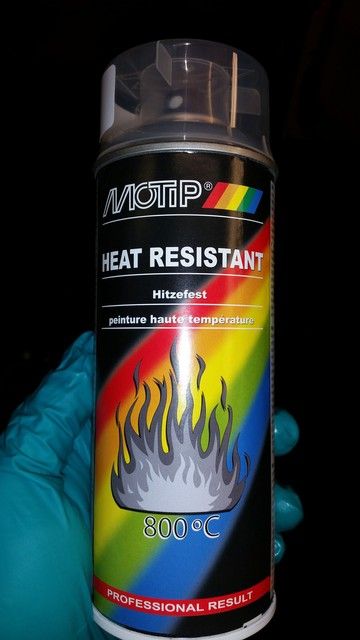
A little more, got a can of very hi temp clear coat from Ebay. This stuff is under a tenner and is good for 800'c and gloss too, normally hi temp is matt or satin. had to bake it @ 160'c for an hour.
Re: Sneak Peak
Posted: Wed Feb 10, 2016 10:09 pm
by GeorgeS
Worth noting that that spray ho6es gummy when hot so it may be worth trying to cure it a heat gun or even a hairdryer otherwise you'll pick up a lot of stuff on it if out riding.
Re: Sneak Peak
Posted: Thu Feb 11, 2016 8:42 pm
by T5-190
Hi George, I baked the exhaust @ 160'c for an hour in my powder coating oven as per the instructions on the can and their website. But thanks for the heads up. My oven will go up to about 300'c so may take it up in 50'c steps.
Re: Sneak Peak
Posted: Sun Feb 14, 2016 5:19 pm
by T5-190


