The V1
Posted: Sun Aug 07, 2011 3:39 pm
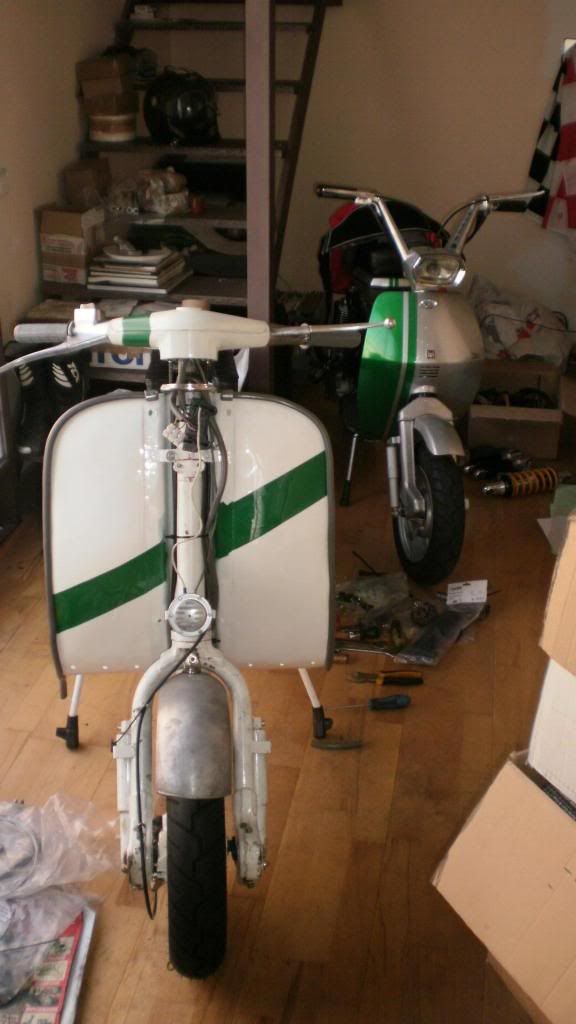
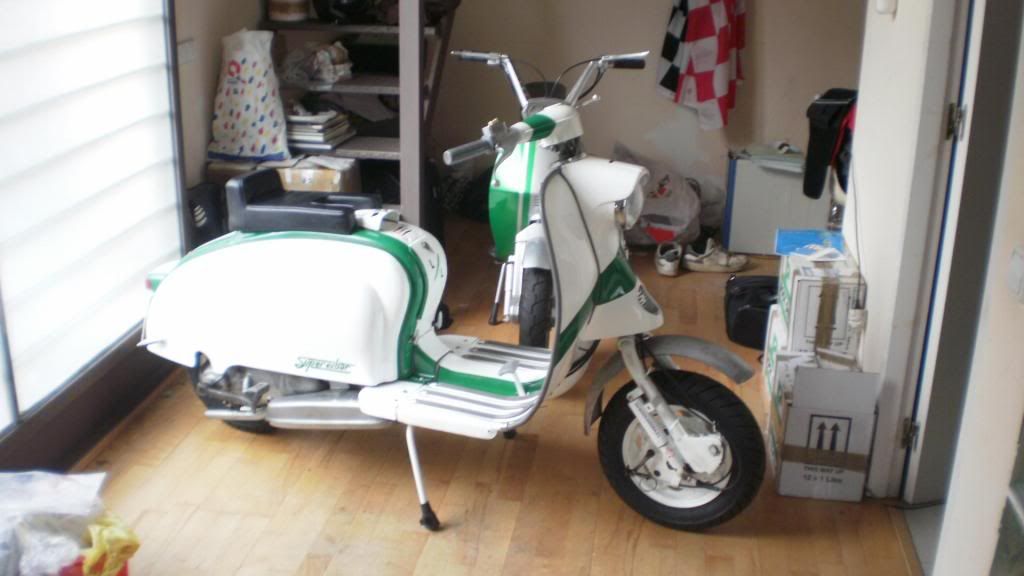
This was our first 6 hour enduro racer. soullad and I sort of build this scooter longdistance with loads of ideas put down to paper, as to how we could best represent the Lambretta spirit amongs 40 raging unforgiving vespas. We came up with the initial crazy idea of fitting a Lambro handlebar into a Series 2 frame... Actually that was Ian's idea.. and we came up with a racing colour scheme. The beauty of the project again was that it was all done and thought about with time and miles of distance in between to Lambretta enthusiasts. As a joke we called it the V1 (yes one of those crazy german flying bombs.. in a vespa dominated country the name was very suiting, as in german v standed for vergeltungswaffe "retaliation weapon") so the name stayed and even moved on to the following projects.. V1.5, V2 etc...
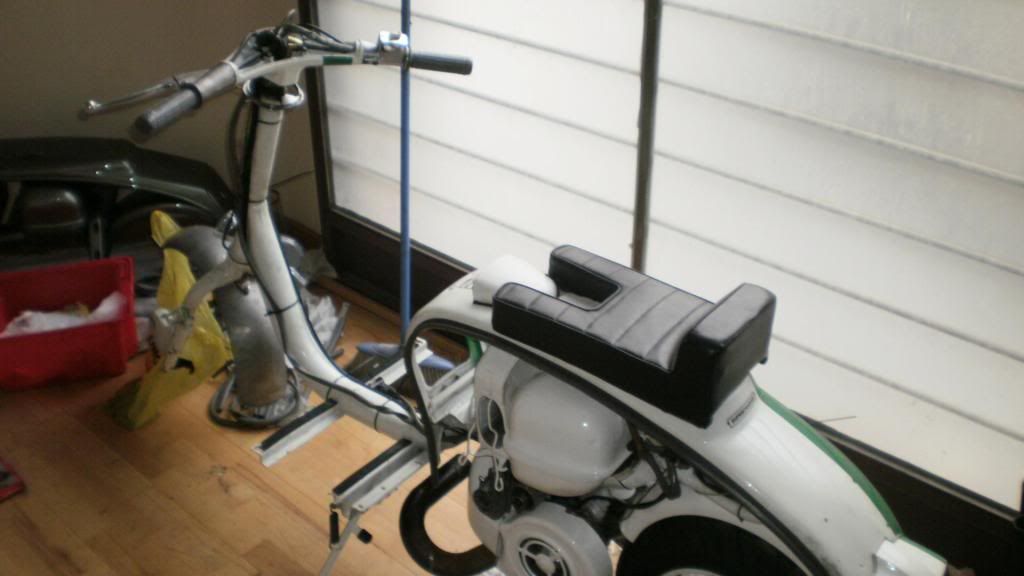
After two enduro races this first project moved on to ther more powerful machines and the frame, the forks and the odd Lambro headset was left. Two years after I still had the bug in my ear for bringing this scooter to the street. It was not until this summer, where my economic situation has really touched the rocks and was left with just my shop to run, when I decided to bring her back to life with what I had in the shop. The idea was to not touch the frame other than trimming the interior and doing some security welding on the mounts etc:

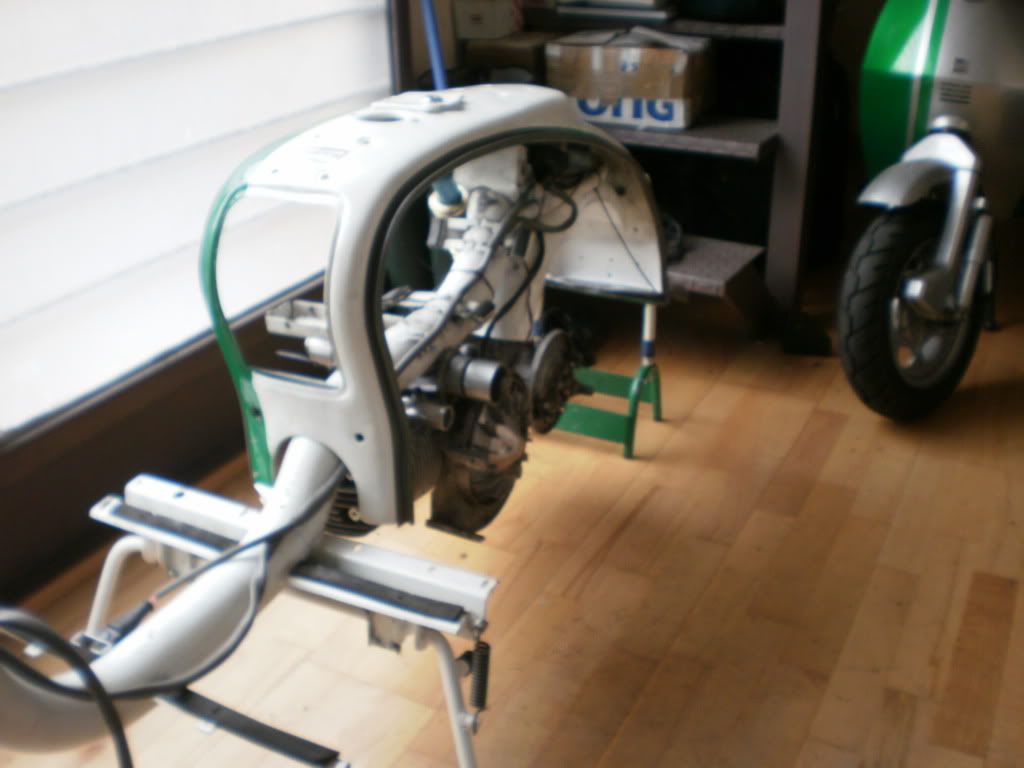
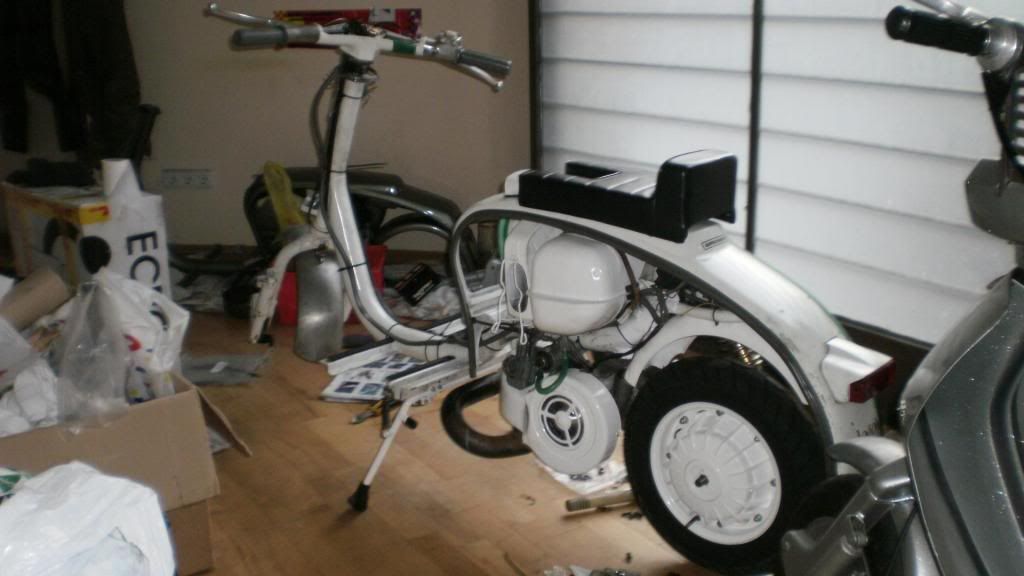
My friend tony o'brien was here on a visit with his missus and he showed me to fit an engine to a frame in a matter of 10 seconds.. He did it on his own and he even took the engine out again to show me: "you see? its easy"... The cheeky git!!
The powdercoating was done rather cheap by a local friend who tried to match the original white as best as he could. The electricals I tied up myself and it was the thing that I placed most attention to in the rebuild (other than the engine that I had done throughout the year on my spare time)

Yes I know its the most posh workshop you've ever seen...
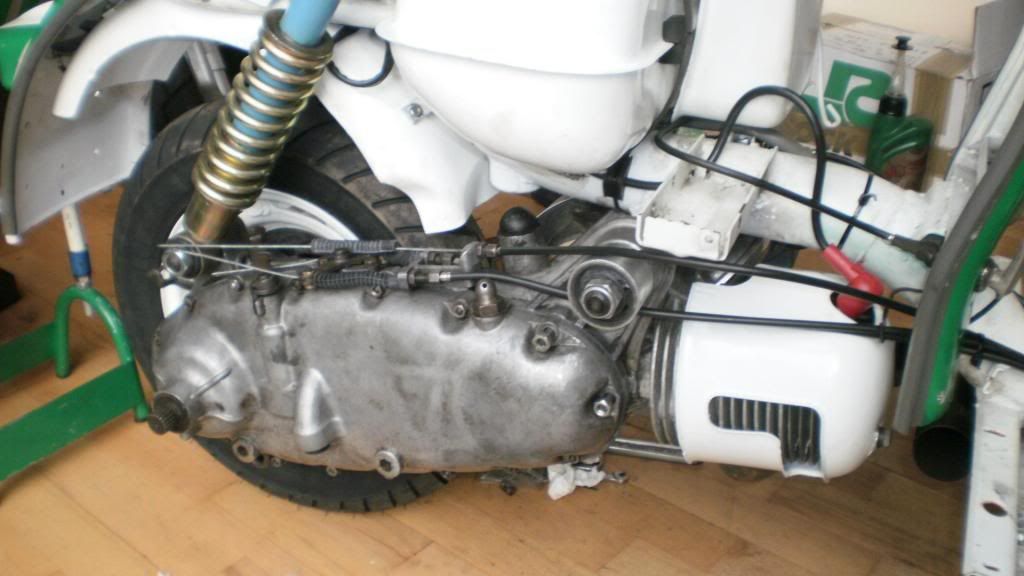
Thats a new old stock rear shocker that I found localy:
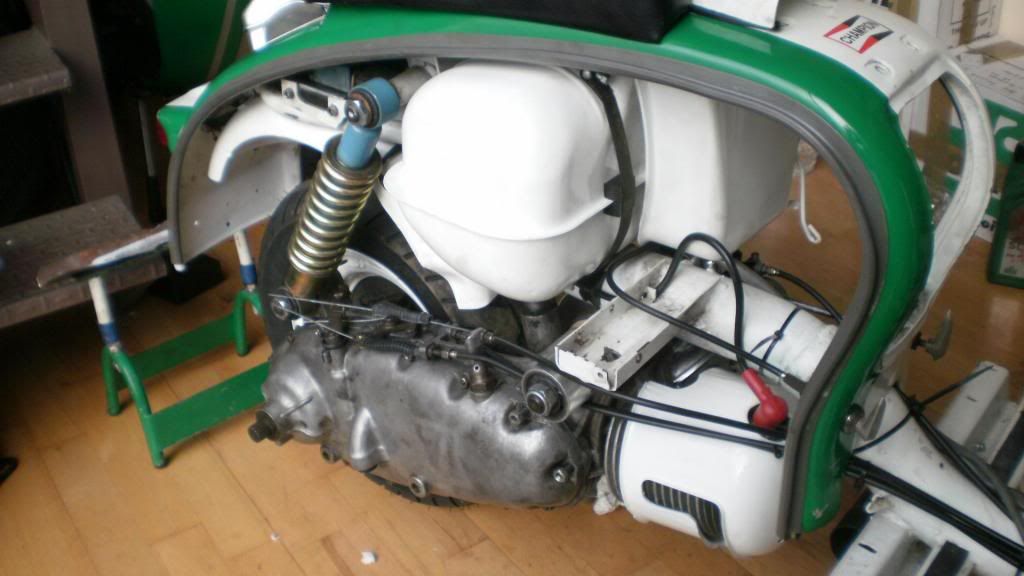
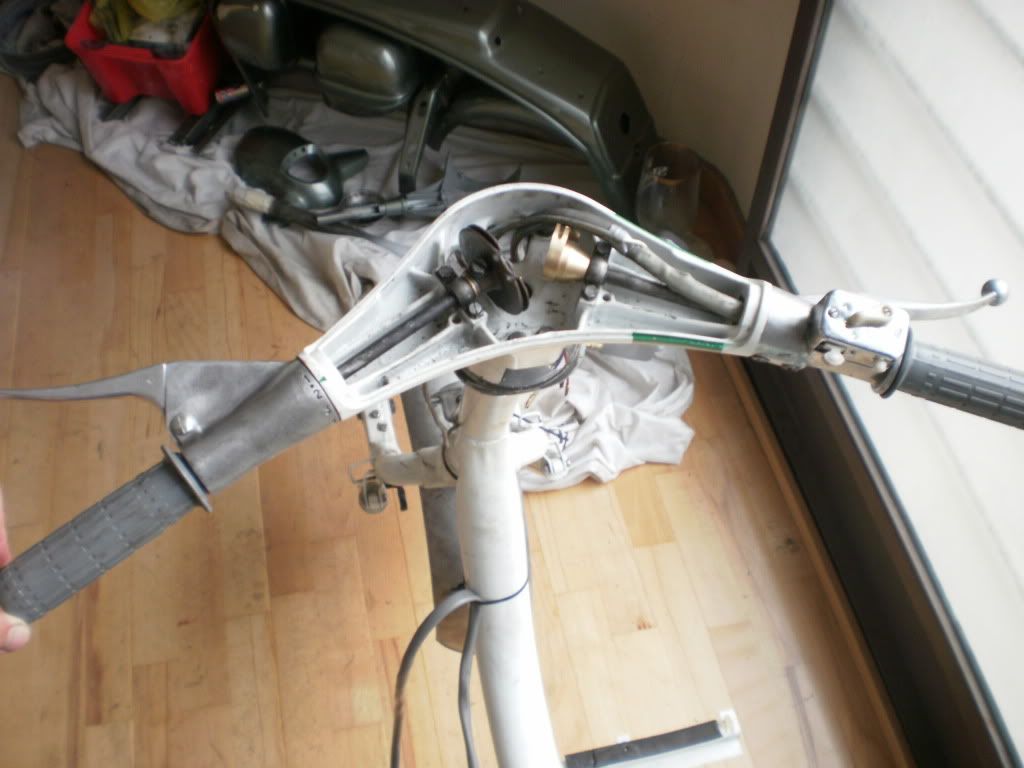
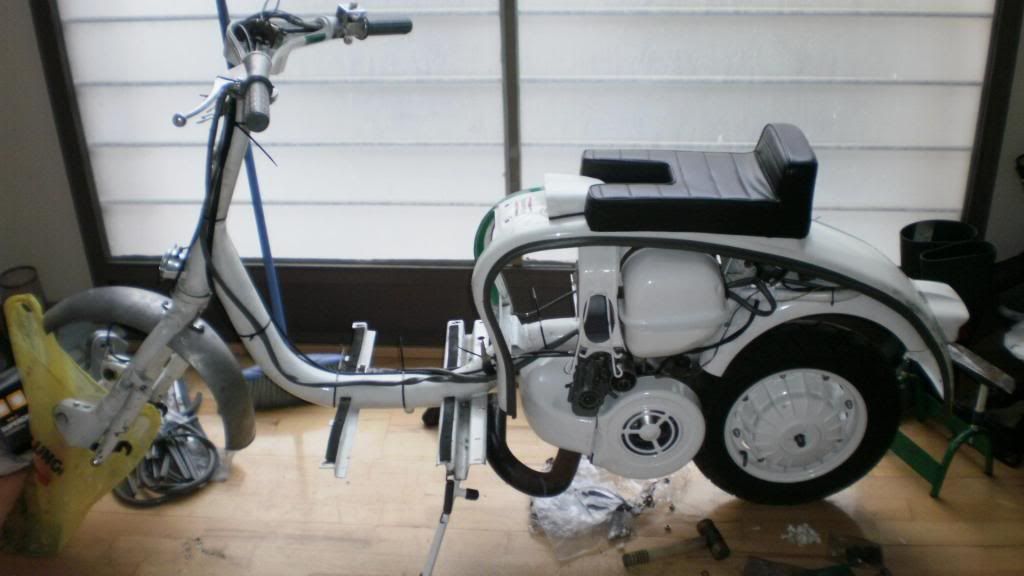
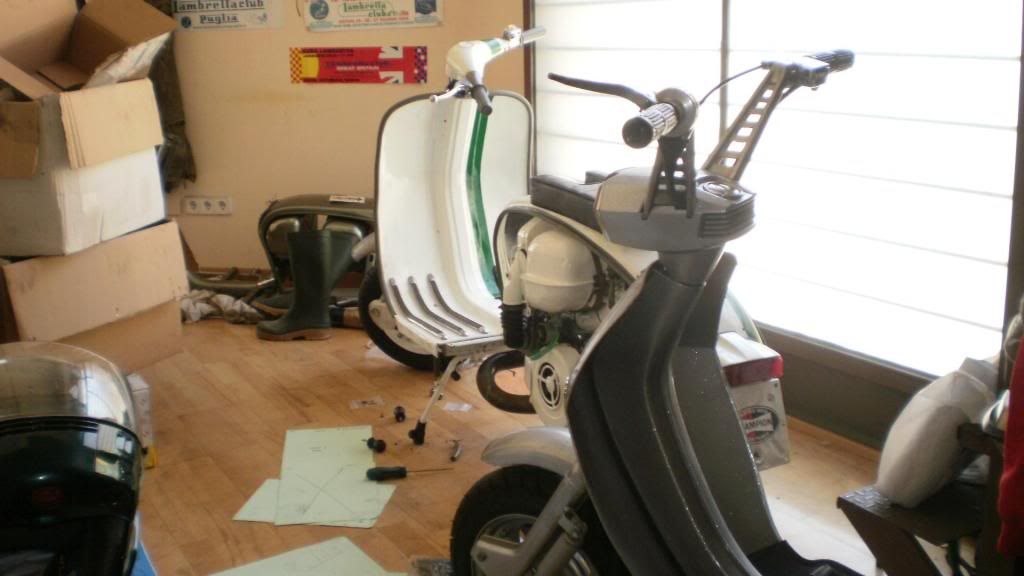
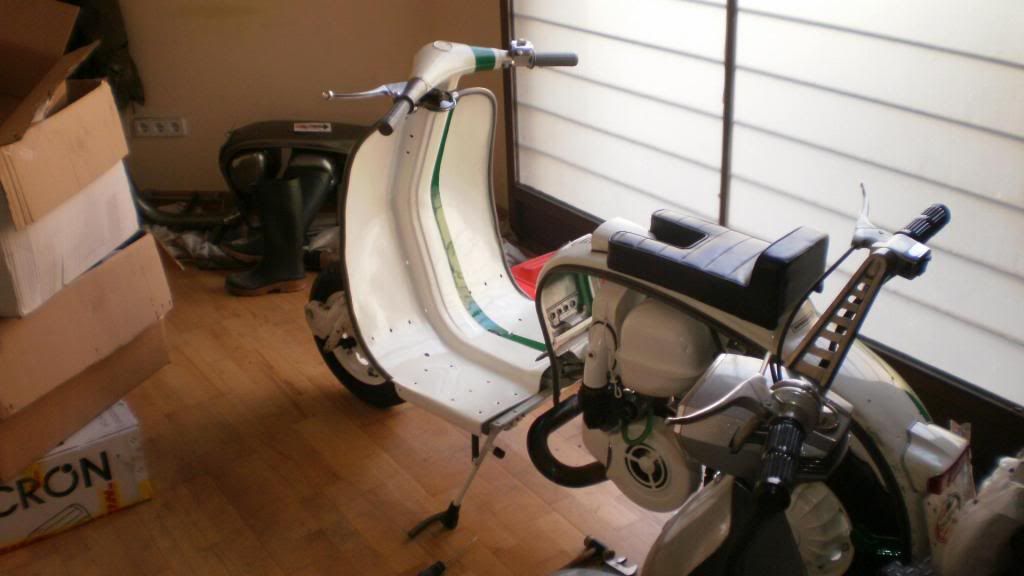
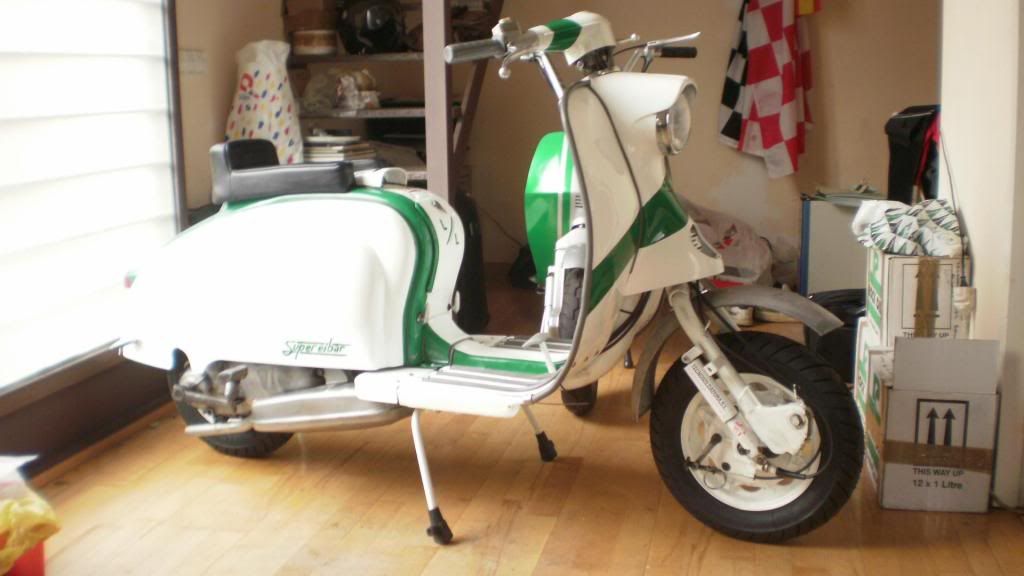
The high position of the lambro handlebars didnt leave much choice on the cable routing. Trust me it was a bit mad to find a correct fit... The engine is an original Spanish series II engine, with correct gearbox. Top end is a Guy Topper Engineering SR190 mild road tune with prepaired RD400 con rod & sil crank. I centralised the head and put the engine together myself.
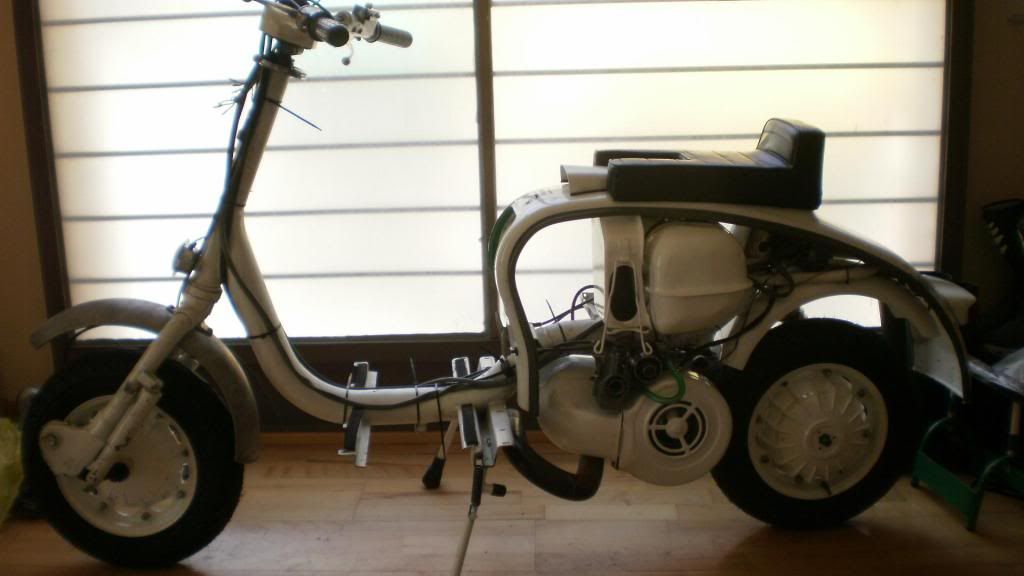
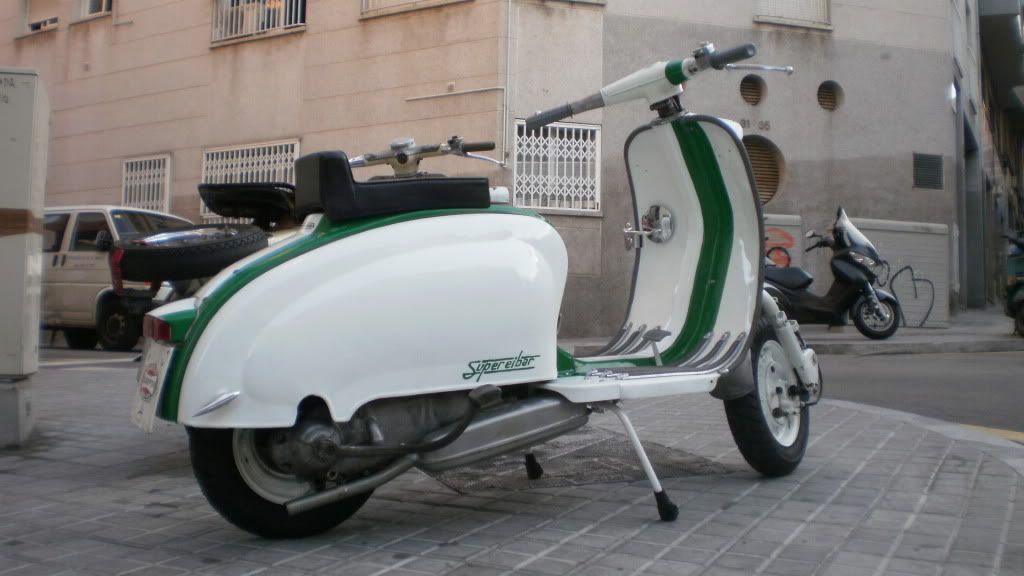
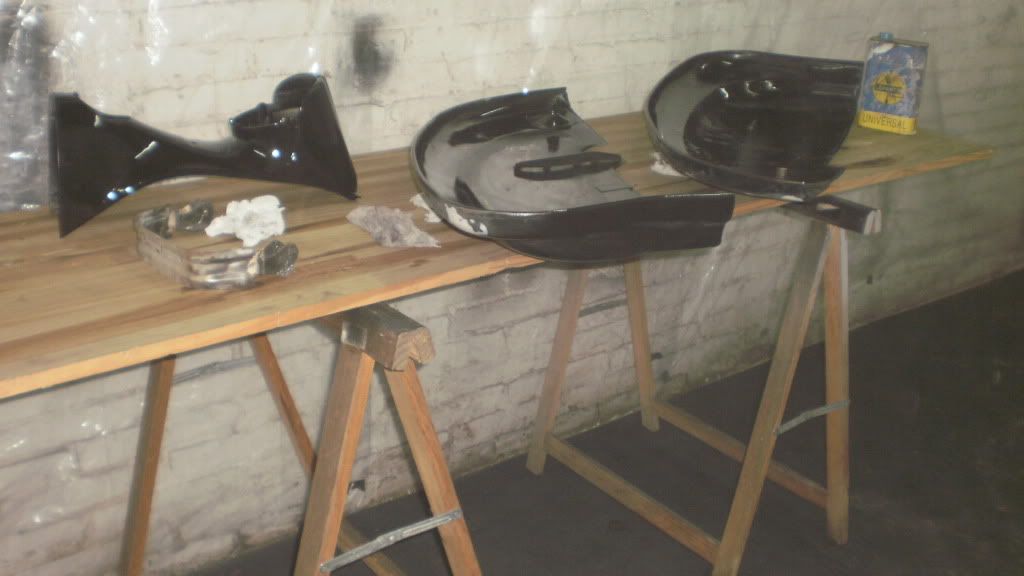
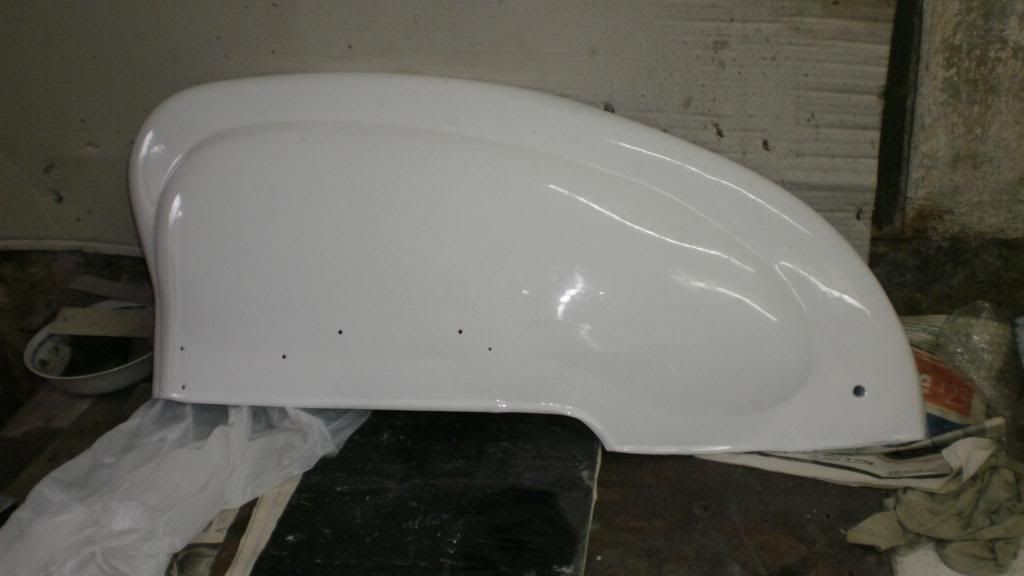
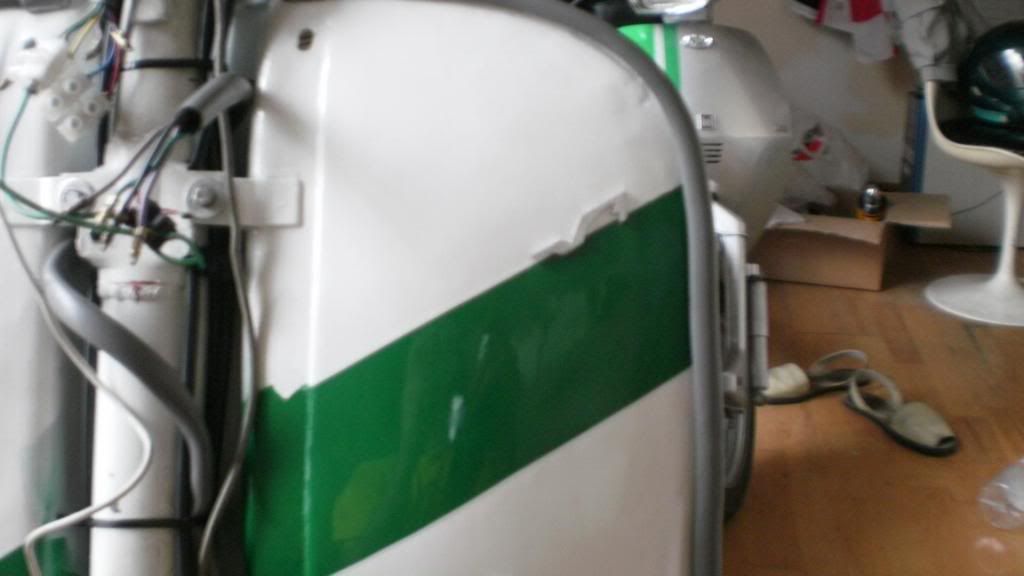
Meanwhile I had been sanding and prepping all the parts for paint. It took me and a friend about 2 months to do the paint of the main body work. This is the first time that I can say I am responsible for practically 90% of the work done on the scooter
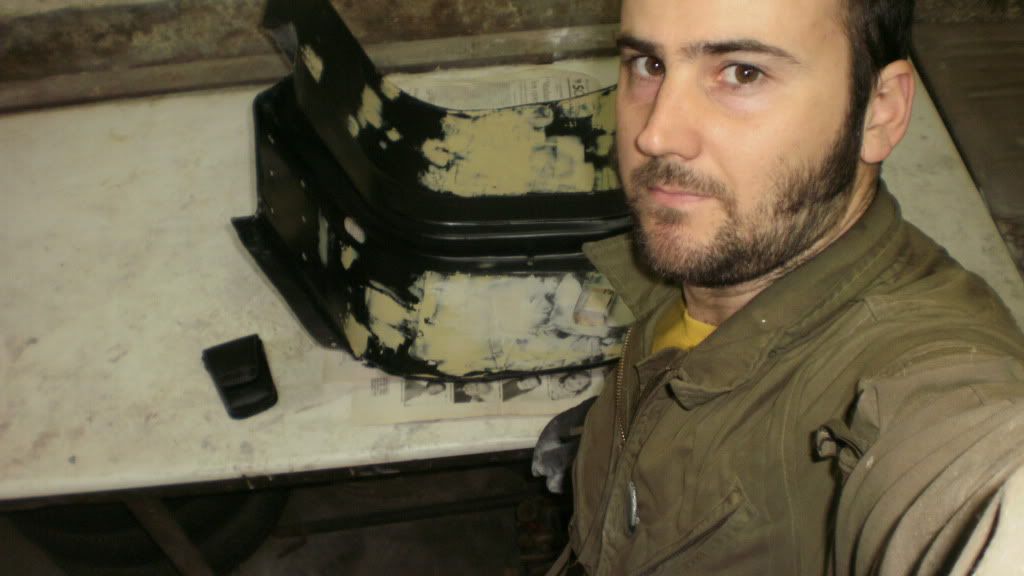
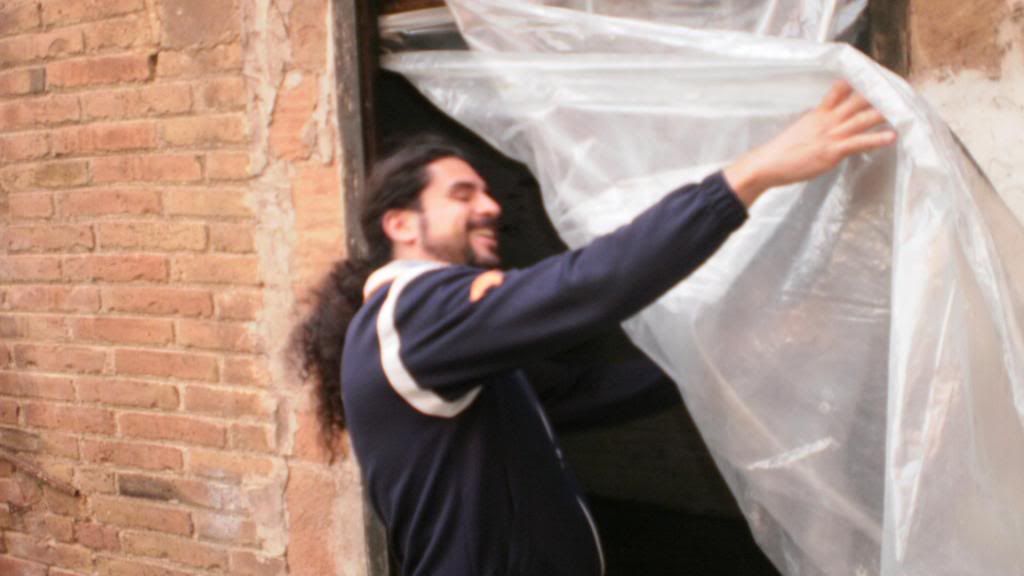
This is my mate Patxi unveiling the shed where we had painted the clearcoat the night before. He was laughing cause I mentioned it was like Christmas morning awaiting for the presents..
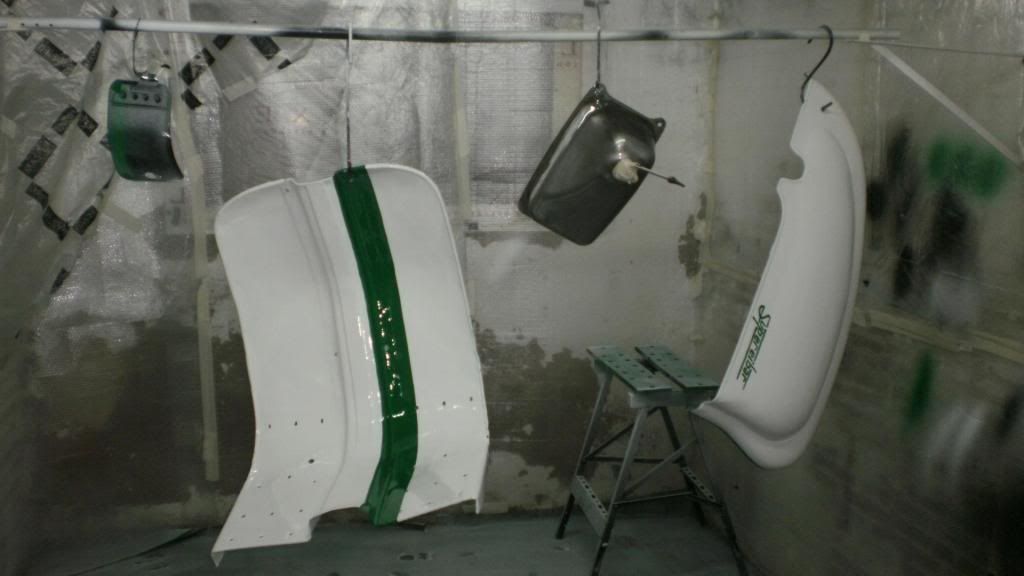
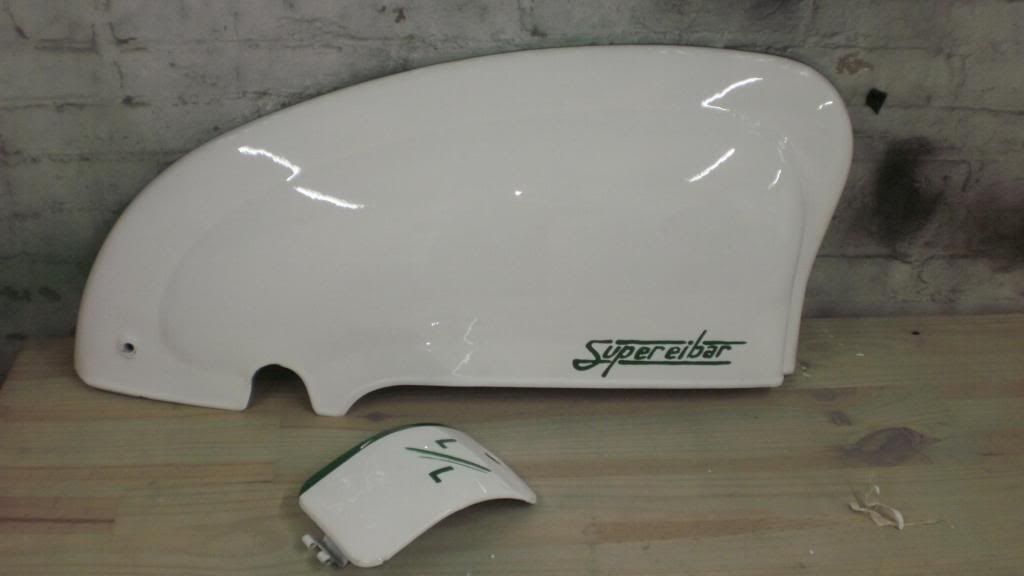
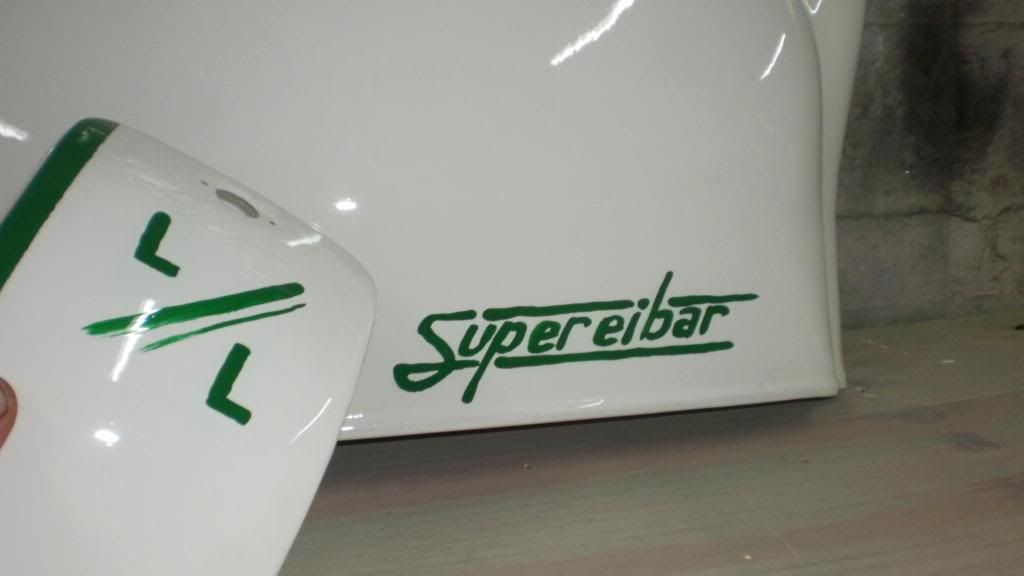
The work came pretty ok for being a novice I think... Quite a bit of a gimmik here, I did it with a paint brush, old school
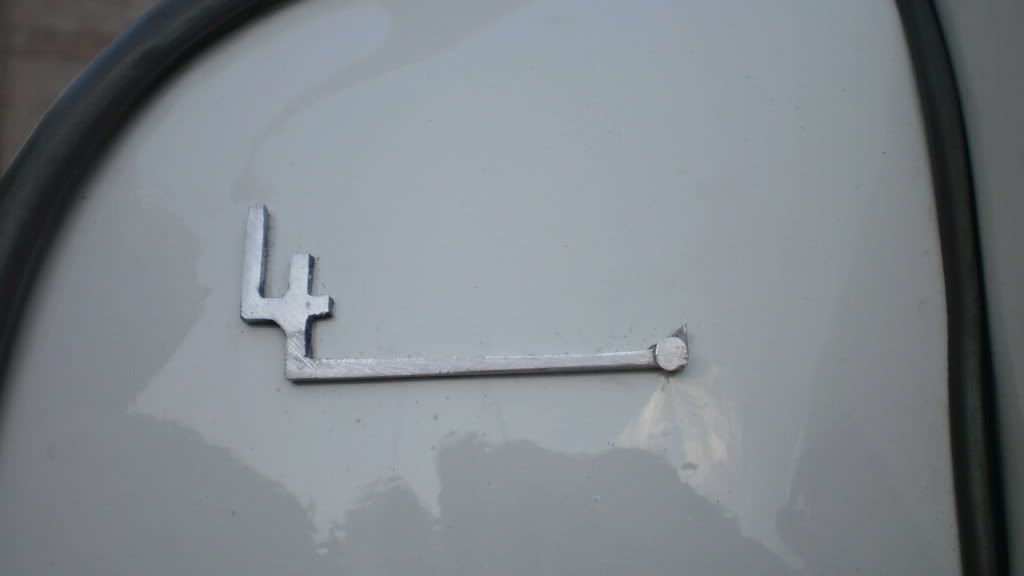
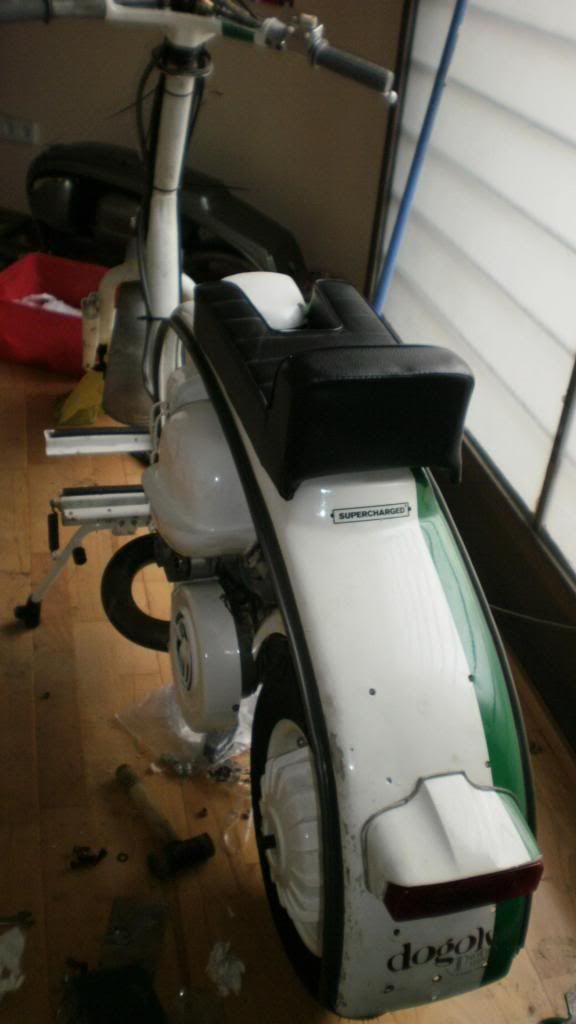
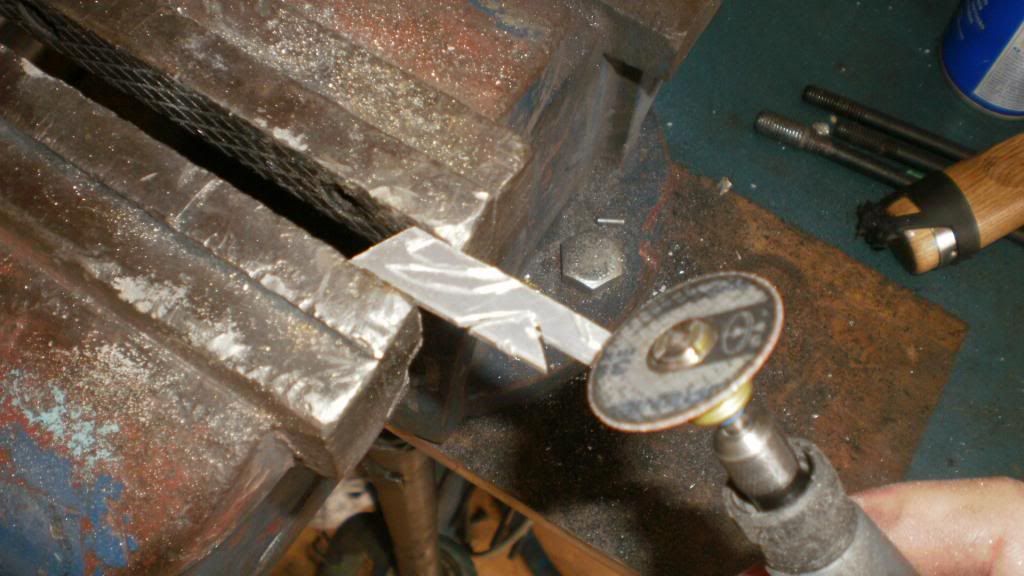
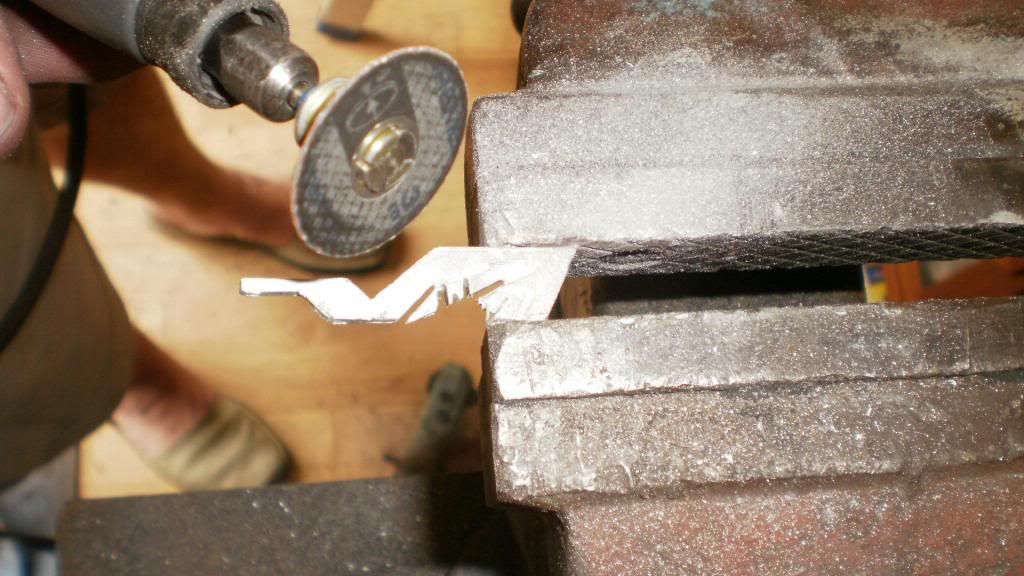
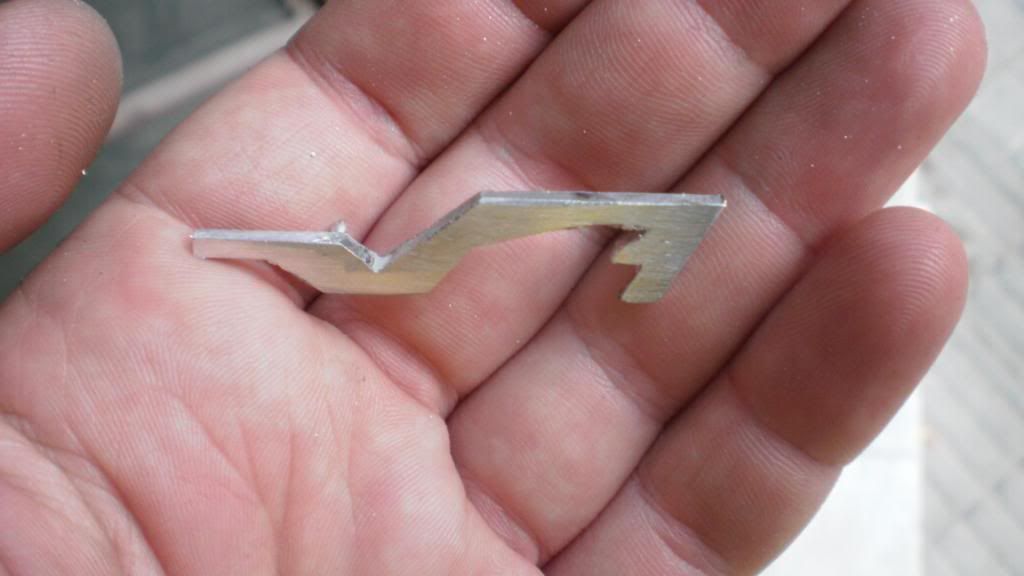
Attention to detail is something that I like.. so I made my own badges out of aluminium:
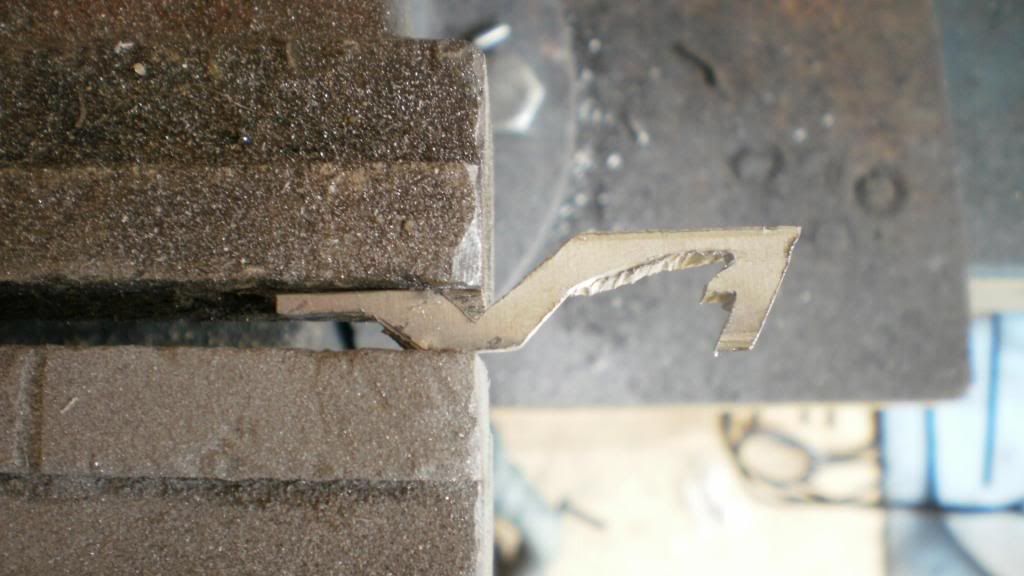
Located the aluminium pins, sanded, drilled and fitted:
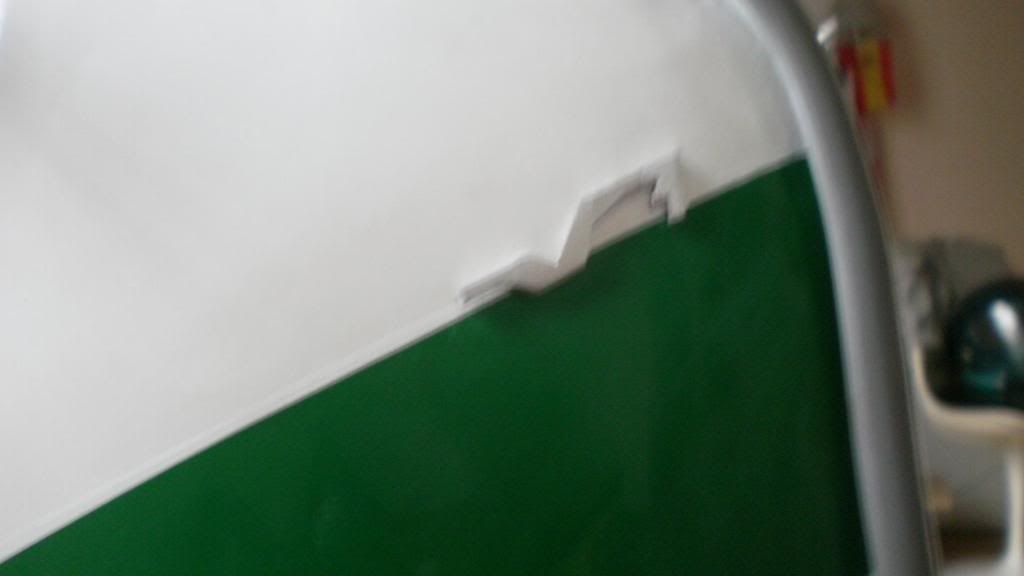
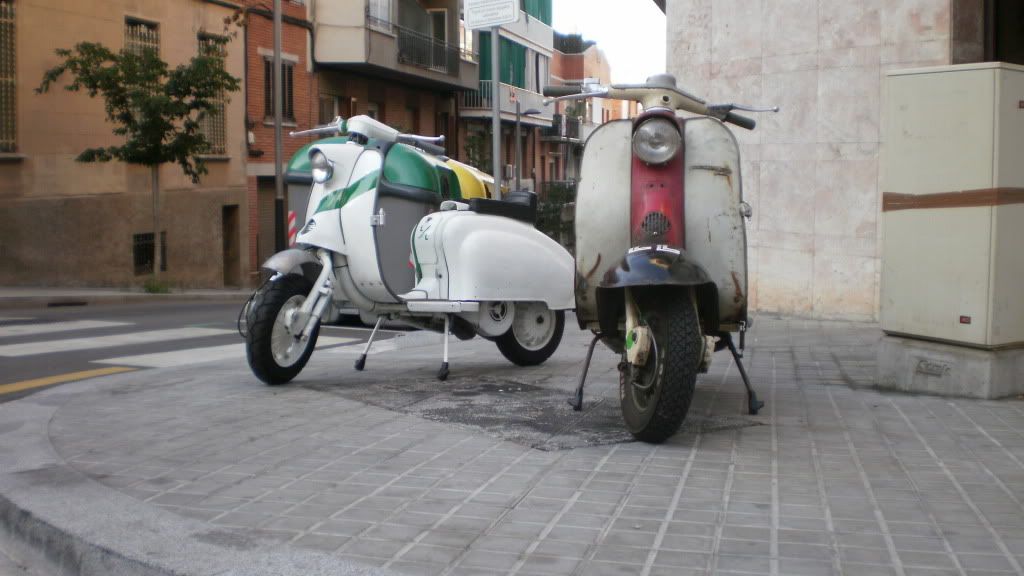
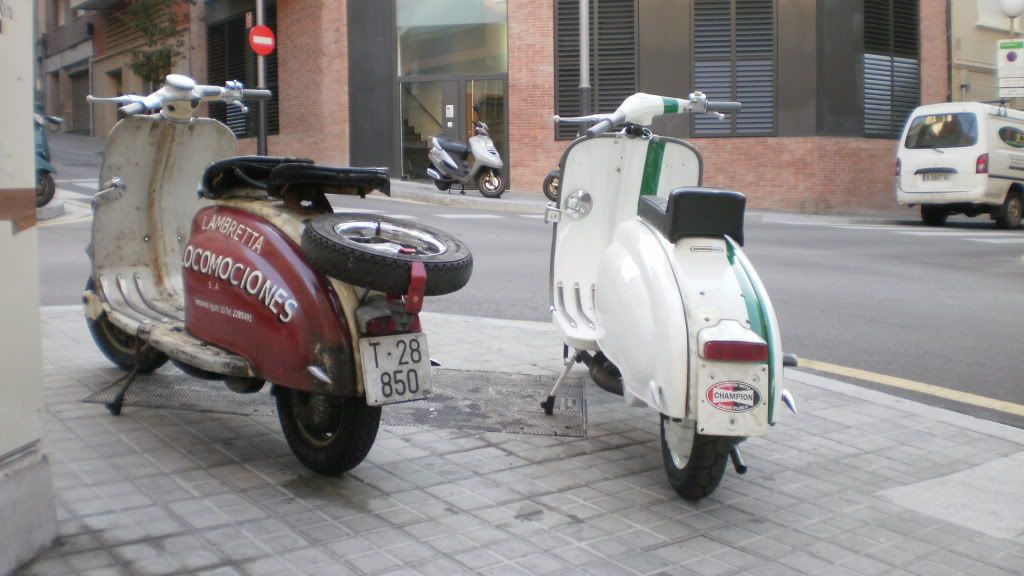
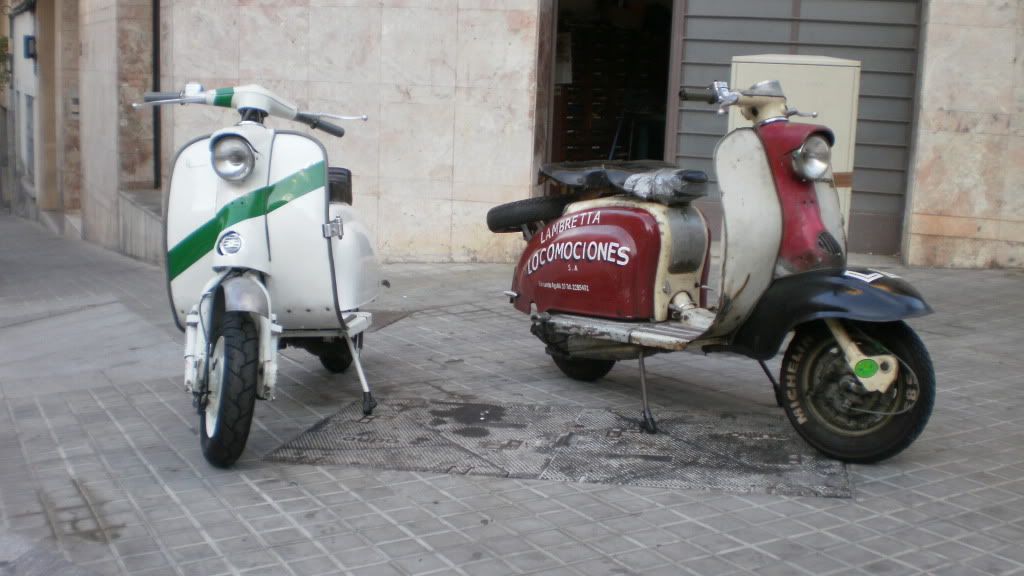
It doesnt look that bad does it?
Before:

After:
Big thanks to: Patxi, Guy, Juan Antonio, the boys down at Tecnosoldadura, Tony and all the people who has helped me with ideas for it.
After two enduro races this first project moved on to ther more powerful machines and the frame, the forks and the odd Lambro headset was left. Two years after I still had the bug in my ear for bringing this scooter to the street. It was not until this summer, where my economic situation has really touched the rocks and was left with just my shop to run, when I decided to bring her back to life with what I had in the shop. The idea was to not touch the frame other than trimming the interior and doing some security welding on the mounts etc:
My friend tony o'brien was here on a visit with his missus and he showed me to fit an engine to a frame in a matter of 10 seconds.. He did it on his own and he even took the engine out again to show me: "you see? its easy"... The cheeky git!!
The powdercoating was done rather cheap by a local friend who tried to match the original white as best as he could. The electricals I tied up myself and it was the thing that I placed most attention to in the rebuild (other than the engine that I had done throughout the year on my spare time)
Yes I know its the most posh workshop you've ever seen...
Thats a new old stock rear shocker that I found localy:
The high position of the lambro handlebars didnt leave much choice on the cable routing. Trust me it was a bit mad to find a correct fit... The engine is an original Spanish series II engine, with correct gearbox. Top end is a Guy Topper Engineering SR190 mild road tune with prepaired RD400 con rod & sil crank. I centralised the head and put the engine together myself.
Meanwhile I had been sanding and prepping all the parts for paint. It took me and a friend about 2 months to do the paint of the main body work. This is the first time that I can say I am responsible for practically 90% of the work done on the scooter
This is my mate Patxi unveiling the shed where we had painted the clearcoat the night before. He was laughing cause I mentioned it was like Christmas morning awaiting for the presents..
The work came pretty ok for being a novice I think... Quite a bit of a gimmik here, I did it with a paint brush, old school
Attention to detail is something that I like.. so I made my own badges out of aluminium:
Located the aluminium pins, sanded, drilled and fitted:
It doesnt look that bad does it?
Before:
After:
Big thanks to: Patxi, Guy, Juan Antonio, the boys down at Tecnosoldadura, Tony and all the people who has helped me with ideas for it.