Series 1 Frame Breather - Basket Case
Posted: Thu Mar 19, 2009 7:25 pm
(thought I'd resurrect this from the old site..got some new piccys....I never did get it sorted for brid  but I'm back on with it now
>>>>>>>>>>>>>>>>>>>>>>>>>>>>>>>>>>>>>>>>>>>>>>>>>>>>>>>>>>>>>>>>>>
Here's my new project (english, 6 digit reg 1959). I wanted to do a rustaration style one with a bit of stealth, but this one came along ( a bit too far gone for rustaration) My plans are a full rebuild / respray (no shiney tat, prob no badges...see how it goes when I'm doing it)
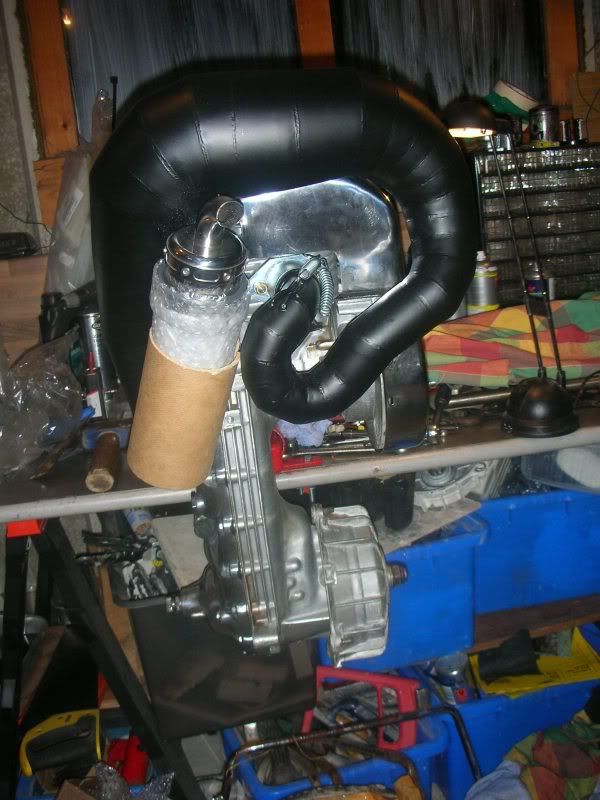
Engine wise...gonna pop a 225 monza with a jl snail exhaust....so it will have an element of stealth


I'll keep you posted on my progress
Mike
>>>>>>>>>>>>>>>>>>>>>>>>>>>>>>>>>>>>>>>>>>>>>>>>>>>>>>>>>>>>>>>>>
Here's an update...
Been out spent some dosh , got all the major body parts (cheers Buzz for decent price )
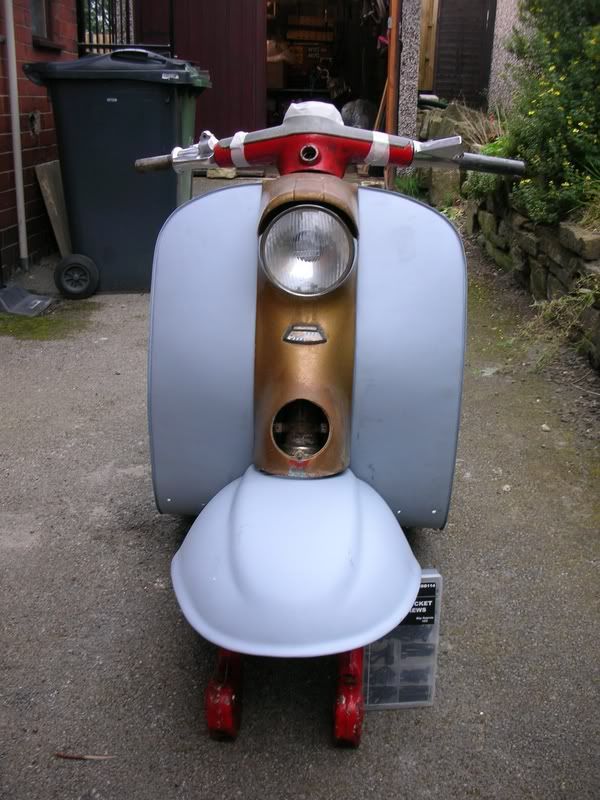
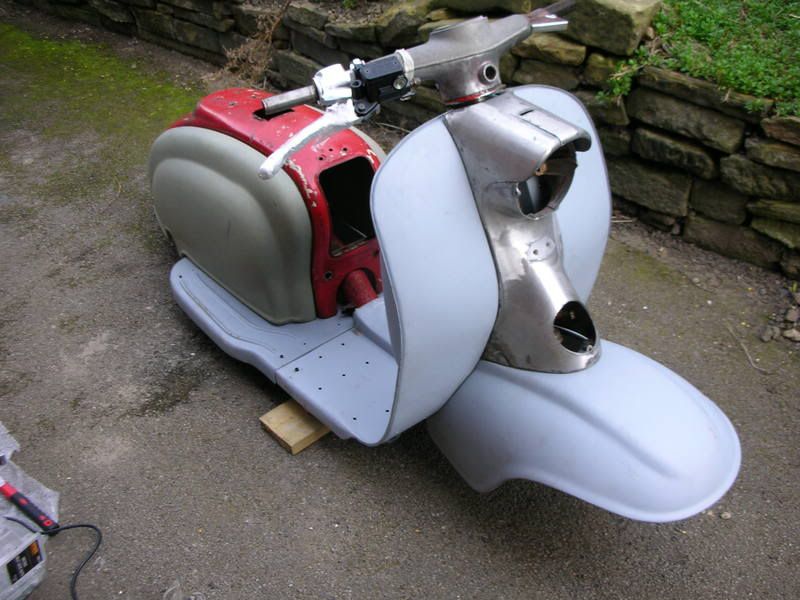
I've just thrown it all together (no real tightening of nuts and bolts etc) and to tell you the truth I'm quite surprised how well it all fits together. There’s gonna be a couple of fixing holes that need enlarging for the mudguard to fit correctly, same for the rear runners...schweeeet 8) !
Pos thinking of using an ancilotti slope back or just one single saddle (not sure yet!!!!)
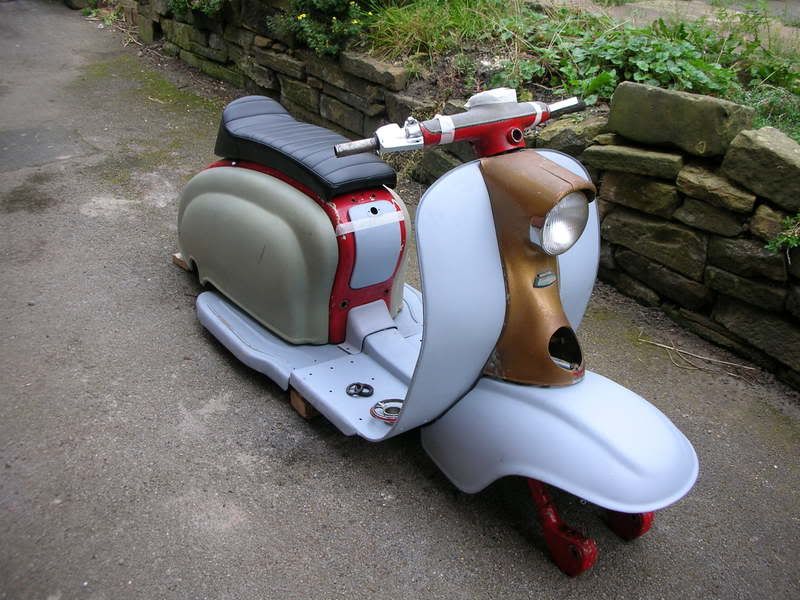
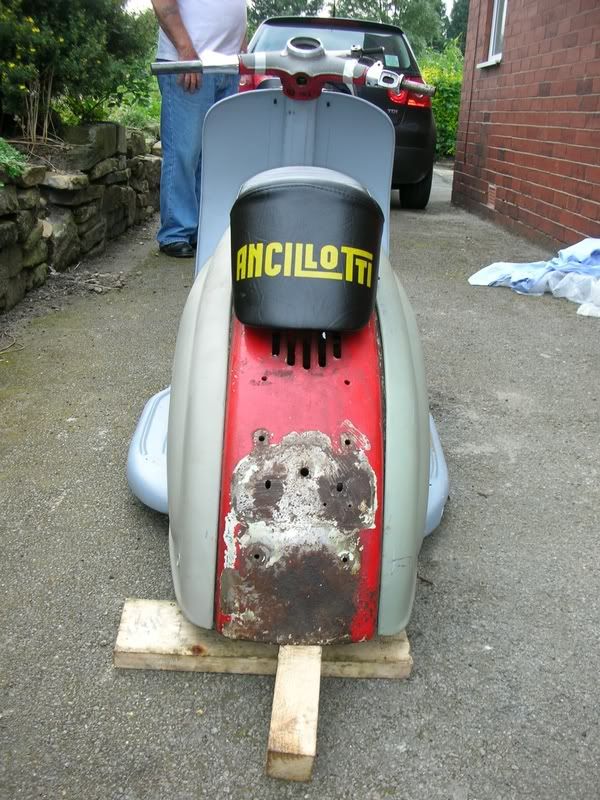
Thinking of doing the rear similar to a S1 I've seen on here (frenched 'stop' light) and then bending an alloy plate to contour with the rear of the frame
Also thinking of doing away with panel handles, perhaps clips or pins...still thinking about it (thing something is needed to break the expanse of the rear end)
Bit bizzy next week, but hope to get the frame blasted the week after, then away we go....
MISSION STATEMENT:
Complete Project S1 for 'Bridladingdong' (Brid)
Mike
>>>>>>>>>>>>>>>>>>>>>>>>>>>>>>>>>>>>>>>>>>>>>>>>>>>>>>>>>>>>>>>>>>>>>
Here's another update
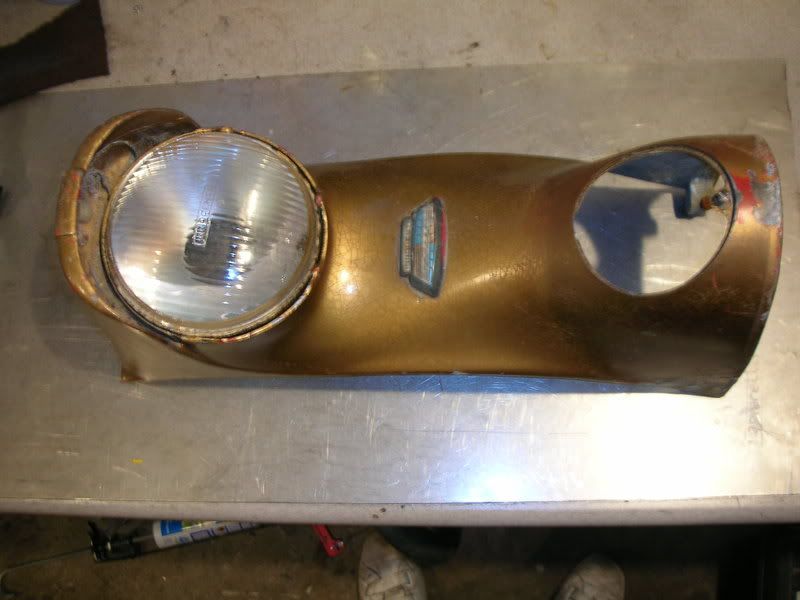
Dry fit #2, the panals have been fitted and a bit of fettling has taken place. I've not fitted the headset fully as I didn't want to get the frame cone stuck in before I send the frame to the blasters.
I've had to do some drilling and re-threading on the horncast (quiet a nervy job...not wanting to break it)
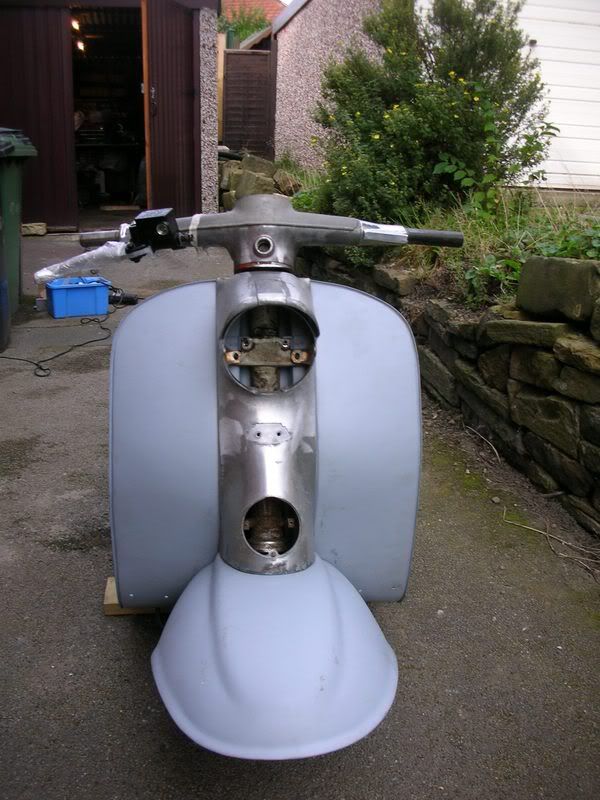
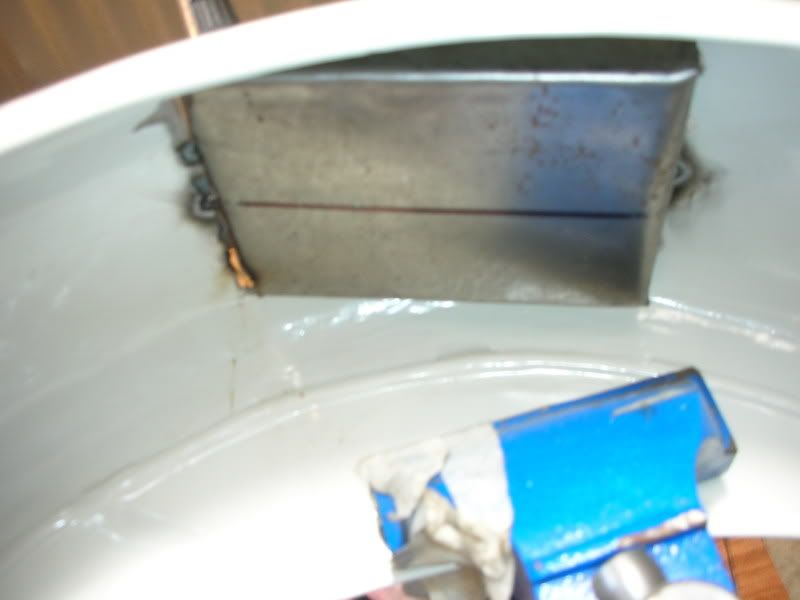
I've fitted a decent sized toolbox, as I'll eventually be fitting a long range tank
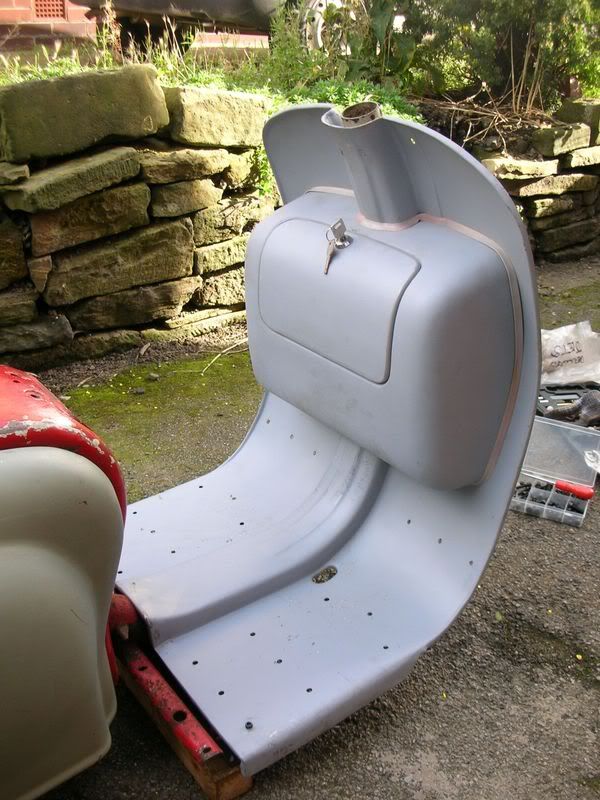
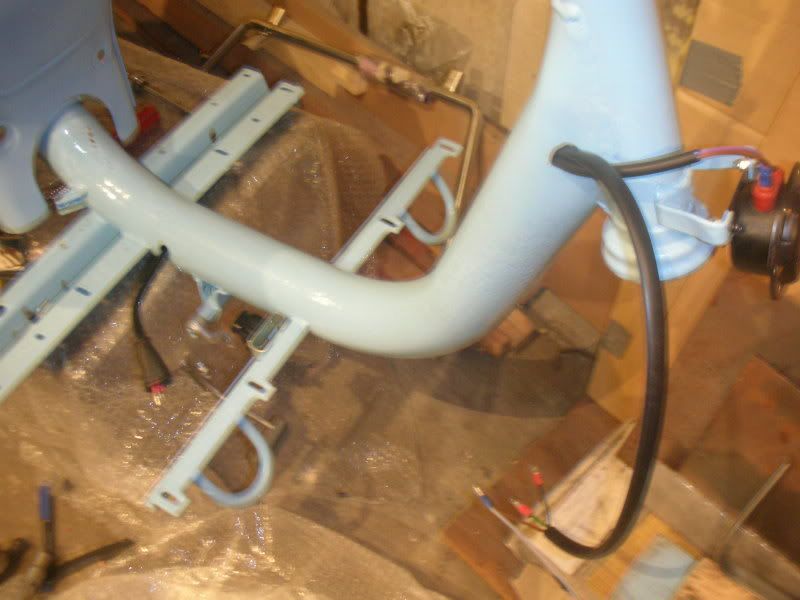
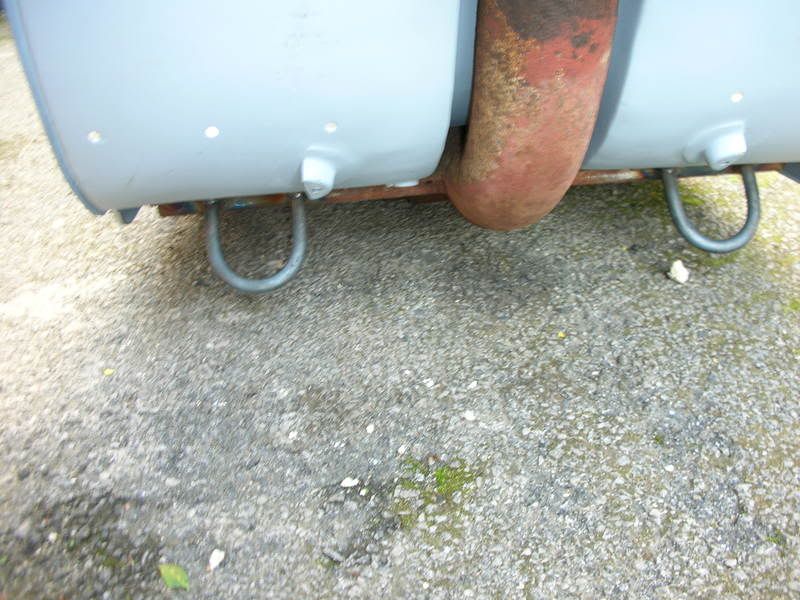
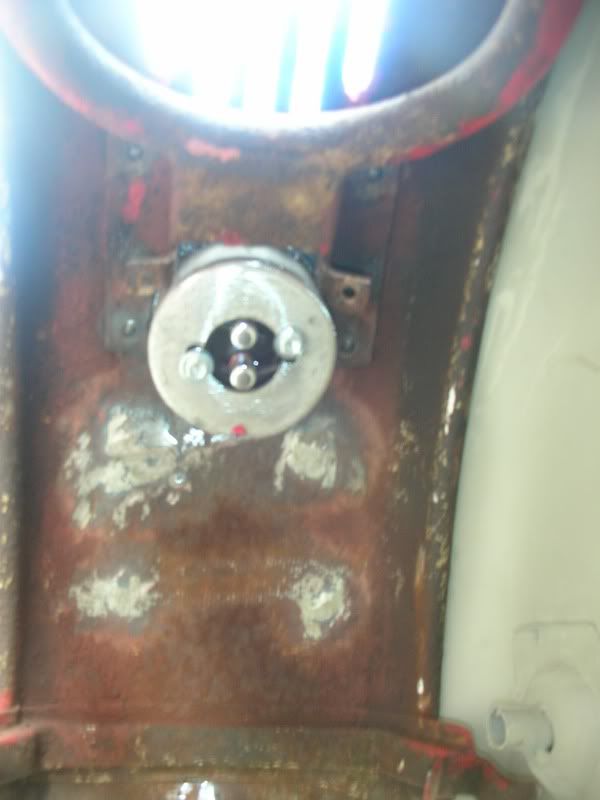
I've also put some steel loops to put my chain through, when parking up (these are hardly visible when viewed at the normal level, see 1st picture)
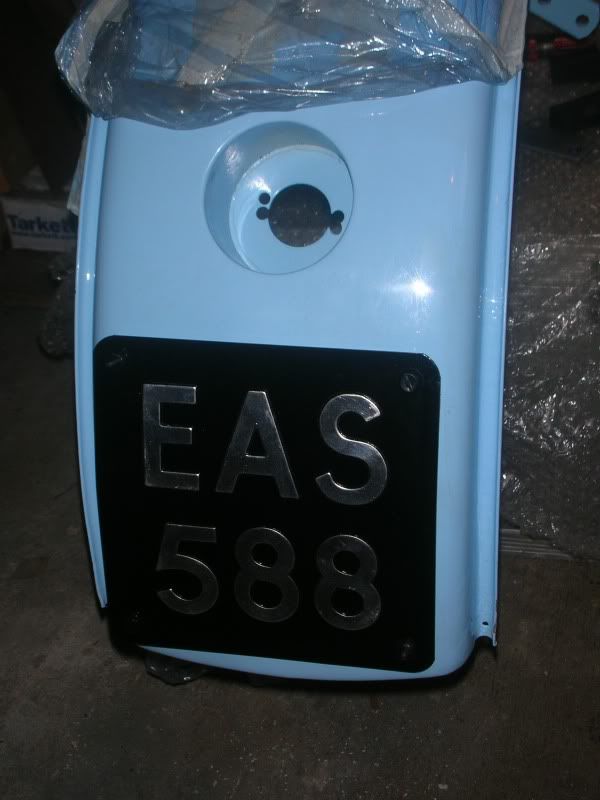
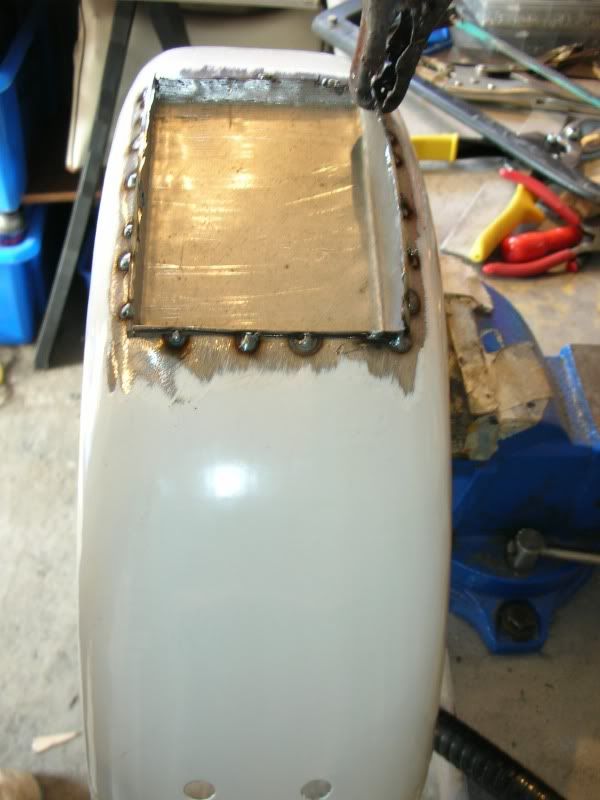
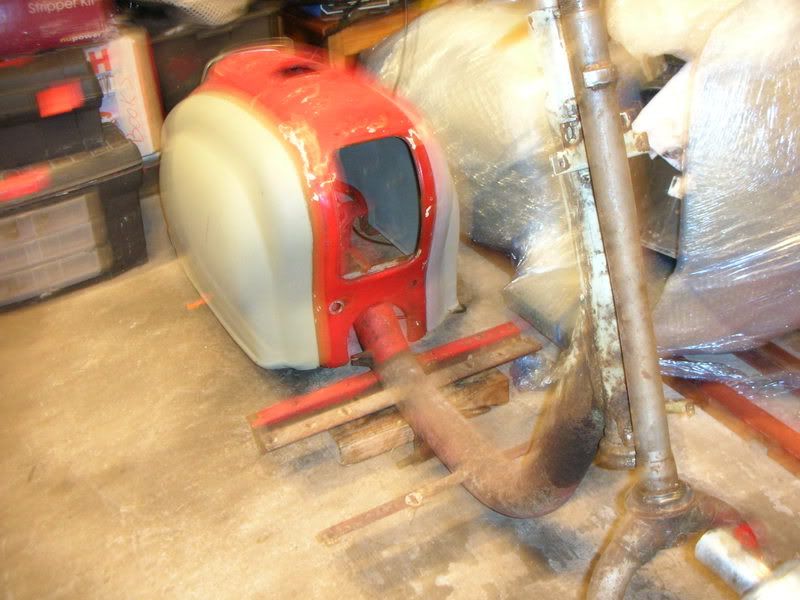
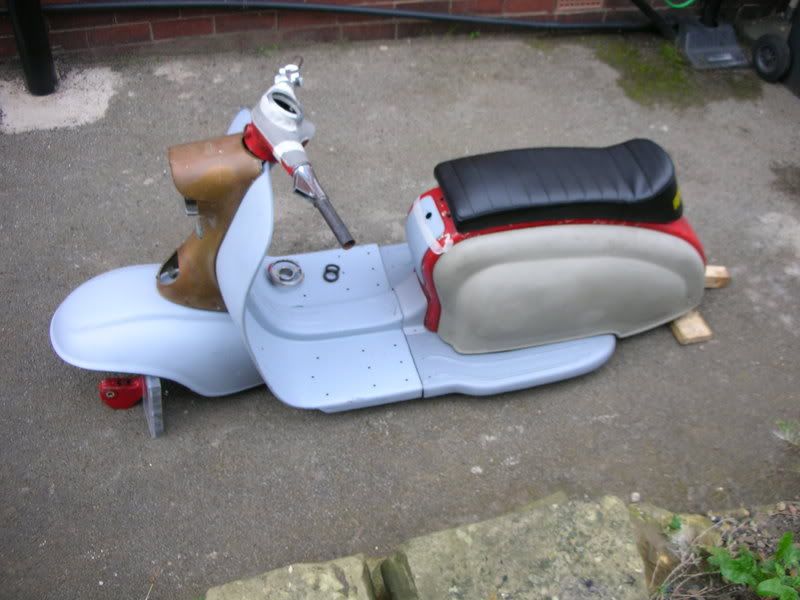
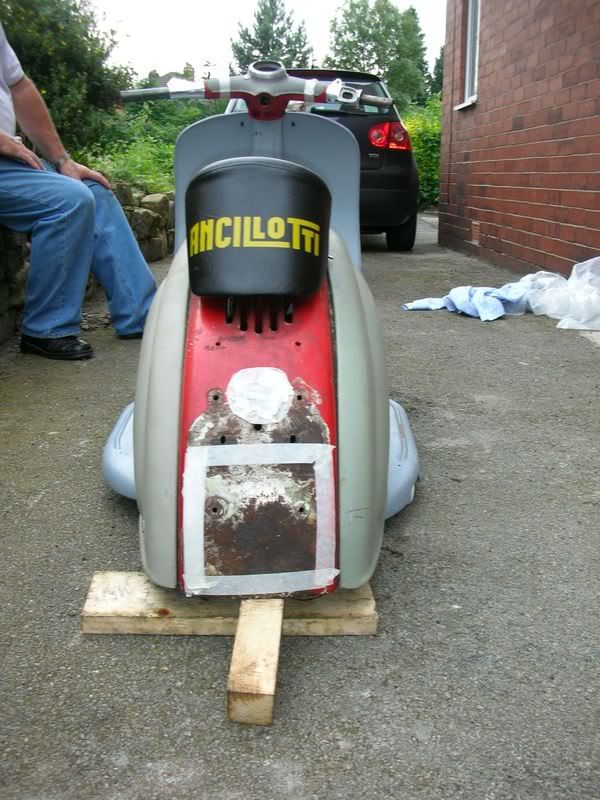
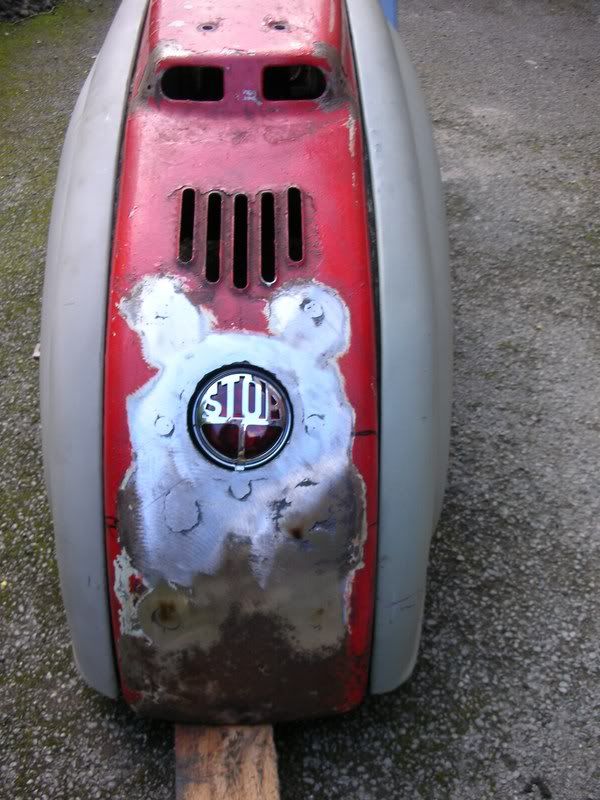
I've had the rear light 'frenched' in (still loads of work to be done on the rear as you can see)
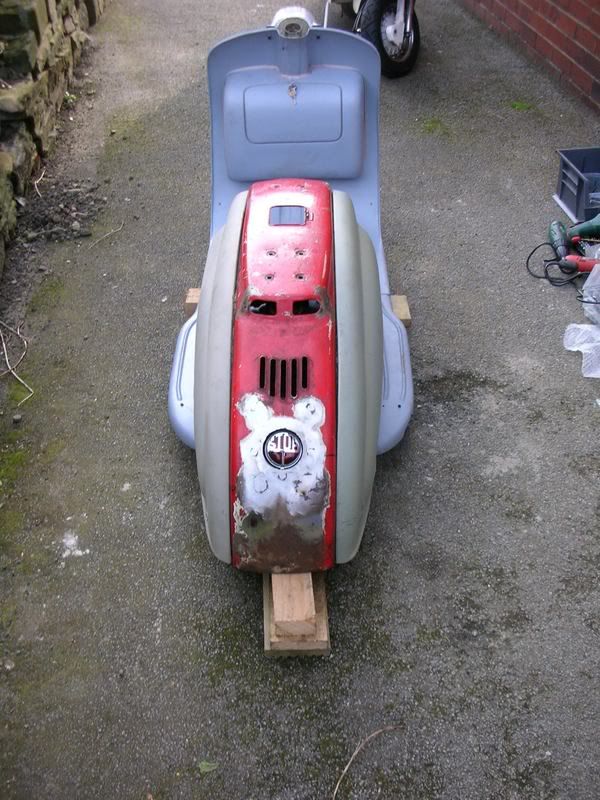
The rear mudguard will need a bit of a modification, but the rear light doesn't intrude into this area too drastically
I'm Hoping to get the frame to the blasters, tomoz. If all goes to plan it may be done for my Brid deadline...wishful thinking, I know
Mike
>>>>>>>>>>>>>>>>>>>>>>>>>>>>>>>>>>>>>>>>>>>>>>>>>>>>>>>>>>>>>>>>>>>>
Another update
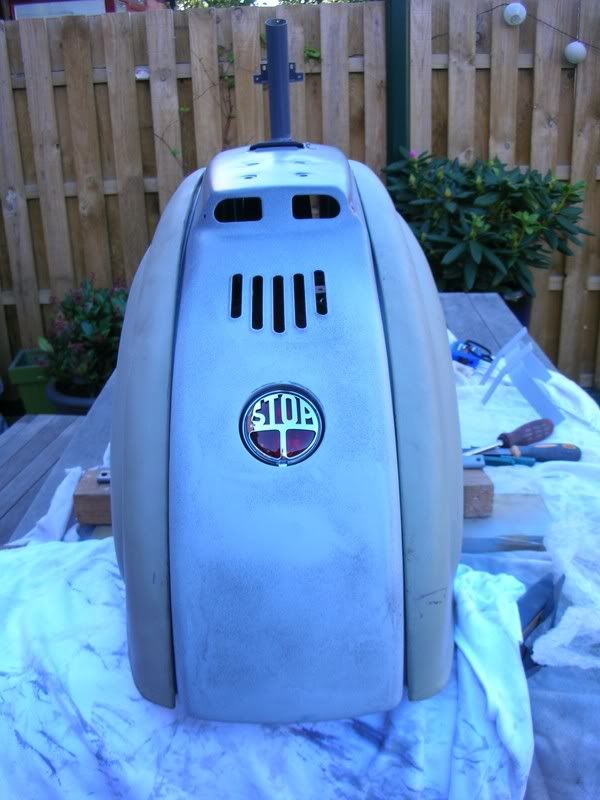
I've been working on her rear (Mmmmmm )
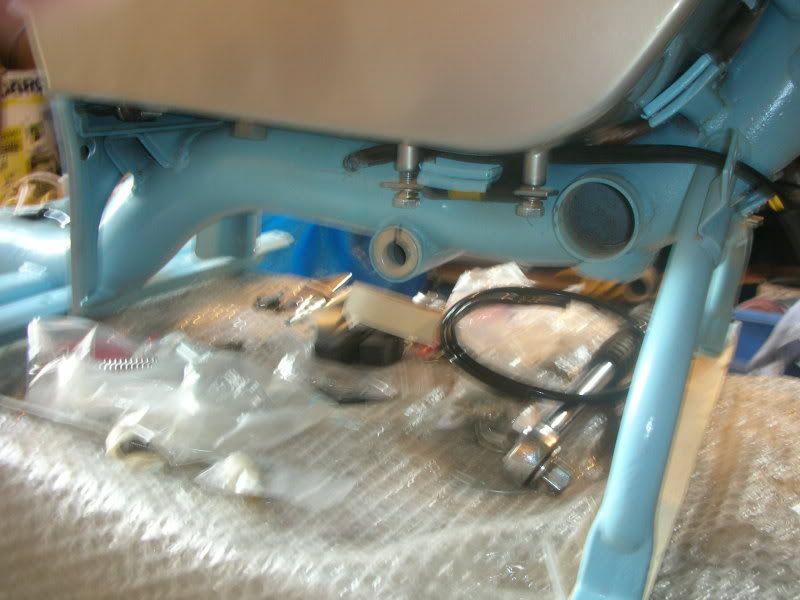
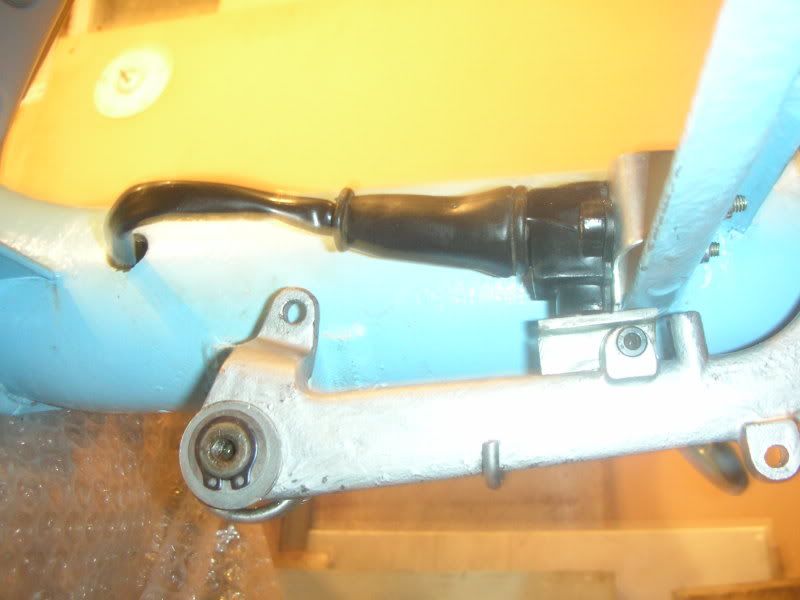
I'm going to be using bonnet pin catches (like the kind they use on rally cars with the pin and ring), instead of panal handles. You can see the bracket I've made on the table. I've made it with a long fixing bracket due the state of the rear part of the loop, I dont want to put too much strain on one area. I also tried adapting the original brackets to use the pins...but failed


The final bodywork type job is th rear mudguard, then I just need to get it painted
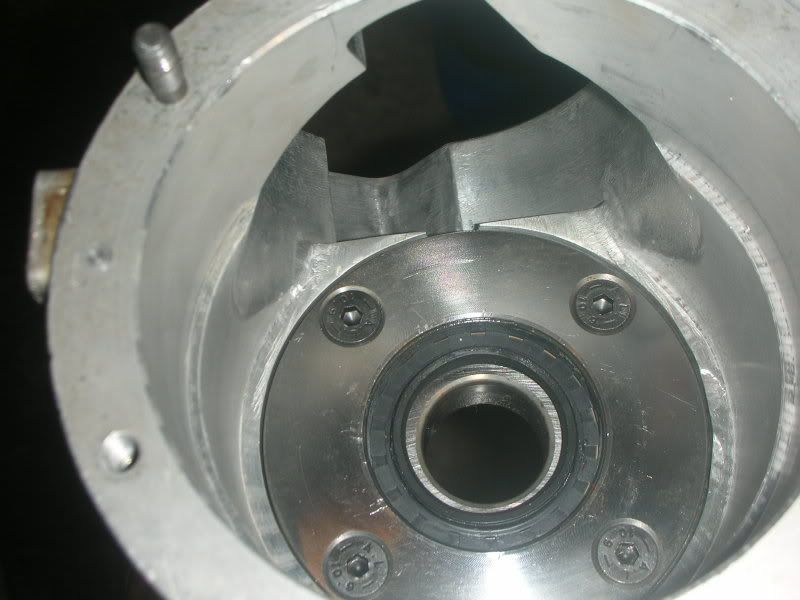
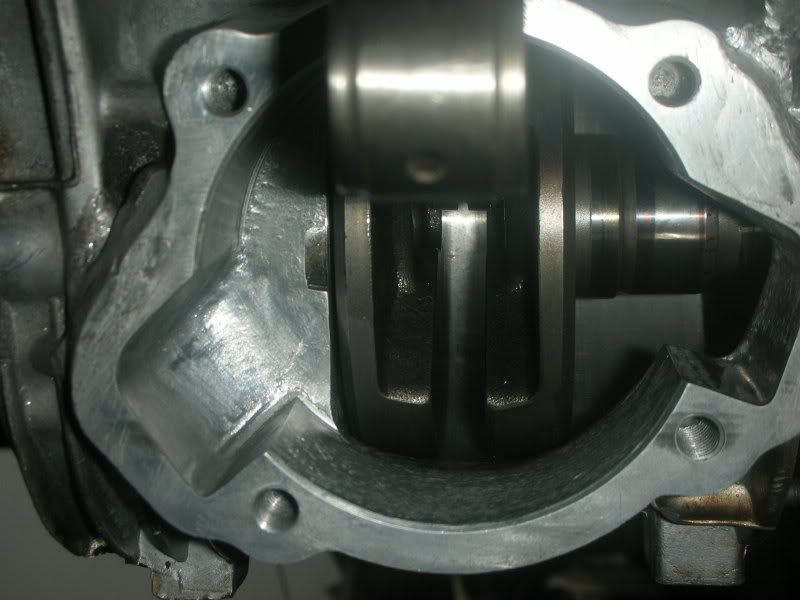
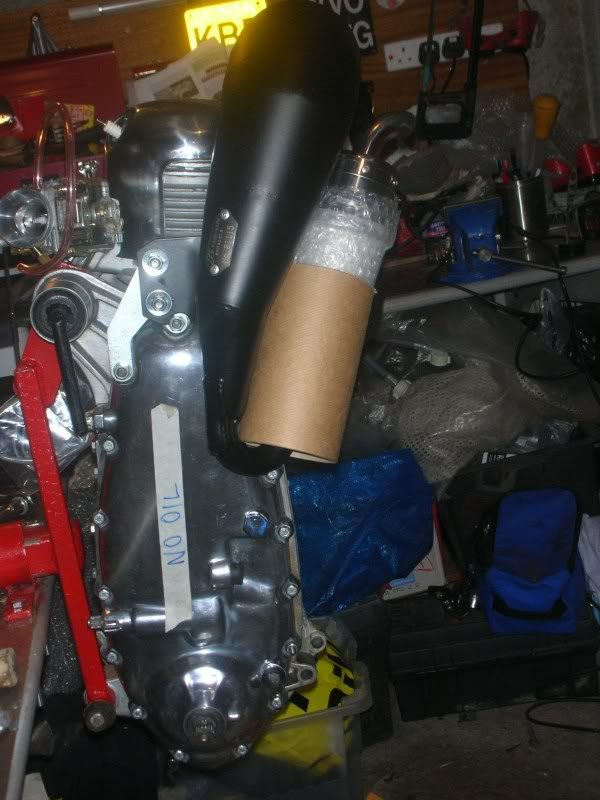
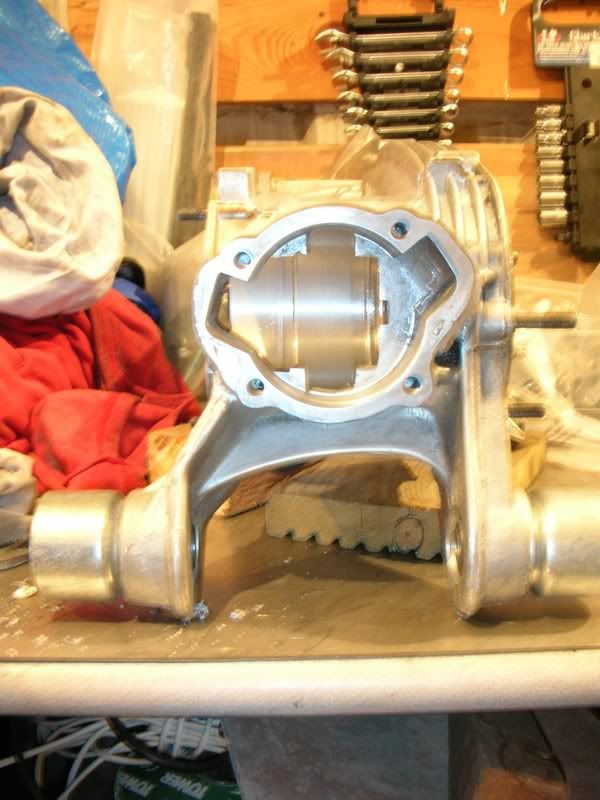
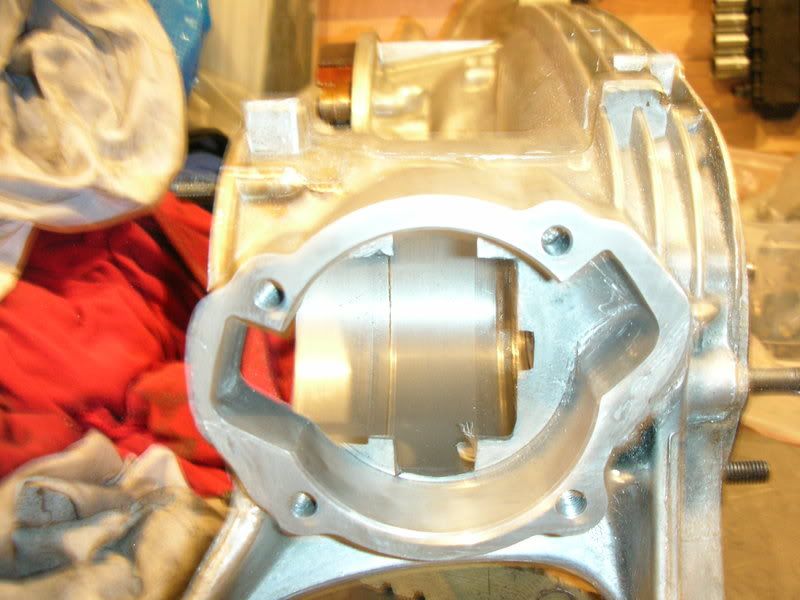
I've also done some work on the case to match it up to the monza kit, I like doing this kinda stuff
Going to finish building the motor over this week
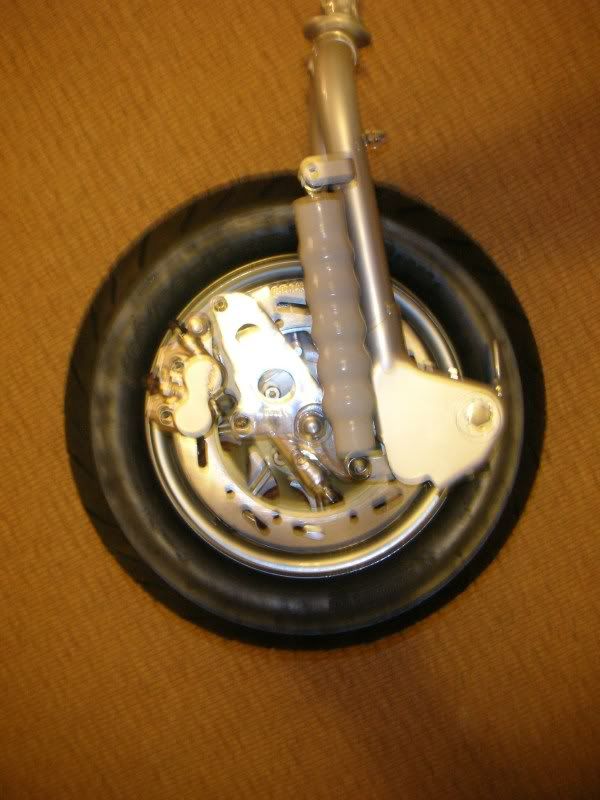
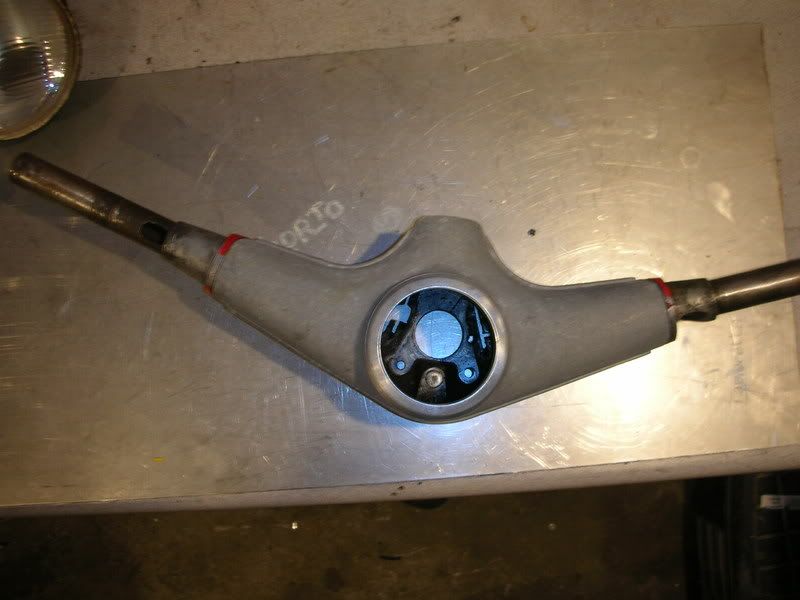
I've also built the forks, but having a bit of fun getting the hub to fit properly without modding the kit (its one of the pepper pot types), anyone else got one of these?
Mike
>>>>>>>>>>>>>>>>>>>>>>>>>>>>>>>>>>>>>>>>>>>>>>>>>>>>>>>>>>>>>>>>>>>>>
Here's another update.....
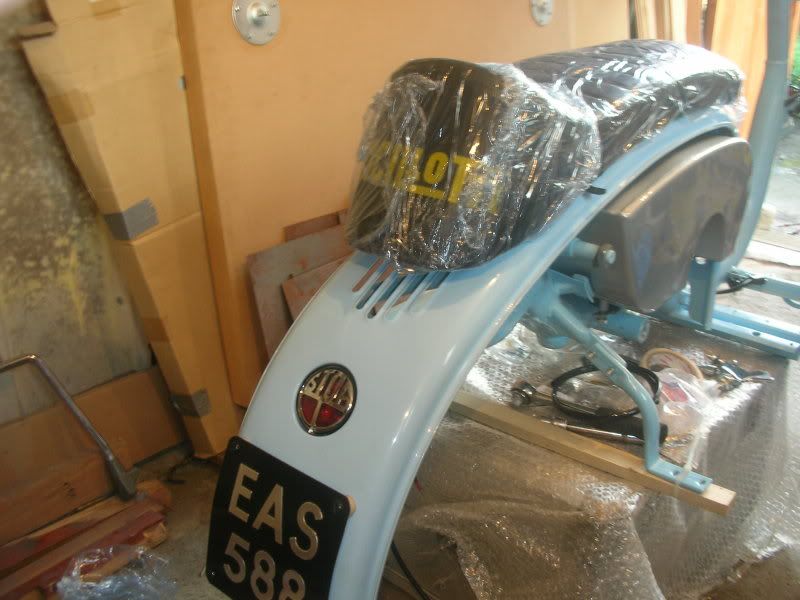
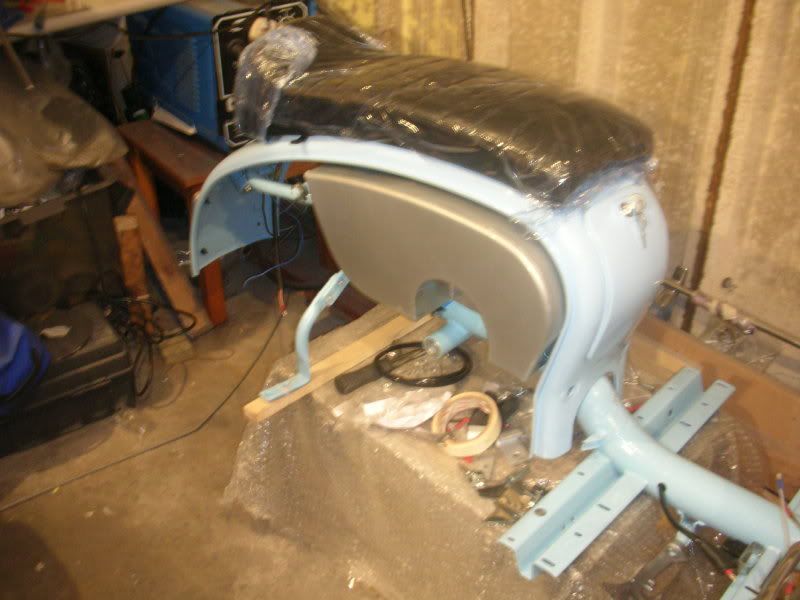
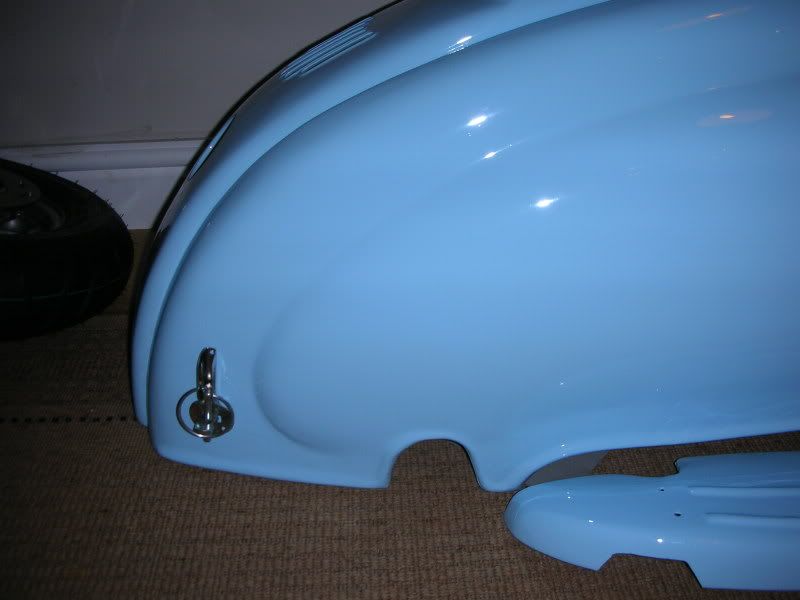
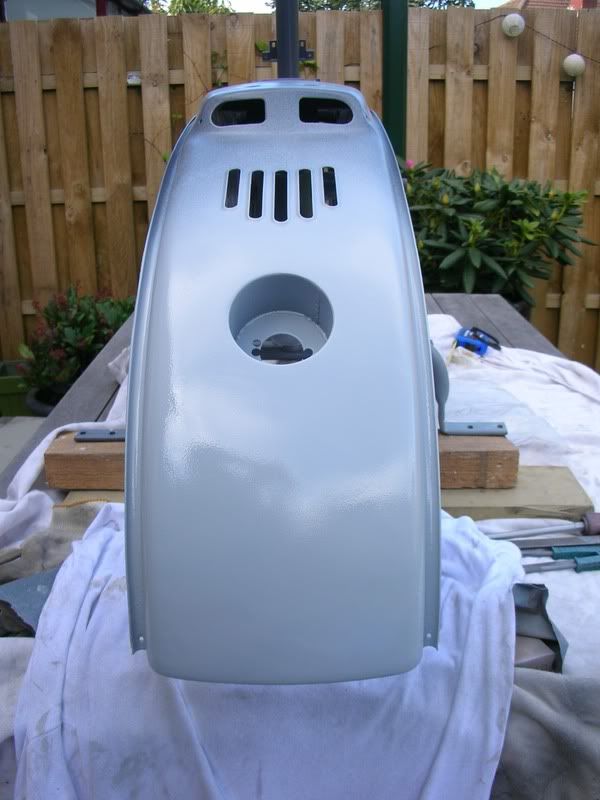
Ford Bermuda Blue 2k
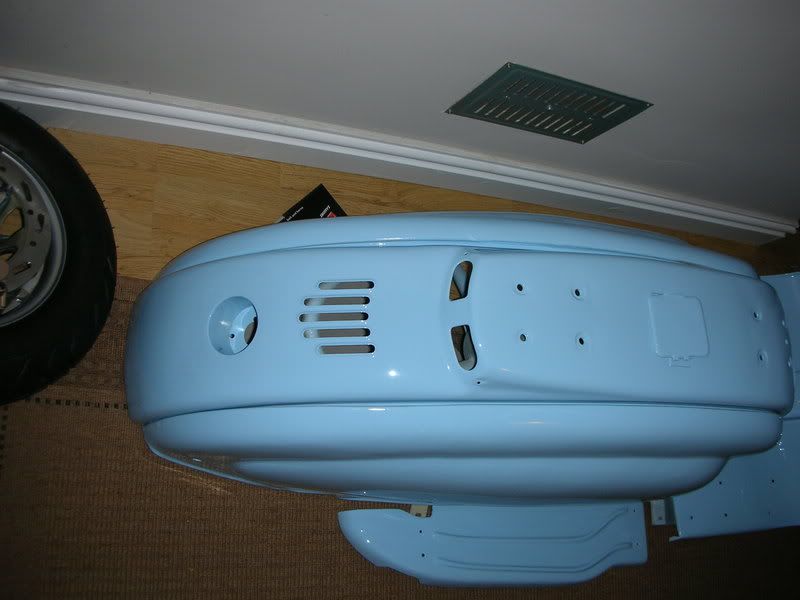
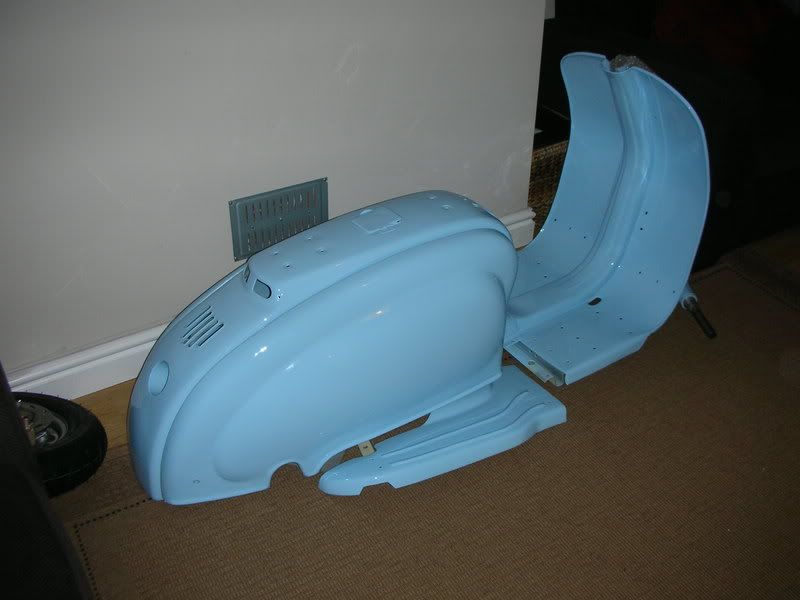
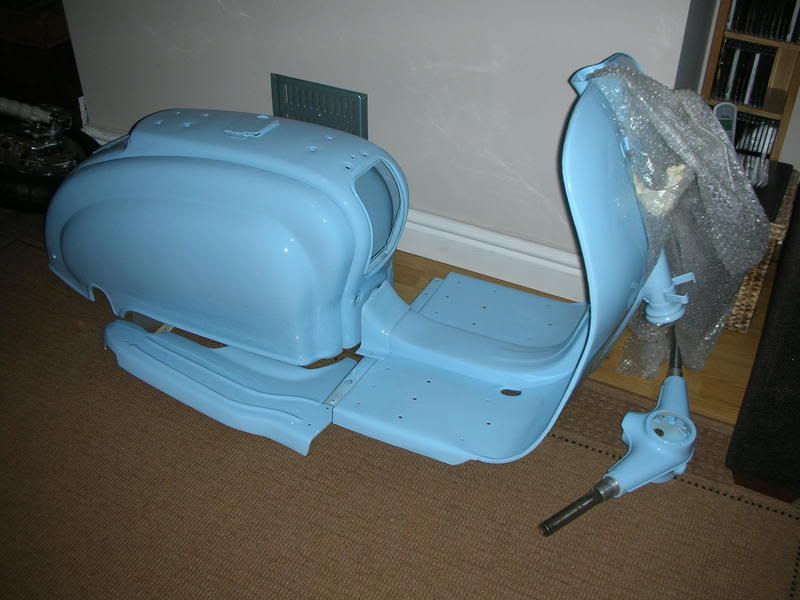
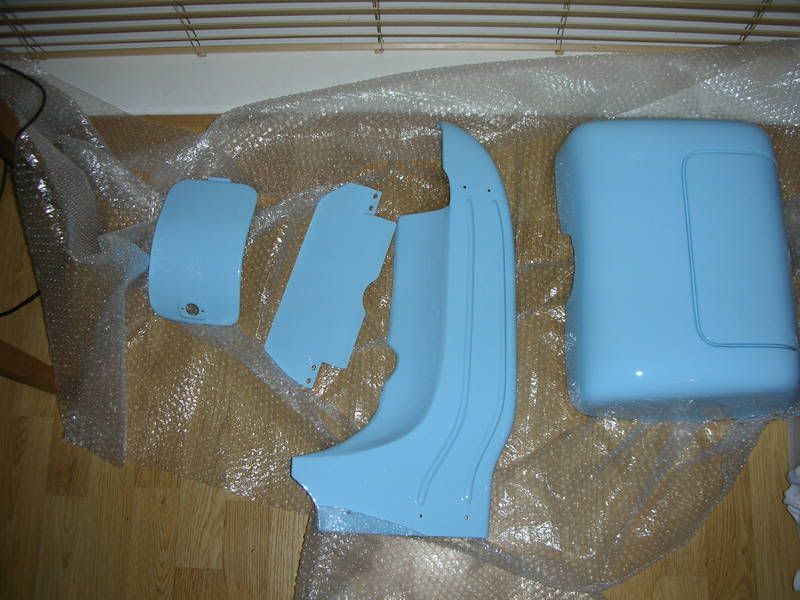
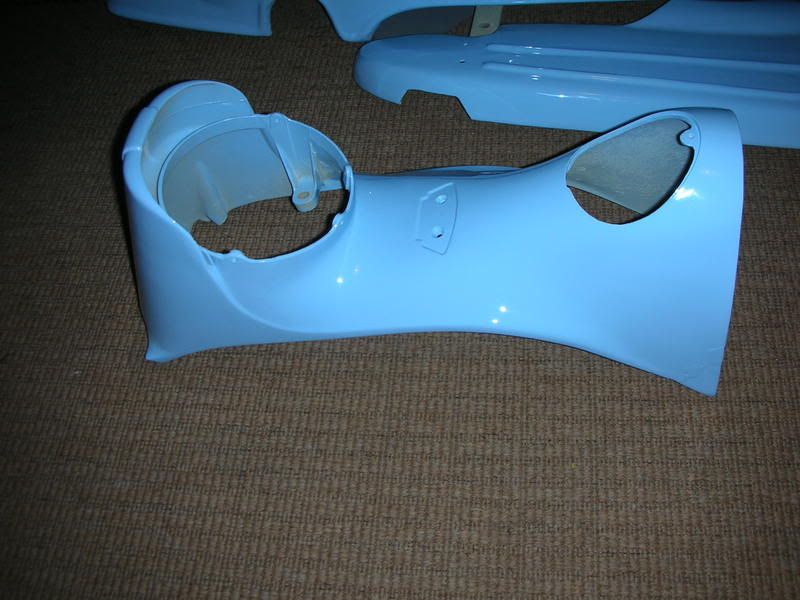
Painted by a local car sprayer so this is no show winner (there’s few areas that will need a little work, but if I can’t sort them out, I’m not going to lose any sleep over it) not bad for £250
The question is....can I build it in time for brid....more importantly can I get enough garage time without the missus shouting "when are you coming back in......"
Mike
>>>>>>>>>>>>>>>>>>>>>>>>>>>>>>>>>>>>>>>>>>>>>>>>>>>>>>>>>>>>>>>>>>>>>
>>>>>>>>>>>>>>>>>>>>>>>>>>>>>>>>>>>>>>>>>>>>>>>>>>>>>>>>>>>>>>>>>>
Here's my new project (english, 6 digit reg 1959). I wanted to do a rustaration style one with a bit of stealth, but this one came along ( a bit too far gone for rustaration) My plans are a full rebuild / respray (no shiney tat, prob no badges...see how it goes when I'm doing it)
Engine wise...gonna pop a 225 monza with a jl snail exhaust....so it will have an element of stealth
I'll keep you posted on my progress
Mike
>>>>>>>>>>>>>>>>>>>>>>>>>>>>>>>>>>>>>>>>>>>>>>>>>>>>>>>>>>>>>>>>>
Here's an update...
Been out spent some dosh
I've just thrown it all together (no real tightening of nuts and bolts etc) and to tell you the truth I'm quite surprised how well it all fits together. There’s gonna be a couple of fixing holes that need enlarging for the mudguard to fit correctly, same for the rear runners...schweeeet 8) !
Pos thinking of using an ancilotti slope back or just one single saddle (not sure yet!!!!)
Thinking of doing the rear similar to a S1 I've seen on here (frenched 'stop' light) and then bending an alloy plate to contour with the rear of the frame
Also thinking of doing away with panel handles, perhaps clips or pins...still thinking about it (thing something is needed to break the expanse of the rear end)
Bit bizzy next week, but hope to get the frame blasted the week after, then away we go....
MISSION STATEMENT:
Complete Project S1 for 'Bridladingdong' (Brid)
Mike
>>>>>>>>>>>>>>>>>>>>>>>>>>>>>>>>>>>>>>>>>>>>>>>>>>>>>>>>>>>>>>>>>>>>>
Here's another update
Dry fit #2, the panals have been fitted and a bit of fettling has taken place. I've not fitted the headset fully as I didn't want to get the frame cone stuck in before I send the frame to the blasters.
I've had to do some drilling and re-threading on the horncast (quiet a nervy job...not wanting to break it)
I've fitted a decent sized toolbox, as I'll eventually be fitting a long range tank
I've also put some steel loops to put my chain through, when parking up (these are hardly visible when viewed at the normal level, see 1st picture)
I've had the rear light 'frenched' in (still loads of work to be done on the rear as you can see)
The rear mudguard will need a bit of a modification, but the rear light doesn't intrude into this area too drastically
I'm Hoping to get the frame to the blasters, tomoz. If all goes to plan it may be done for my Brid deadline...wishful thinking, I know
Mike
>>>>>>>>>>>>>>>>>>>>>>>>>>>>>>>>>>>>>>>>>>>>>>>>>>>>>>>>>>>>>>>>>>>>
Another update
I've been working on her rear (Mmmmmm
I'm going to be using bonnet pin catches (like the kind they use on rally cars with the pin and ring), instead of panal handles. You can see the bracket I've made on the table. I've made it with a long fixing bracket due the state of the rear part of the loop, I dont want to put too much strain on one area. I also tried adapting the original brackets to use the pins...but failed
The final bodywork type job is th rear mudguard, then I just need to get it painted
I've also done some work on the case to match it up to the monza kit, I like doing this kinda stuff
Going to finish building the motor over this week
I've also built the forks, but having a bit of fun getting the hub to fit properly without modding the kit (its one of the pepper pot types), anyone else got one of these?
Mike
>>>>>>>>>>>>>>>>>>>>>>>>>>>>>>>>>>>>>>>>>>>>>>>>>>>>>>>>>>>>>>>>>>>>>
Here's another update.....
Ford Bermuda Blue 2k
Painted by a local car sprayer so this is no show winner (there’s few areas that will need a little work, but if I can’t sort them out, I’m not going to lose any sleep over it) not bad for £250
The question is....can I build it in time for brid....more importantly can I get enough garage time without the missus shouting "when are you coming back in......"
Mike
>>>>>>>>>>>>>>>>>>>>>>>>>>>>>>>>>>>>>>>>>>>>>>>>>>>>>>>>>>>>>>>>>>>>>