Series 1 Frame Breather - Basket Case

Post pics & videos of your scooter, projects you're working on, a lovely Vespa that you saw at a rally, or anything else scooter related.
User avatar
Dell Oughta
registered user
Posts: 140
Joined: Wed Jan 07, 2009 12:22 pm
Location: Leeds
Contact:

(thought I'd resurrect this from the old site..got some new piccys....I never did get it sorted for brid :lol: but I'm back on with it now

>>>>>>>>>>>>>>>>>>>>>>>>>>>>>>>>>>>>>>>>>>>>>>>>>>>>>>>>>>>>>>>>>>
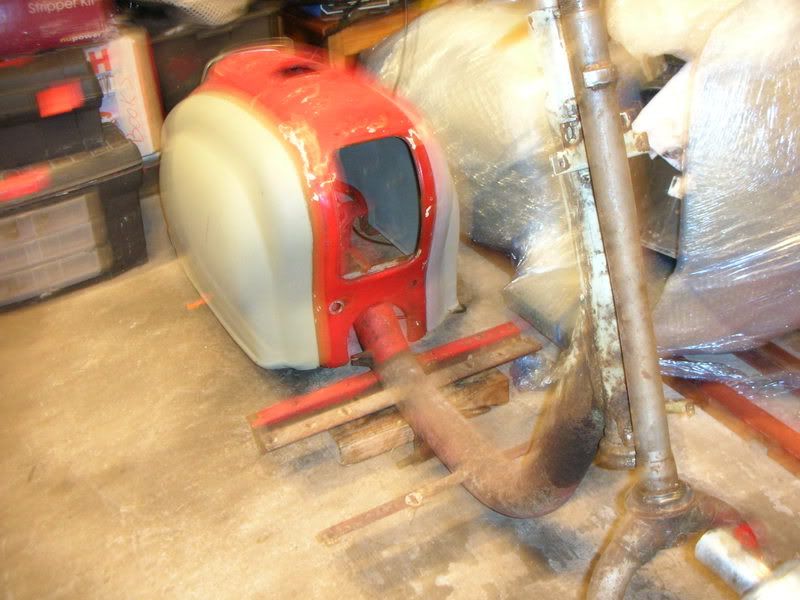
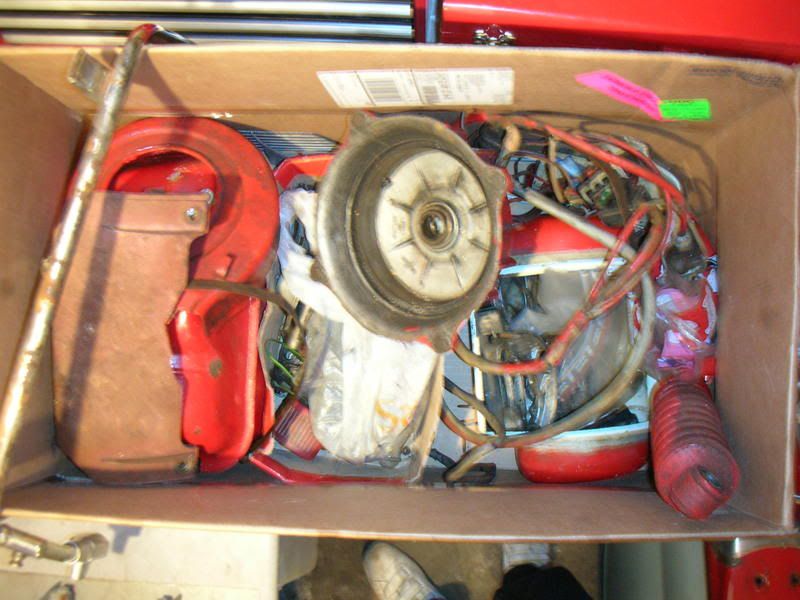
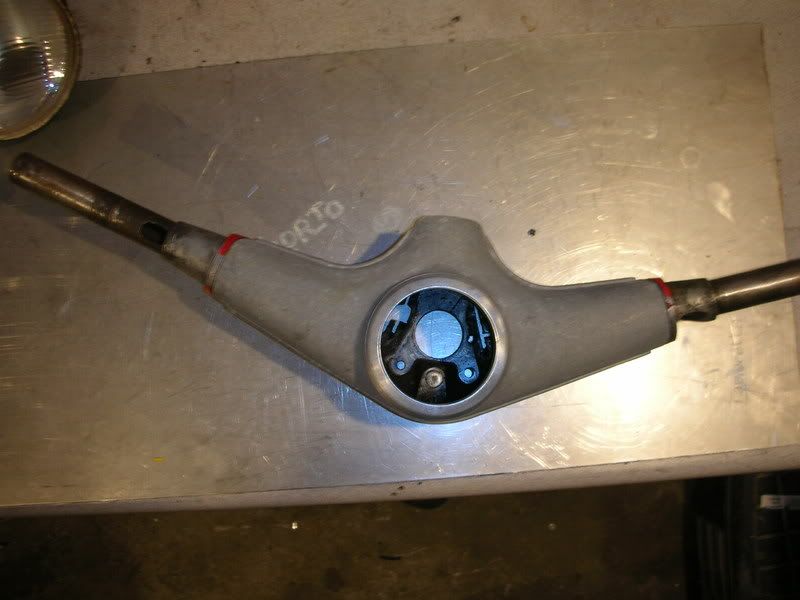
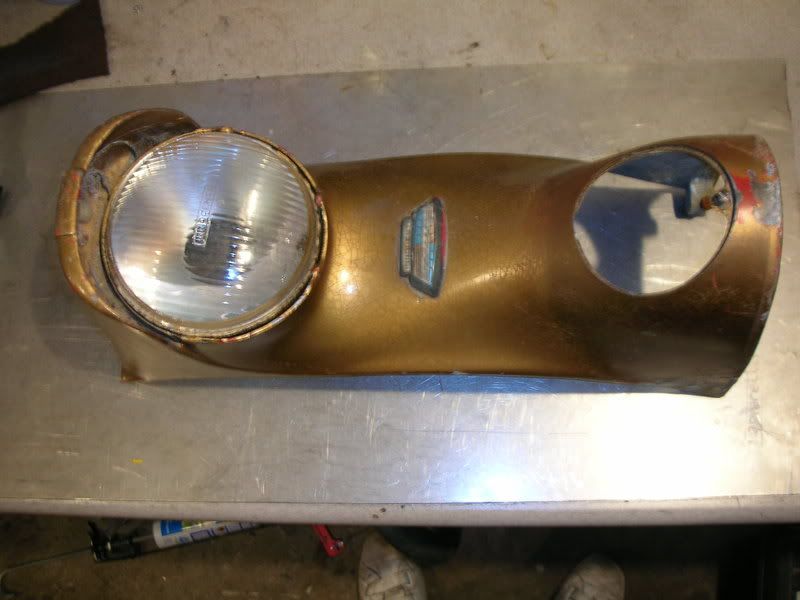
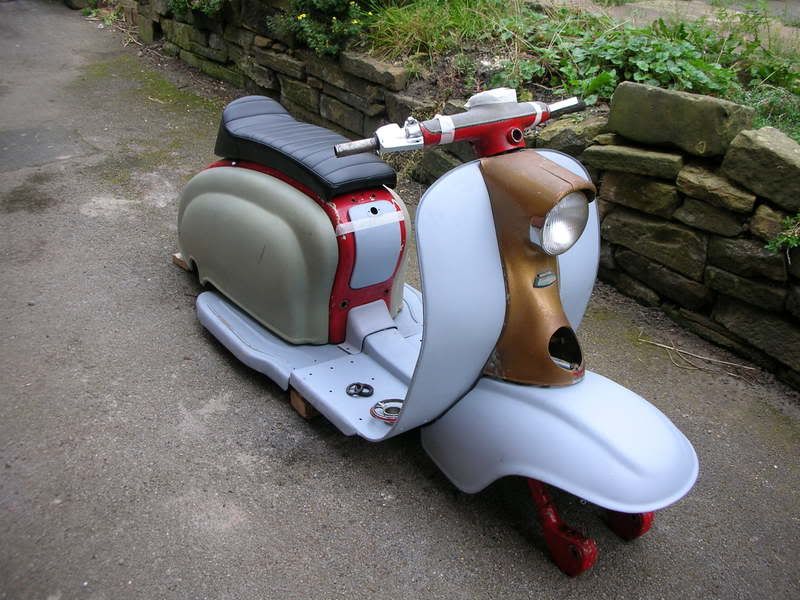
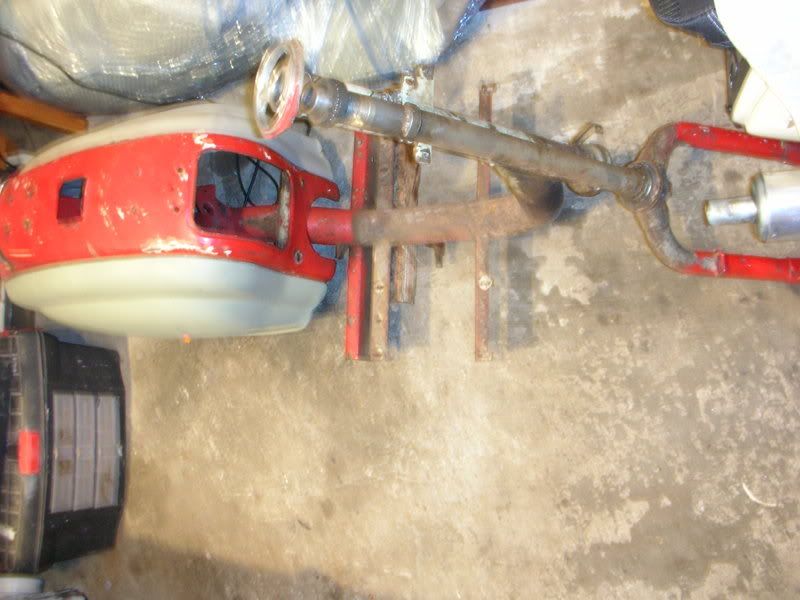
Here's my new project (english, 6 digit reg 1959). I wanted to do a rustaration style one with a bit of stealth, but this one came along ( a bit too far gone for rustaration) My plans are a full rebuild / respray (no shiney tat, prob no badges...see how it goes when I'm doing it)

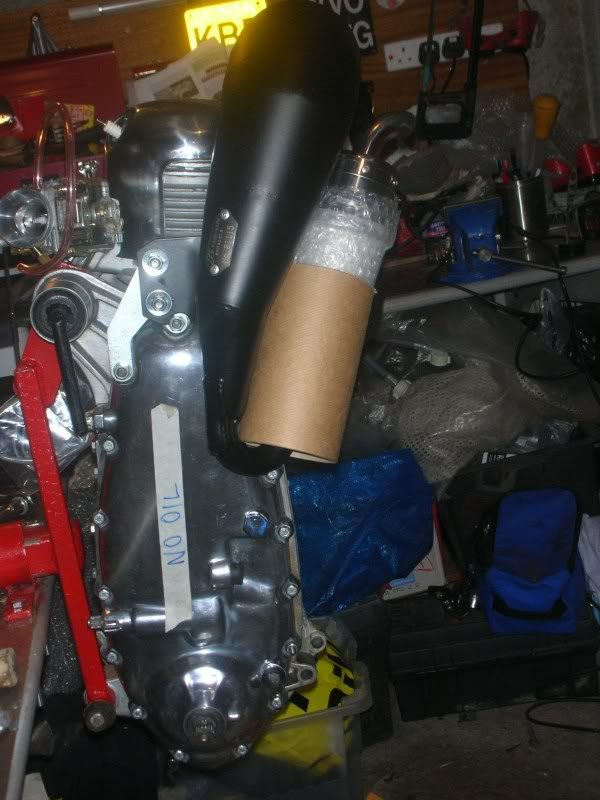
Engine wise...gonna pop a 225 monza with a jl snail exhaust....so it will have an element of stealth :wink:
Image

Image

Image

Image

Image

I'll keep you posted on my progress

Mike

>>>>>>>>>>>>>>>>>>>>>>>>>>>>>>>>>>>>>>>>>>>>>>>>>>>>>>>>>>>>>>>>>
Here's an update...

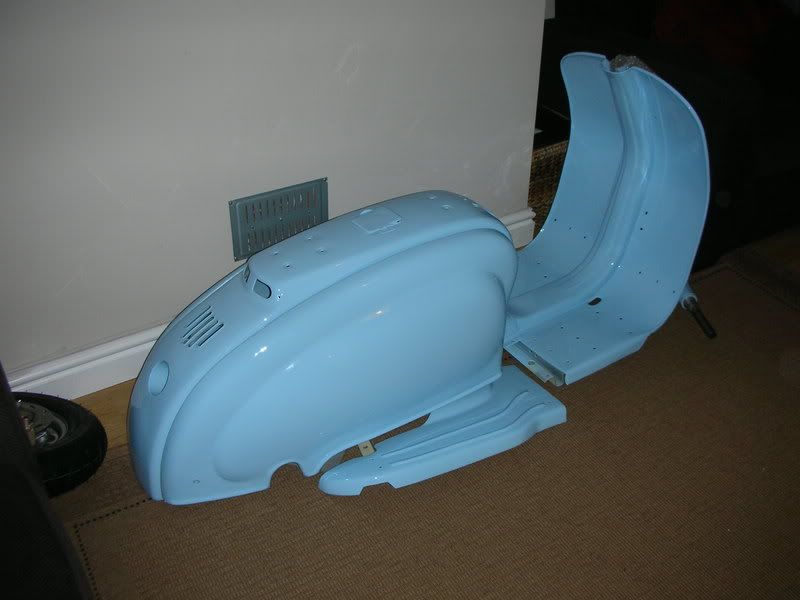
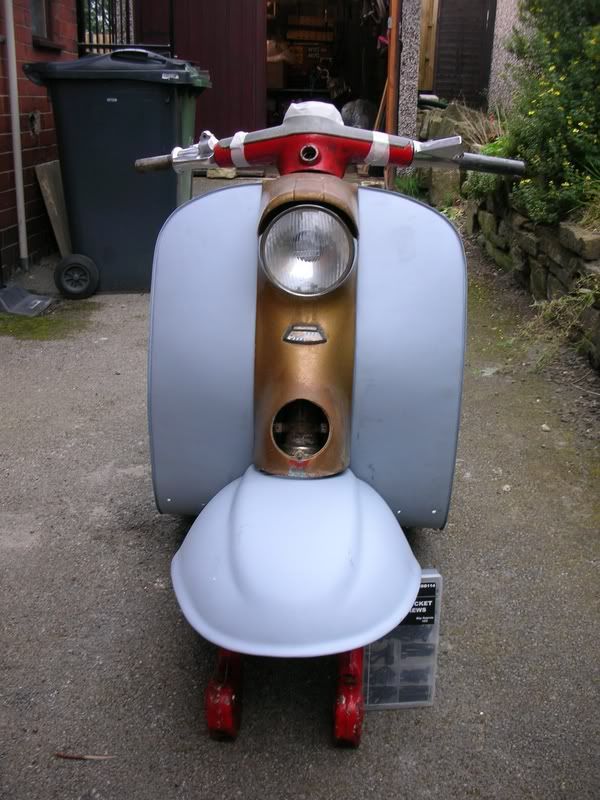
Been out spent some dosh :cry: , got all the major body parts (cheers Buzz for decent price :wink: )

I've just thrown it all together (no real tightening of nuts and bolts etc) and to tell you the truth I'm quite surprised how well it all fits together. There’s gonna be a couple of fixing holes that need enlarging for the mudguard to fit correctly, same for the rear runners...schweeeet 8) !
Image


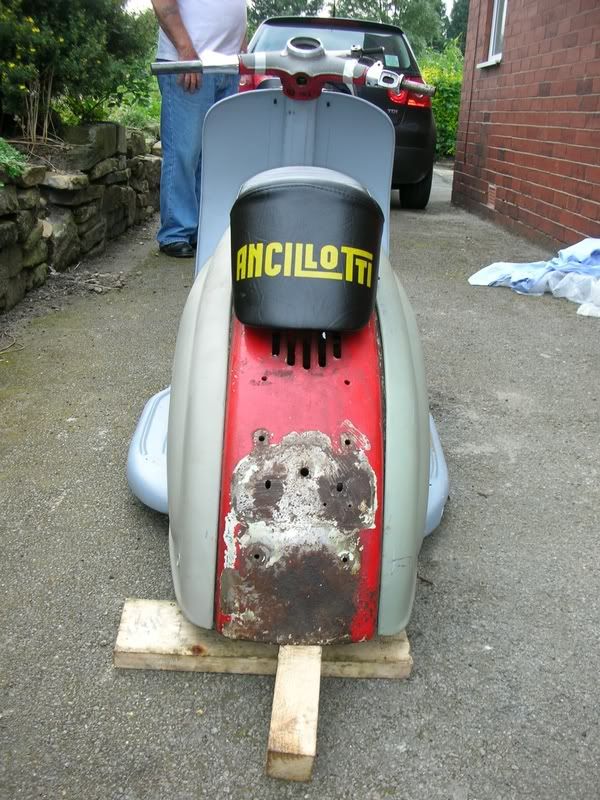
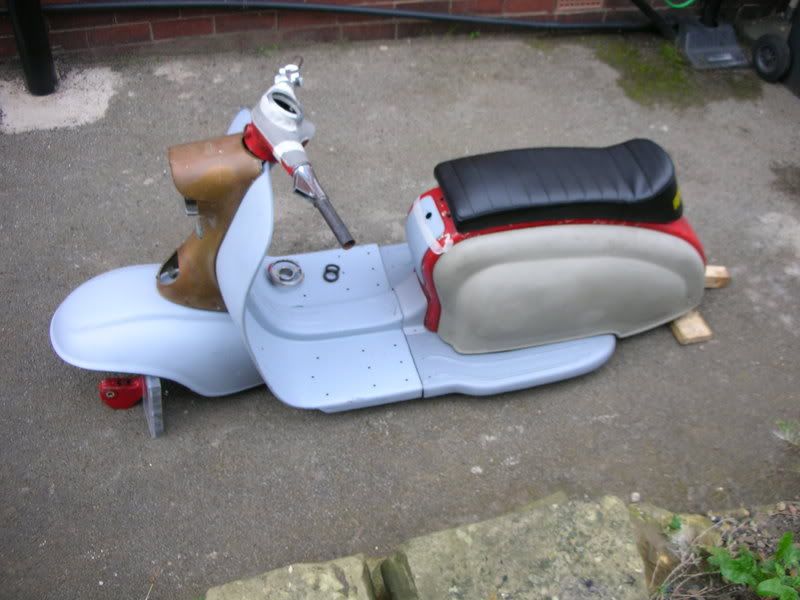
Pos thinking of using an ancilotti slope back or just one single saddle (not sure yet!!!!)
Image

Image

Image

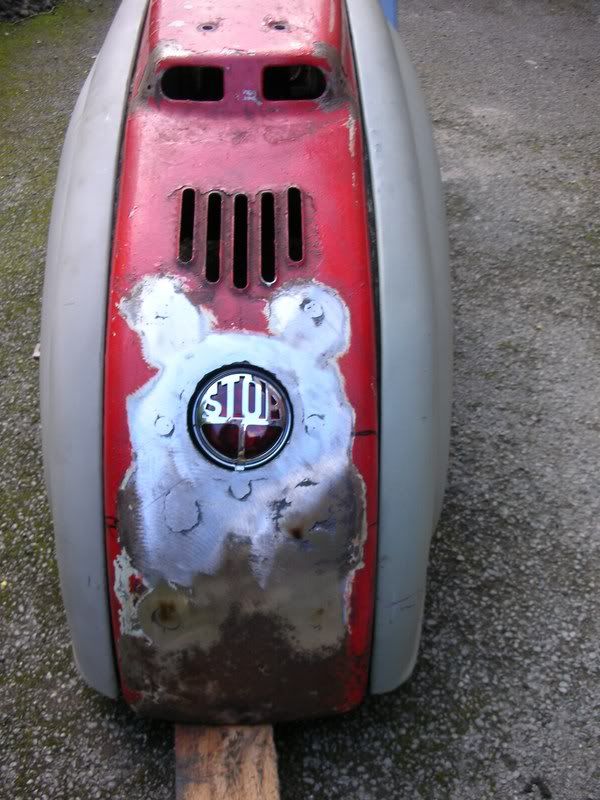
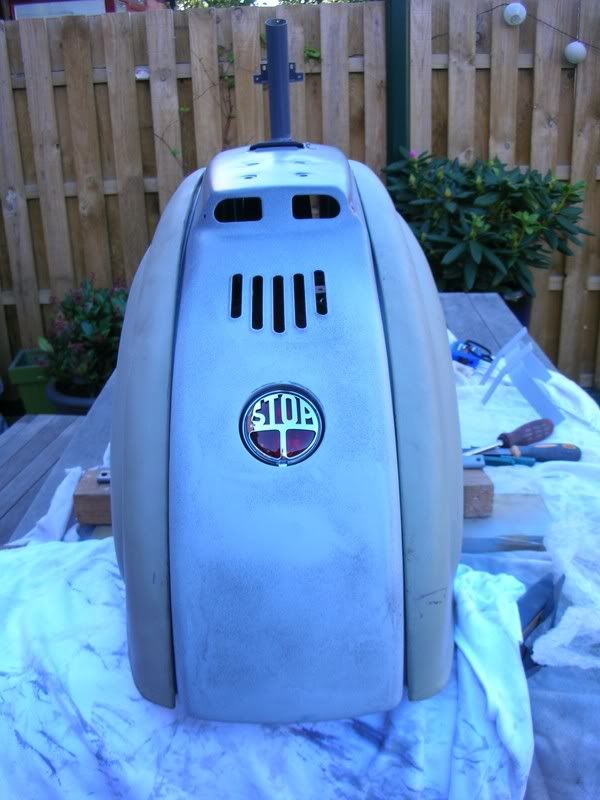
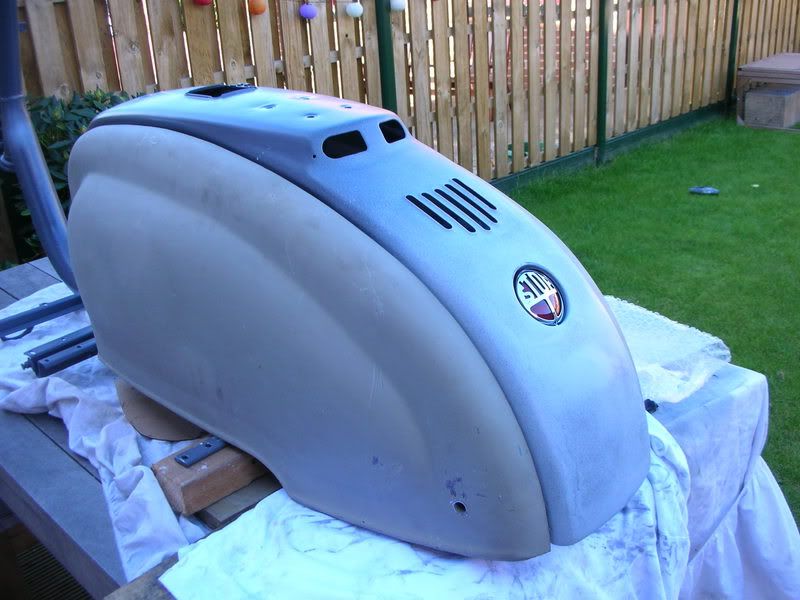
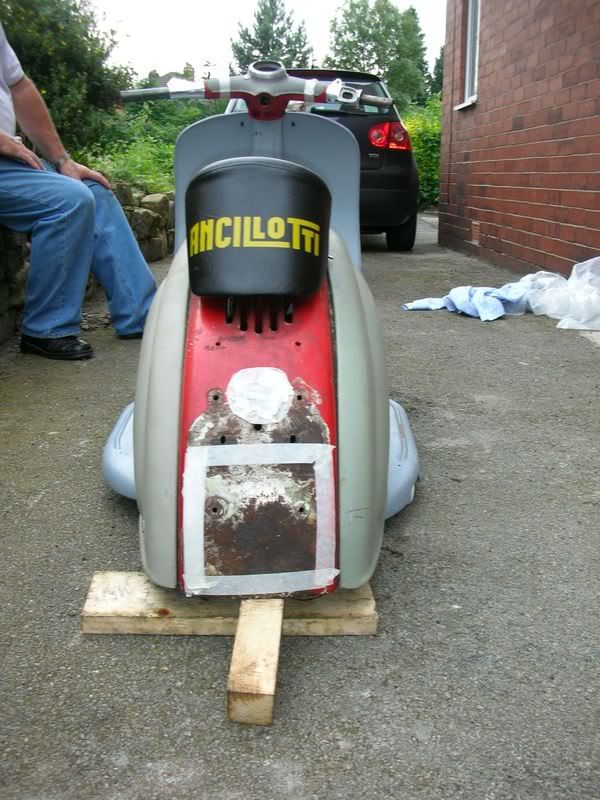
Thinking of doing the rear similar to a S1 I've seen on here (frenched 'stop' light) and then bending an alloy plate to contour with the rear of the frame
Image

Also thinking of doing away with panel handles, perhaps clips or pins...still thinking about it (thing something is needed to break the expanse of the rear end)

Bit bizzy next week, but hope to get the frame blasted the week after, then away we go....

MISSION STATEMENT:
Complete Project S1 for 'Bridladingdong' (Brid) :lol:

Mike
>>>>>>>>>>>>>>>>>>>>>>>>>>>>>>>>>>>>>>>>>>>>>>>>>>>>>>>>>>>>>>>>>>>>>
Here's another update

Dry fit #2, the panals have been fitted and a bit of fettling has taken place. I've not fitted the headset fully as I didn't want to get the frame cone stuck in before I send the frame to the blasters.

Image

I've had to do some drilling and re-threading on the horncast (quiet a nervy job...not wanting to break it)
Image

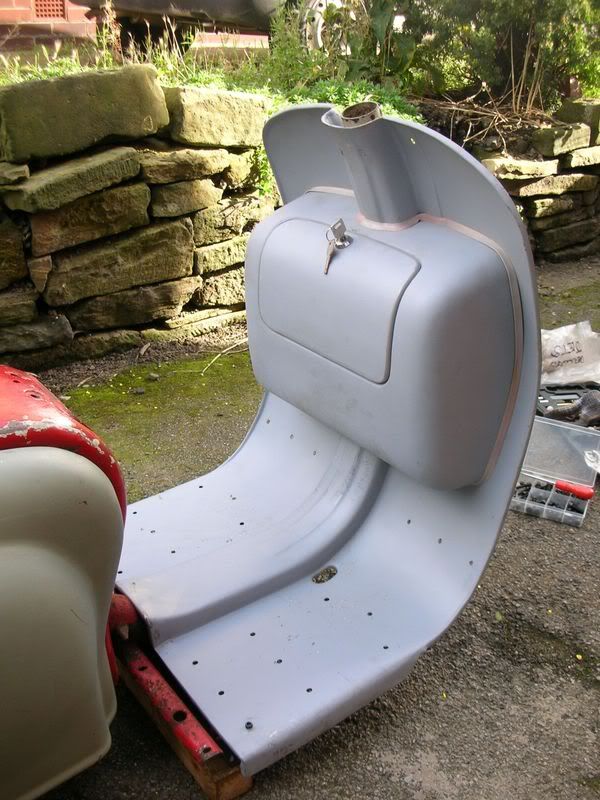
I've fitted a decent sized toolbox, as I'll eventually be fitting a long range tank
Image

I've also put some steel loops to put my chain through, when parking up (these are hardly visible when viewed at the normal level, see 1st picture)
Image

I've had the rear light 'frenched' in (still loads of work to be done on the rear as you can see)
Image

Image

The rear mudguard will need a bit of a modification, but the rear light doesn't intrude into this area too drastically
Image

I'm Hoping to get the frame to the blasters, tomoz. If all goes to plan it may be done for my Brid deadline...wishful thinking, I know :lol:

Mike
>>>>>>>>>>>>>>>>>>>>>>>>>>>>>>>>>>>>>>>>>>>>>>>>>>>>>>>>>>>>>>>>>>>>
Another update

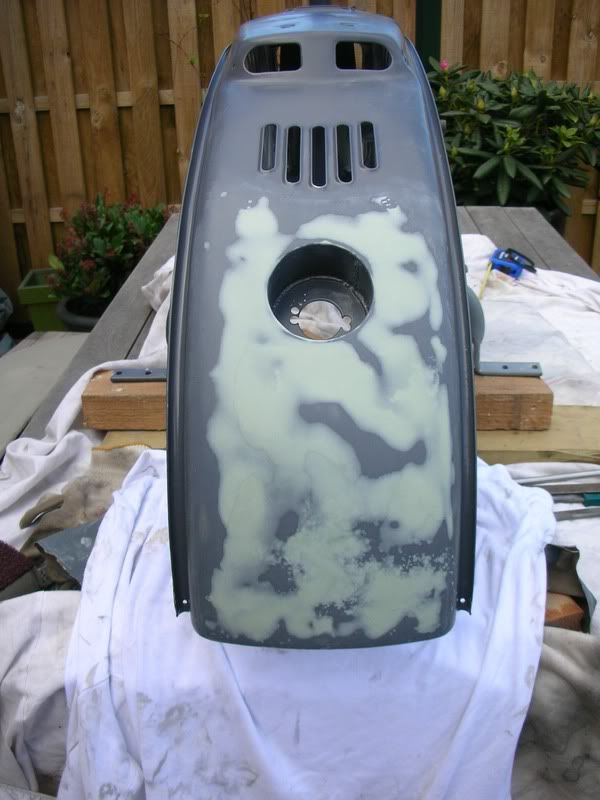
I've been working on her rear (Mmmmmm :lol: )
Image

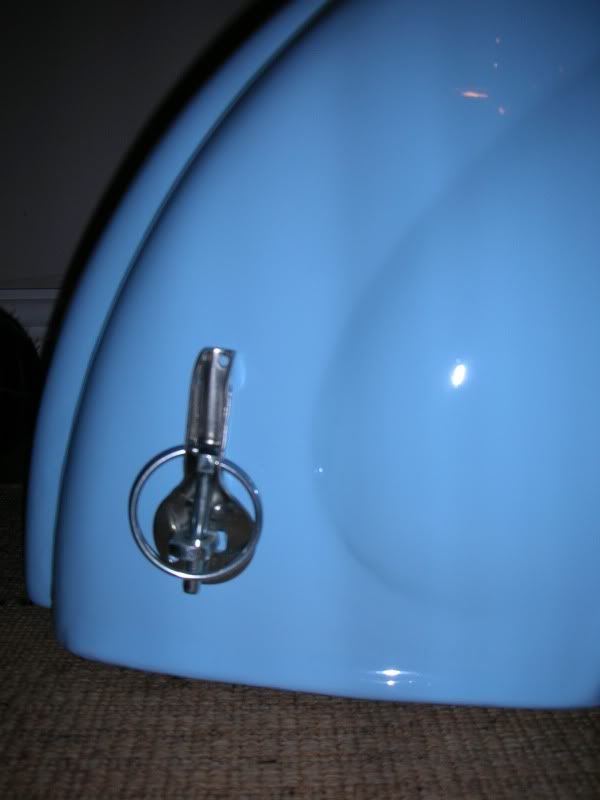
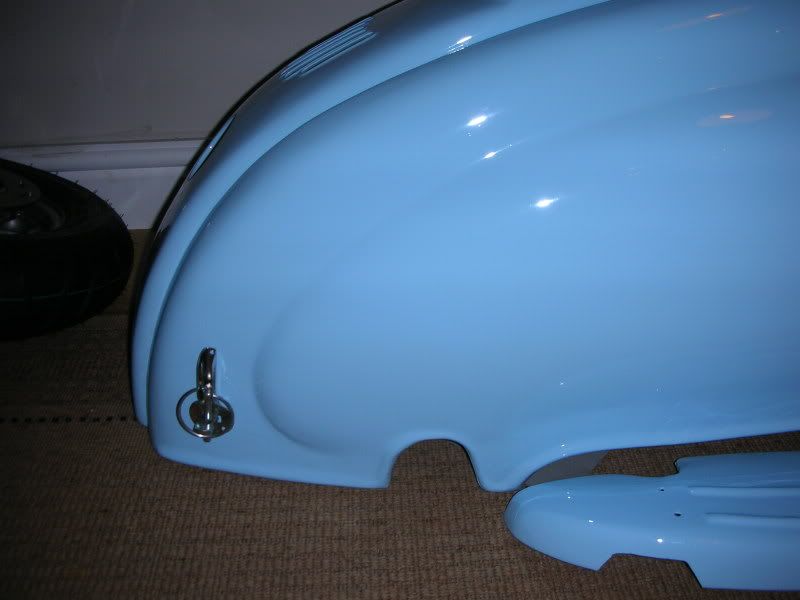
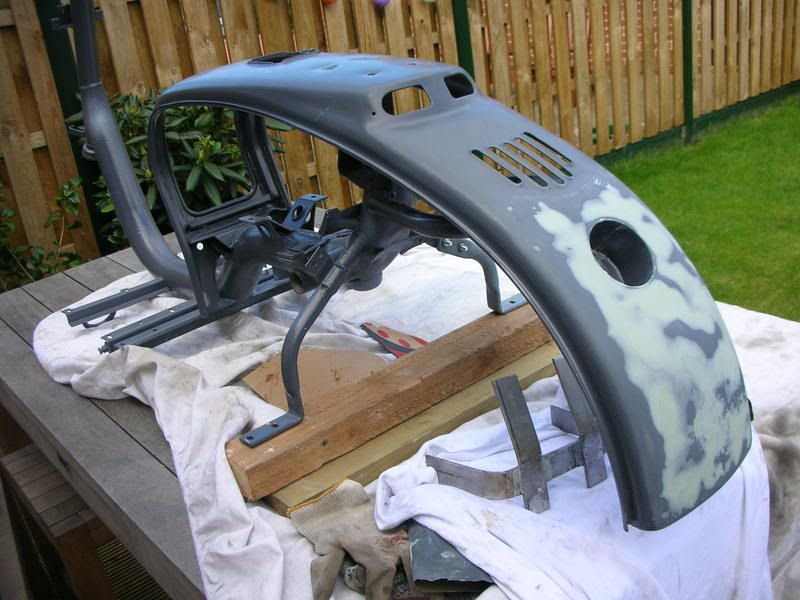
I'm going to be using bonnet pin catches (like the kind they use on rally cars with the pin and ring), instead of panal handles. You can see the bracket I've made on the table. I've made it with a long fixing bracket due the state of the rear part of the loop, I dont want to put too much strain on one area. I also tried adapting the original brackets to use the pins...but failed :oops:
Image

Image

Image

Image

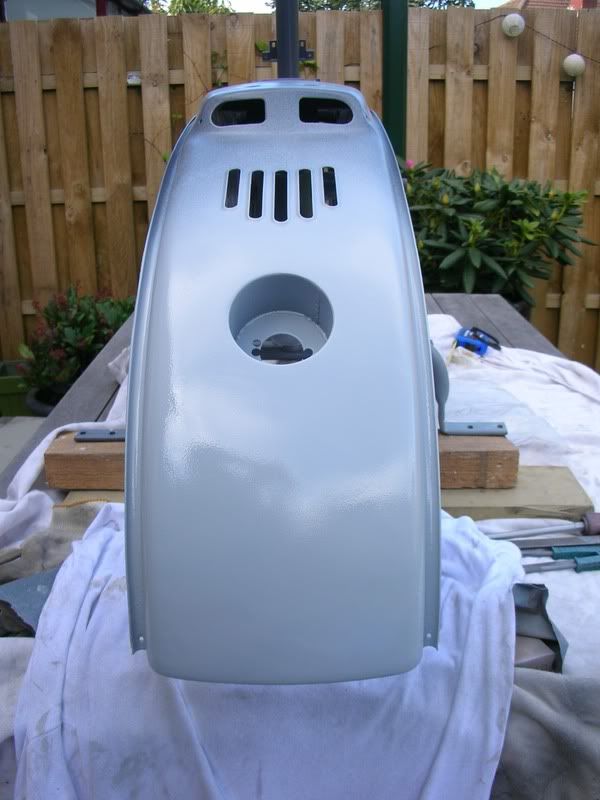
The final bodywork type job is th rear mudguard, then I just need to get it painted :D

I've also done some work on the case to match it up to the monza kit, I like doing this kinda stuff :D

Image

Image

Going to finish building the motor over this week

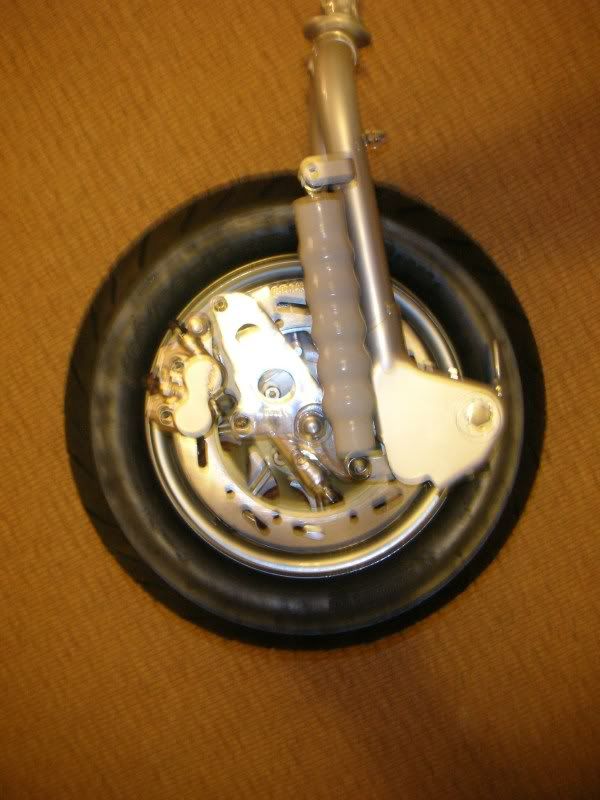
I've also built the forks, but having a bit of fun getting the hub to fit properly without modding the kit (its one of the pepper pot types), anyone else got one of these?

Mike
>>>>>>>>>>>>>>>>>>>>>>>>>>>>>>>>>>>>>>>>>>>>>>>>>>>>>>>>>>>>>>>>>>>>>


Here's another update.....

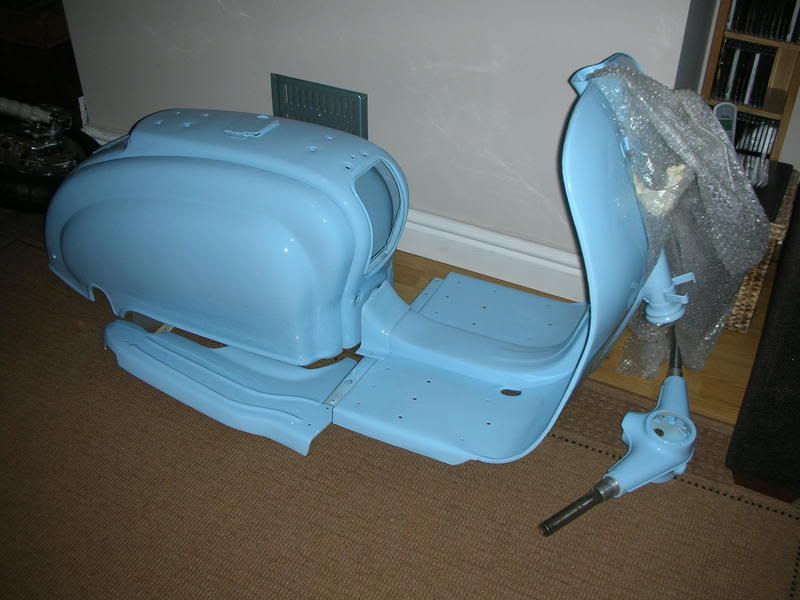
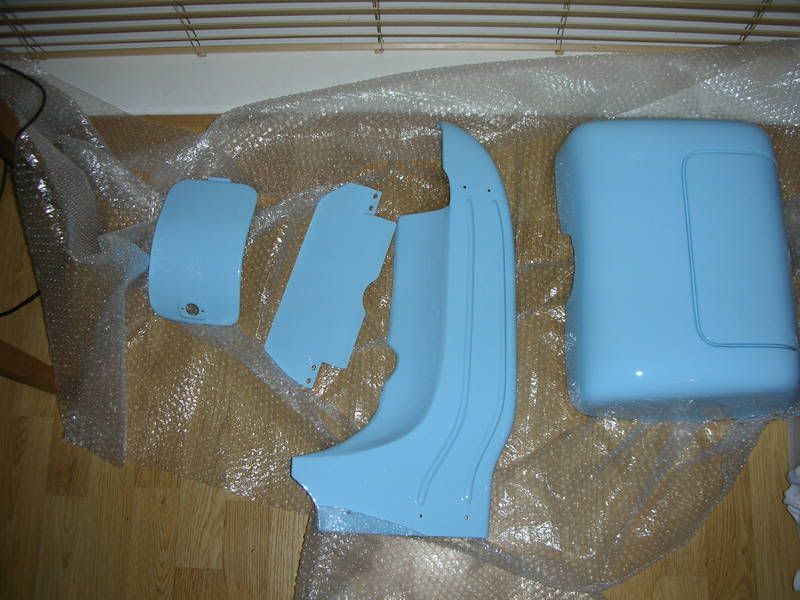
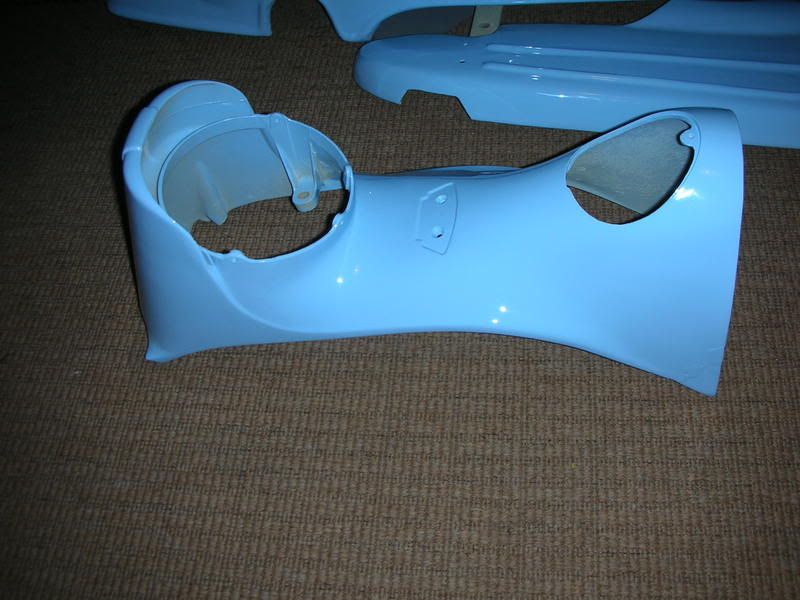
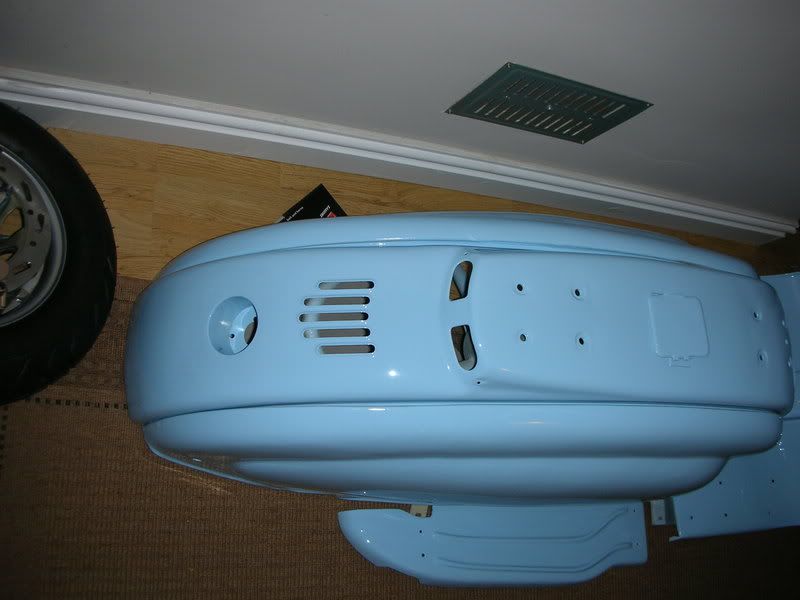
Ford Bermuda Blue 2k
Image

Image

Image

Image

Image

Painted by a local car sprayer so this is no show winner (there’s few areas that will need a little work, but if I can’t sort them out, I’m not going to lose any sleep over it) not bad for £250 :lol:

The question is....can I build it in time for brid....more importantly can I get enough garage time without the missus shouting "when are you coming back in......" :D

Mike

>>>>>>>>>>>>>>>>>>>>>>>>>>>>>>>>>>>>>>>>>>>>>>>>>>>>>>>>>>>>>>>>>>>>>
User avatar
sean brady scooters
Dealer
Posts: 2040
Joined: Mon Jan 05, 2009 12:09 pm
Location: Ripon, North Yorkshire
Contact:

thats looking wonderfull.................. :D
well done
Sean Brady Scooters - 01765 690 698
User avatar
Dell Oughta
registered user
Posts: 140
Joined: Wed Jan 07, 2009 12:22 pm
Location: Leeds
Contact:

Another update after a few lazy months off......................

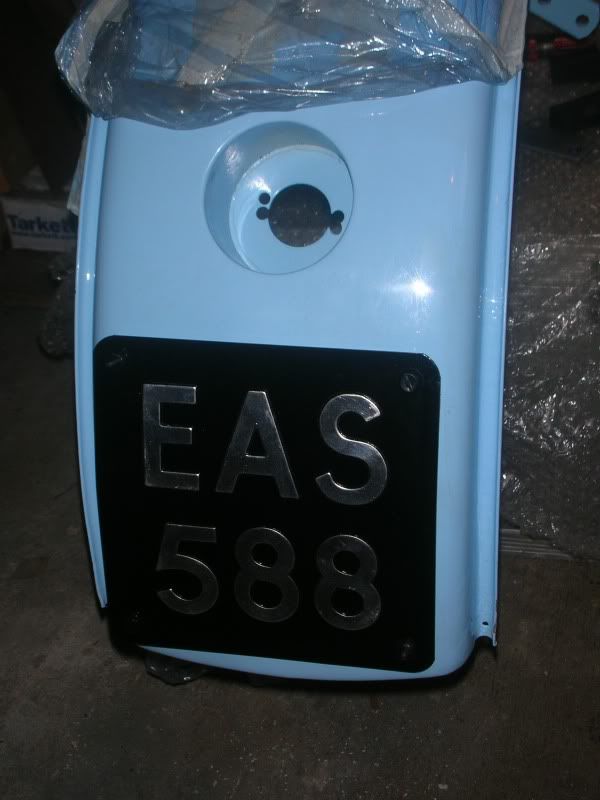
Here's the rear number plate finally fitted
Image

Image

sexy diablo tank...nice
Image

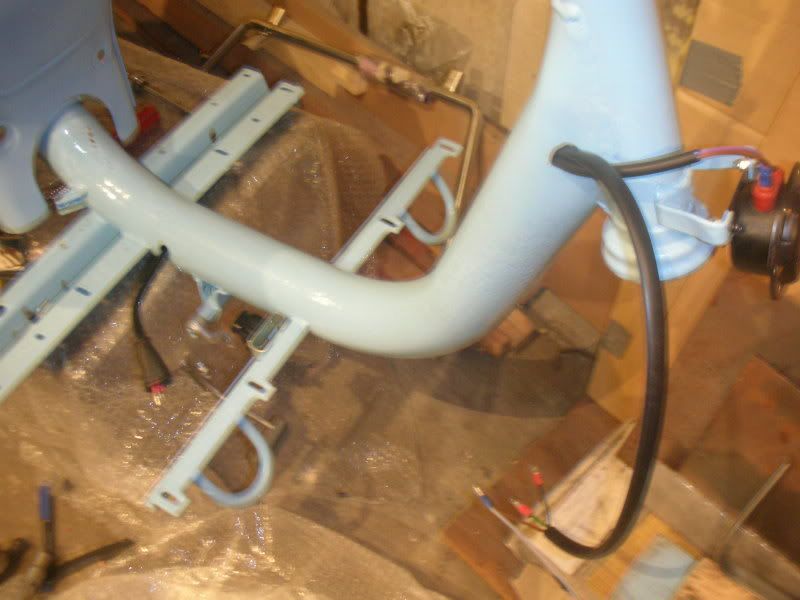
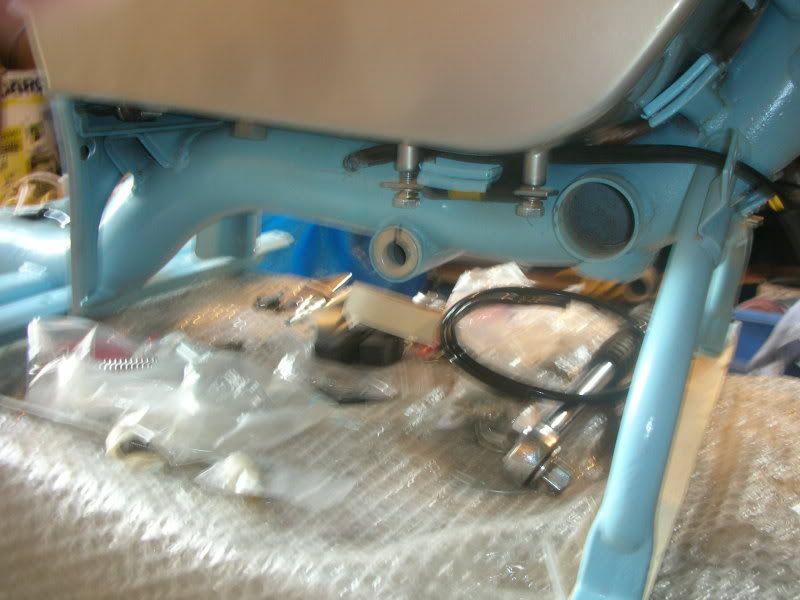
Decided to put the loom though the frame, with the intention of coming out at the rear through the hole for the frame breathing side of things
Image

My plans were foiled..the frame is blocked just passed the engine mount....should of checked before drilling DOHHHH
Image

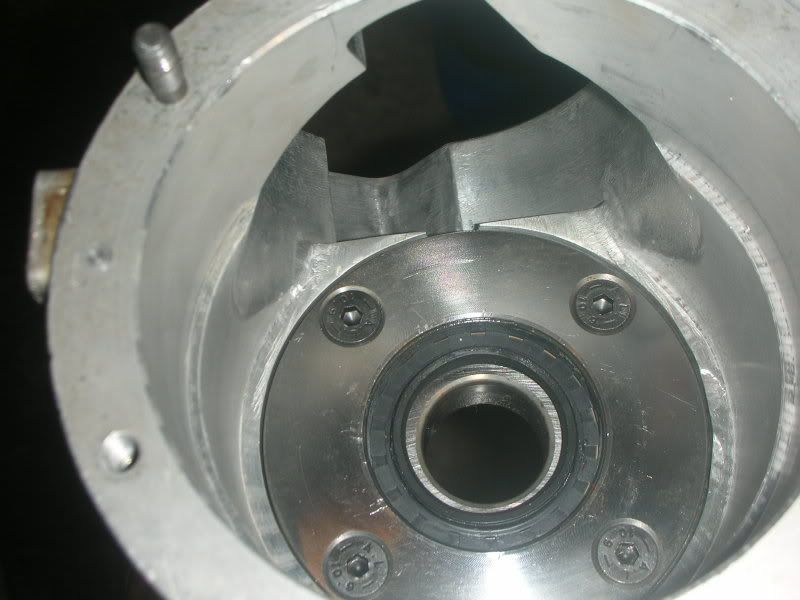
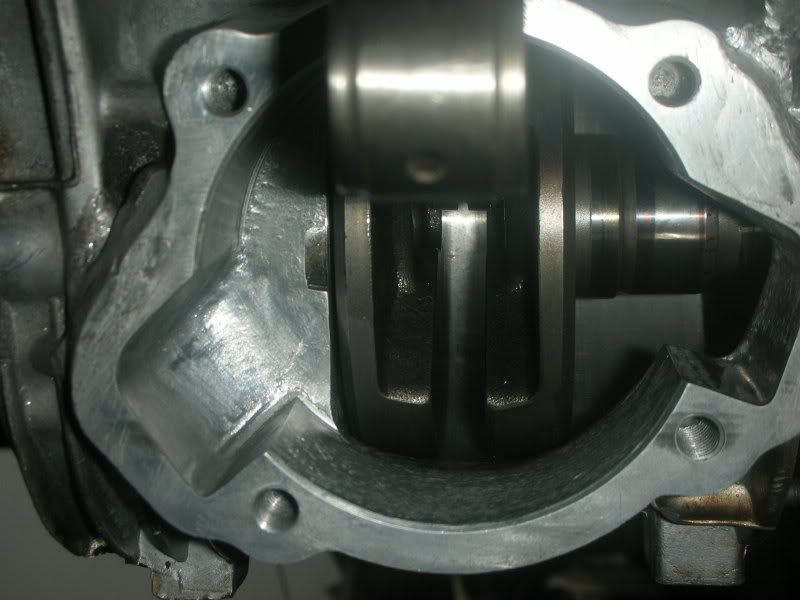
Some kinky mods to the casing...idea knicked from Dan and SB (scootererotica)
Image
Image

Engine built, just need to sort out squish then it's off in
Image

Image

Engine Spec:
SIL case 200 case
lightend flywheel
lightend deep crown wheel
GP 200 box 18 x 47
AF Race Crank
120w bgm stator
AF 5 plate clutch
225 monza kit
jl 4 curly
slippy chain guide!
New FAG bearings all round and Rolf seals (inc MB drive side retaining plate)
italian 82 chain
Augusto Retarder box (or chisel speeds version) to purchased

Snazzy forks with outboard disk
Image


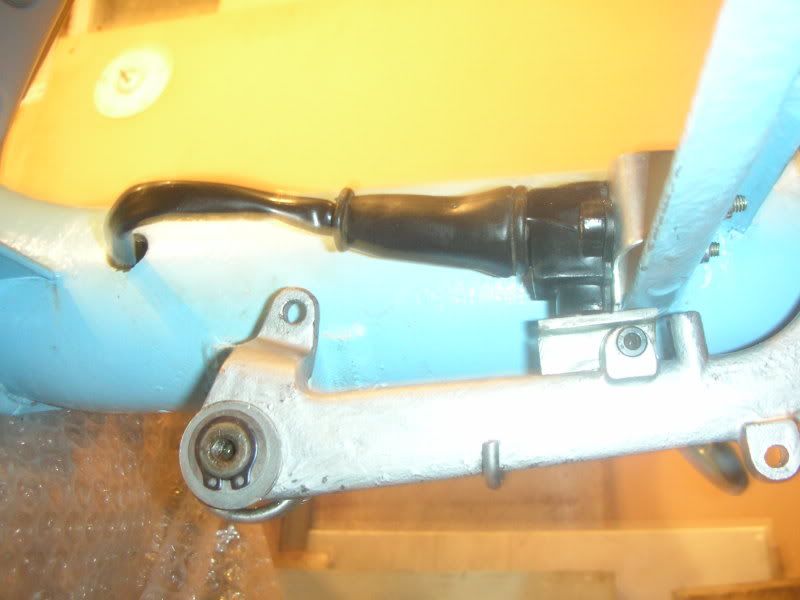
Nice little mod for brake pedal switch (Courtesy of Wellchap WKFA SC)
Image

I'll keep you posted

Mike
Last edited by Dell Oughta on Fri Mar 20, 2009 1:39 pm, edited 1 time in total.
User avatar
Dell Oughta
registered user
Posts: 140
Joined: Wed Jan 07, 2009 12:22 pm
Location: Leeds
Contact:

cheers shaun :)
matthew
registered user
Posts: 82
Joined: Sat Jan 24, 2009 10:11 pm
Contact:

Haven't I seen that back end before somewhere? :shock:
Image
User avatar
Dell Oughta
registered user
Posts: 140
Joined: Wed Jan 07, 2009 12:22 pm
Location: Leeds
Contact:

Yeah mate...that ass was an inspiration to me!
User avatar
Dell Oughta
registered user
Posts: 140
Joined: Wed Jan 07, 2009 12:22 pm
Location: Leeds
Contact:

Just found a few more pics

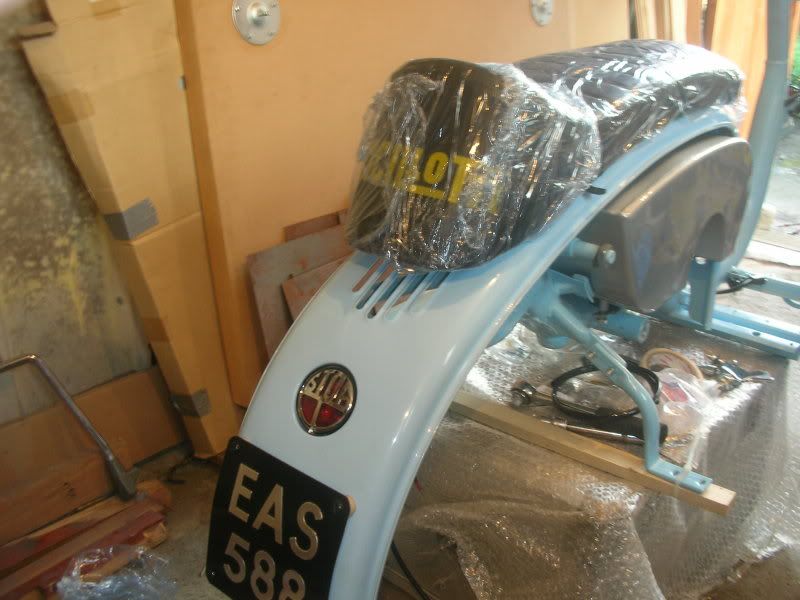
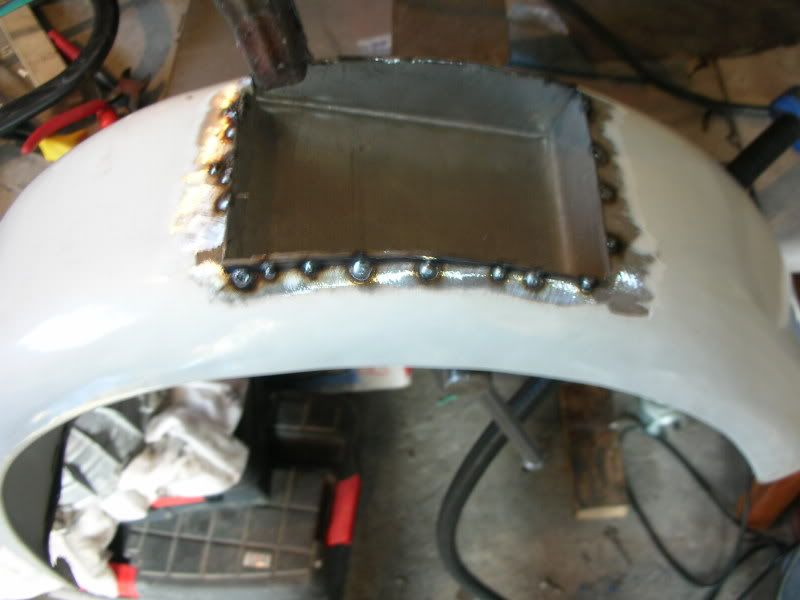
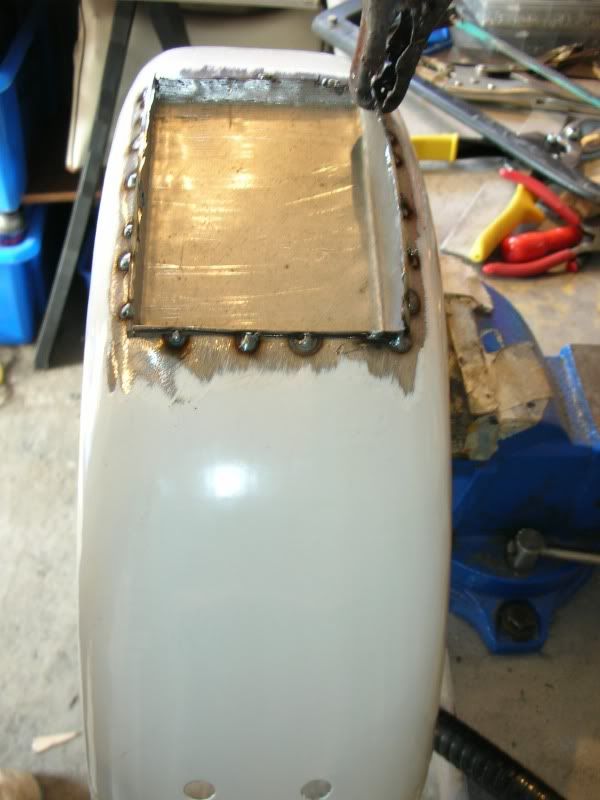
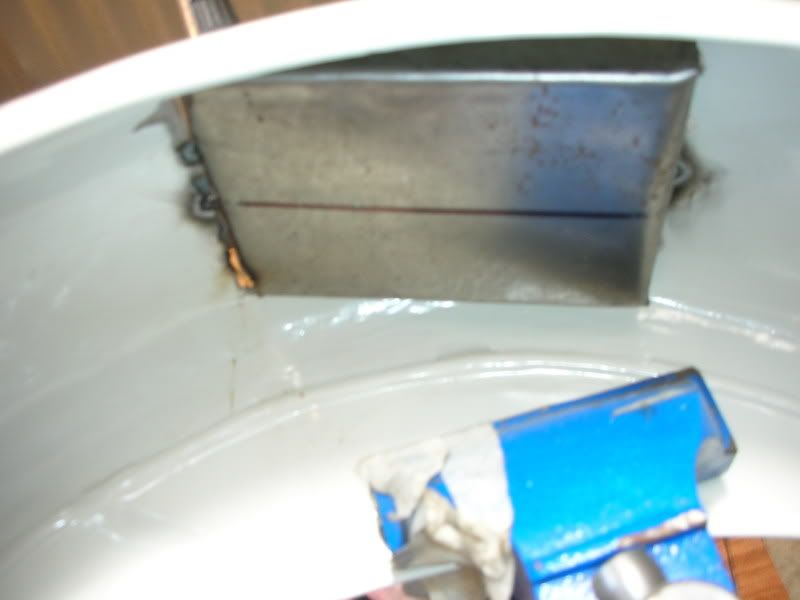
Had to create a cut out in the rear mudguard to allow for the rear light
Image

Image

Image

Rear panal clips (snazzy or what)
Image

Image


Mike
User avatar
drunkmunkey6969
Moderator
Posts: 2838
Joined: Sun Jan 04, 2009 1:42 pm
Main scooter: '69 Lambretta GP
Location: North Yorkshire
Contact:

Dell Oughta wrote: Some kinky mods to the casing...idea knicked from Dan and SB (scootererotica)
Image
Image
See...its those kinky mods that put the erotic into Scooterotica!! :lol:
See our YouTube scooter channel for Tech-help: https://www.youtube.com/c/TheScooterFactory/videos
User avatar
mawso
registered user
Posts: 411
Joined: Wed Jan 07, 2009 8:47 pm
Location: Harrogate
Contact:

It looks El Minto...and not just the colour!

I was wondering what clips were gonna go on the panels; when I seen the holes still there after painting. I do like an uncluttered back end on an S1 myself. One question: is that a pressed alloy plate that you've contoured (bent) to follow the shape of back end and are they grey rubber anti vibration washers as well?

I will be taking notes and emulating (nice word for blatantly copying) some of the good work I've seen on Various S1's inc yours! :bald:

Cheers Stu

P.S - still got that JL stub?
User avatar
Dell Oughta
registered user
Posts: 140
Joined: Wed Jan 07, 2009 12:22 pm
Location: Leeds
Contact:

Yip still got the jl stub for you, it was waiting by the door in a bag for a phone call from you (at xmas) it’s been demoted back to the garage :D (pm me your address and I send it ya)

The number plate is an ally one. I made a steel back plate, a tad short than the number plate size, then bent that to the contour of the rear of the scoot. I then bent the number plate to the shape of the backplate. Then using the 3 rubbers that your supposed to fit the plate with (I cut the longer one in two,) I then shaped the 4 of them a tad to match the curve of the back end, fitted it all on and hey presto a nice looking pukka plate ;)


mike

PS copy away I hold no copy rights to anything :D
As already stated on here I've nicked the idea for the rear light off someone on here (bloody nice scoot he has too ;) )
Last edited by Dell Oughta on Mon Mar 23, 2009 9:24 pm, edited 1 time in total.
Post Reply Previous topicNext topic
  • Information
  • Who is online

    Users browsing this forum: Ahrefs [Bot] and 13 guests