
Cutdown ....work in progress

-
Fenian Mick
- registered user
- Posts: 64
- Joined: Thu Dec 10, 2009 10:41 am
- Contact:
Ha Ha....most of it done over the last 12 months. Just never got round to posting on here.mick1 wrote:very nice........what did you do on the 2nd day of the build ?
I had 2 attempts at the modified head set top accommodating the Vapour speedo.
The first go i made a facia and welded it in position but it did not allow enogh room for inside controls.
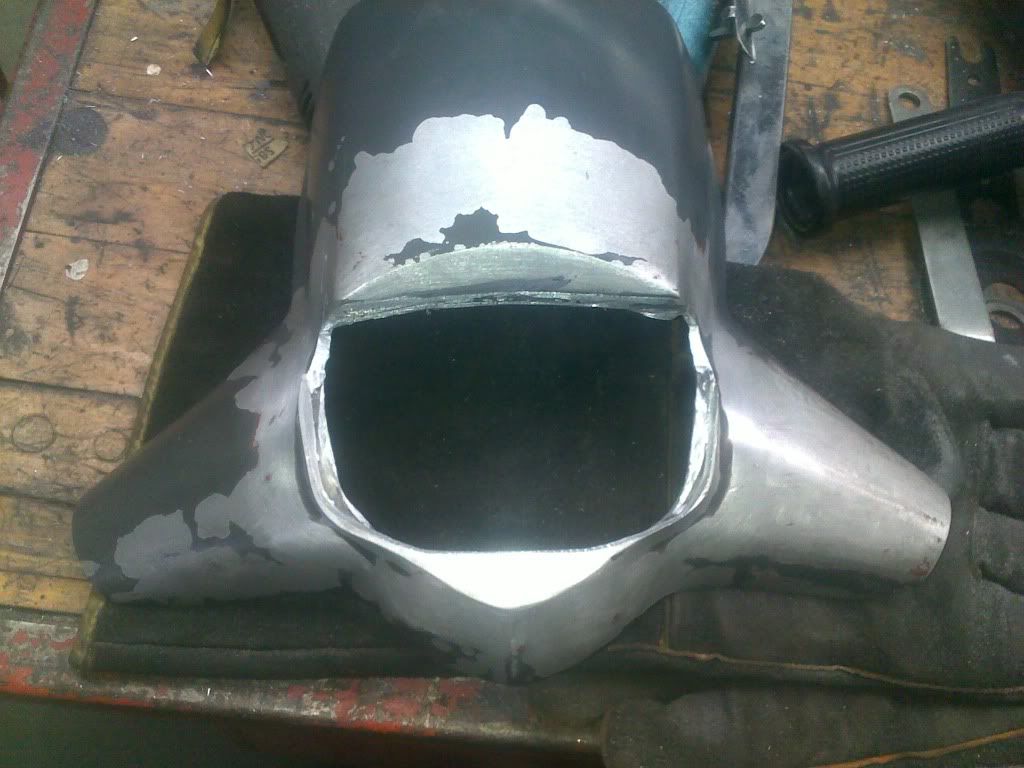
The second attempt i bought a cnc machined holder for the Vapour from a moto x dealer and welded that to the original then fettled it.....now much more room and cosmetically look better when painted
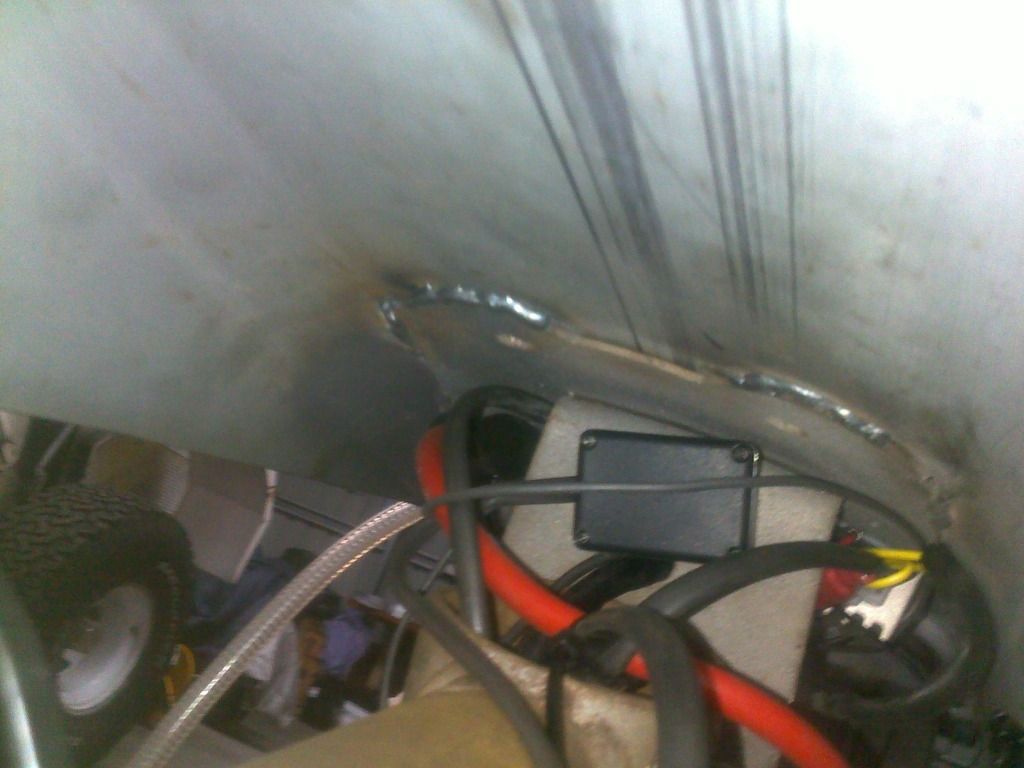
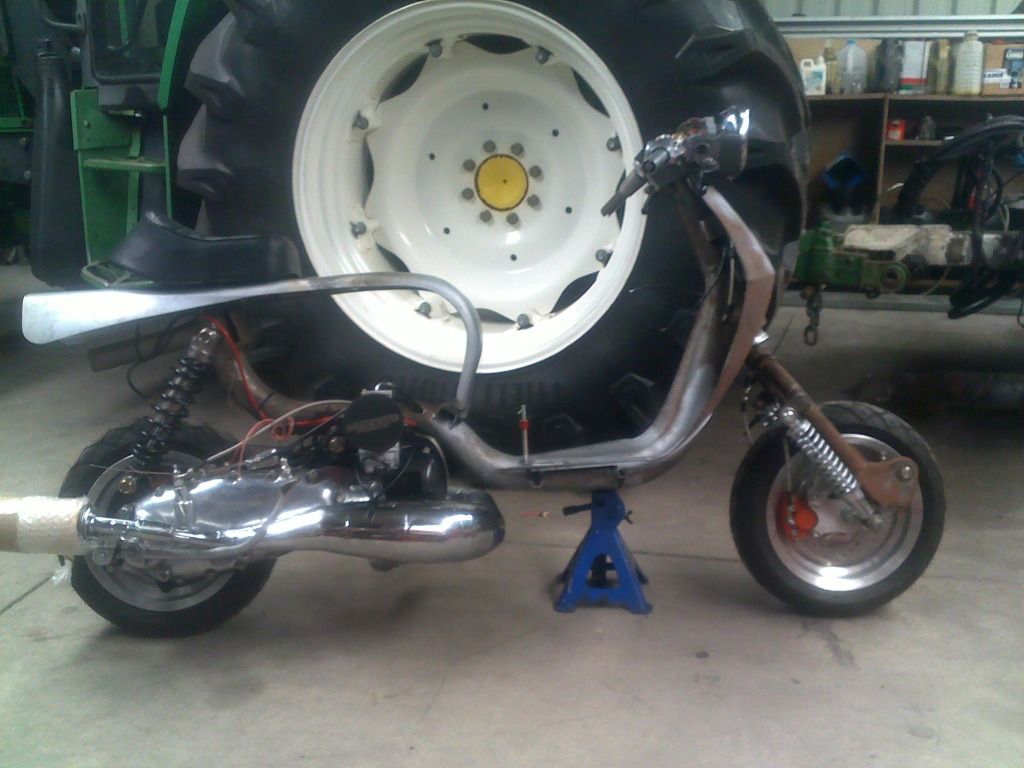
I fitted all hoses and cables and loom through the frame and located ignition components under the frame below the seat.

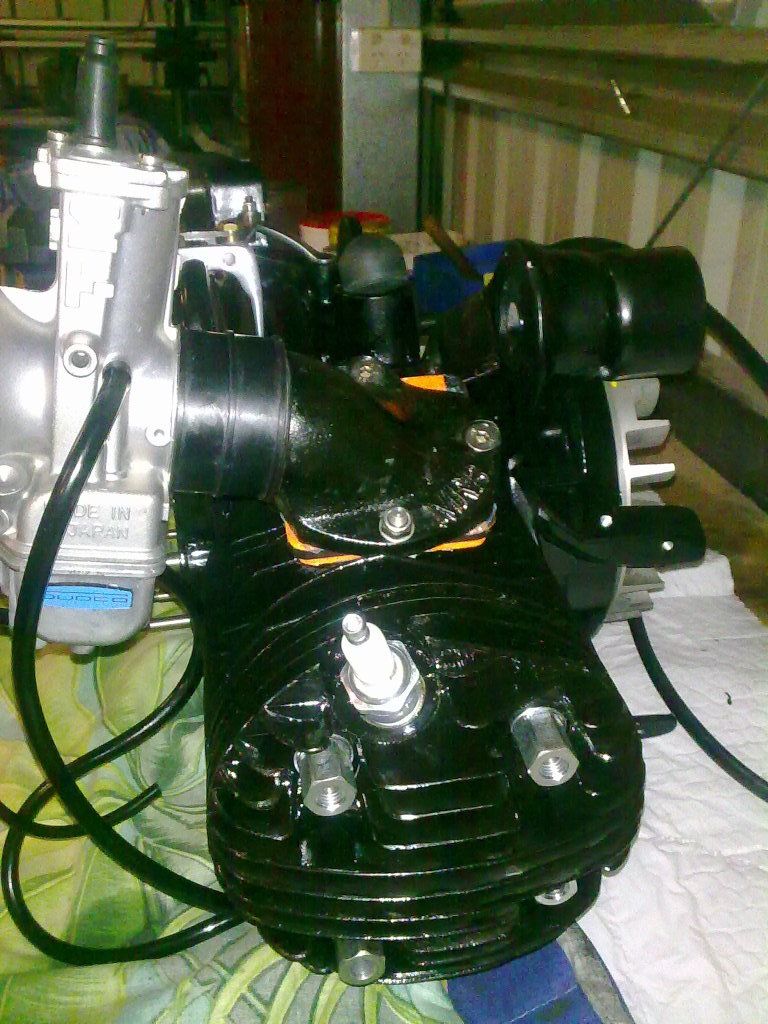
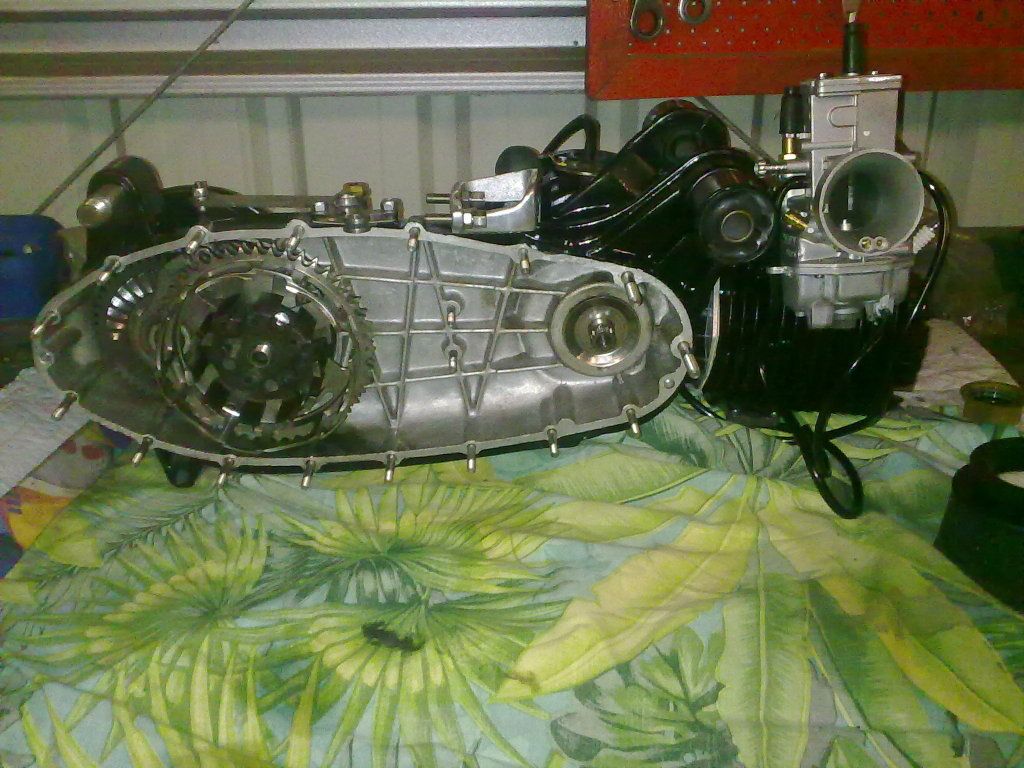
A mate of mine does all sorts of coatings, so he did a black heat dispersant coating on the head , barrel and manifold.....its supposed to improve heat dispersal by 15 % ??
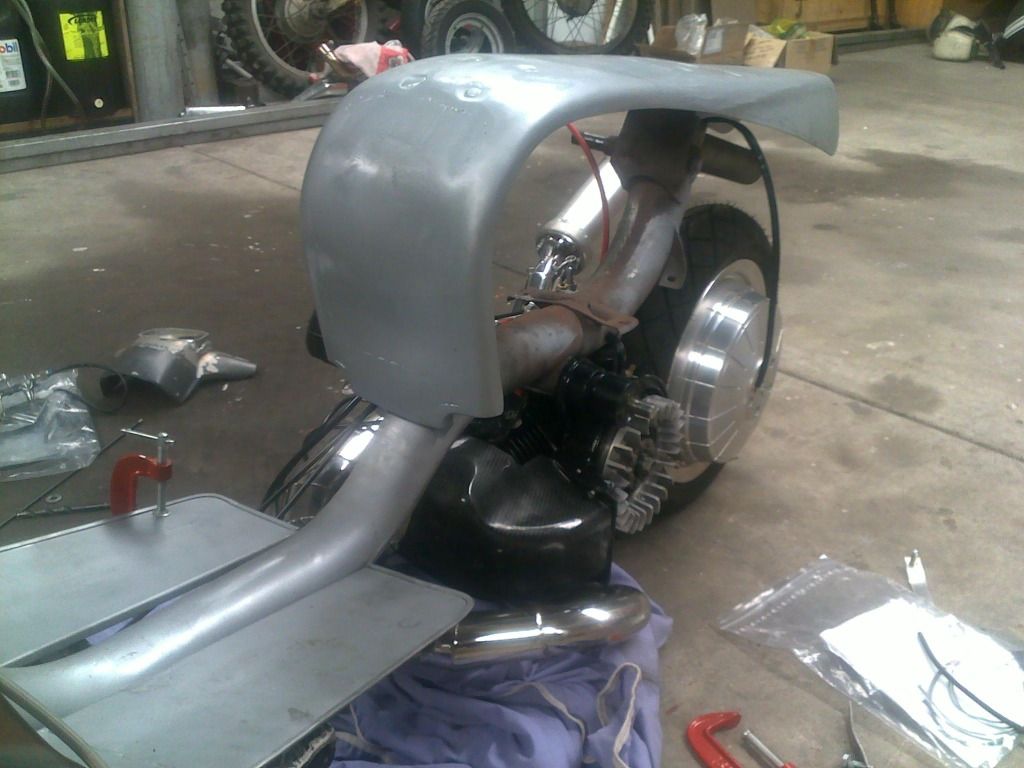
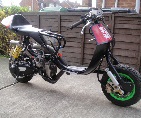
finally decided on the frame set up and removed rear tube and mudguard brackets( still attached in pic) and sent all off to the painters.

-
Fenian Mick
- registered user
- Posts: 64
- Joined: Thu Dec 10, 2009 10:41 am
- Contact:
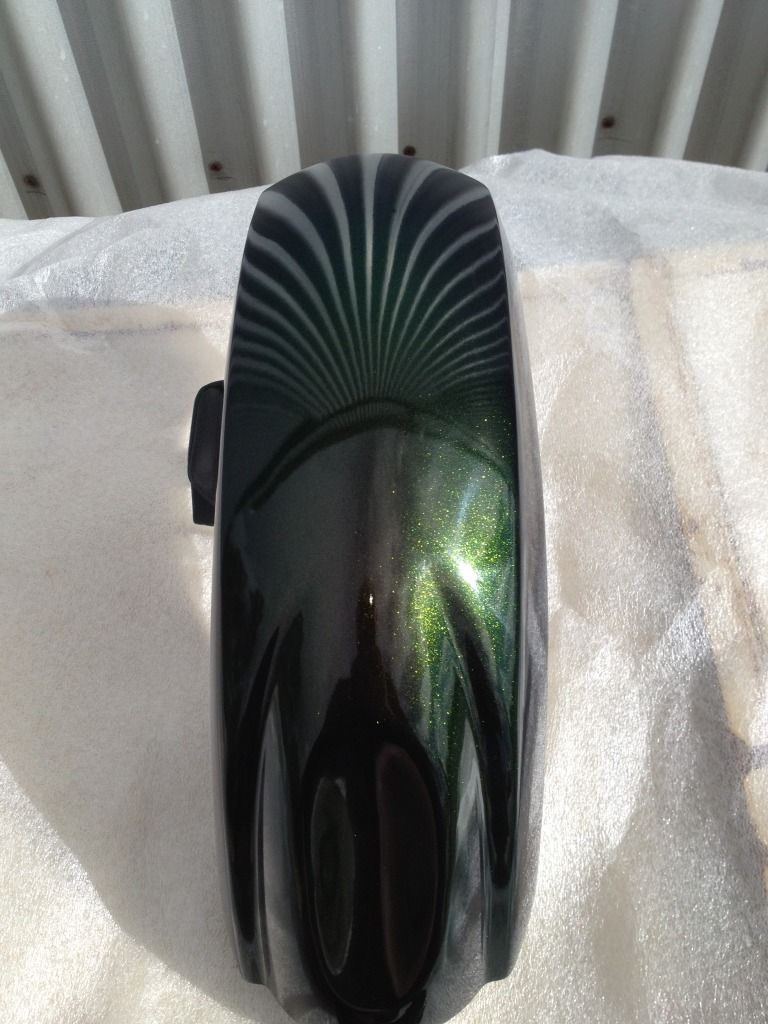
i got a sample back from the painter before he ventured any further. What colour is it....depends where you look at it from ! Liquid crystal which reflects ( refracts ?) the light.
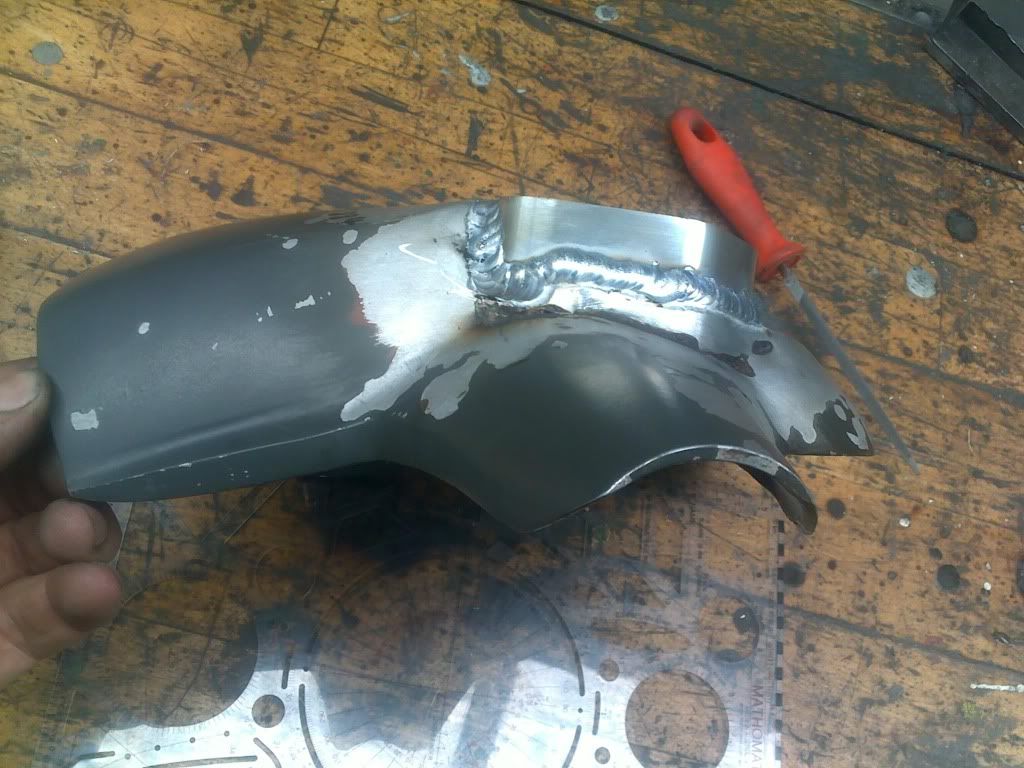
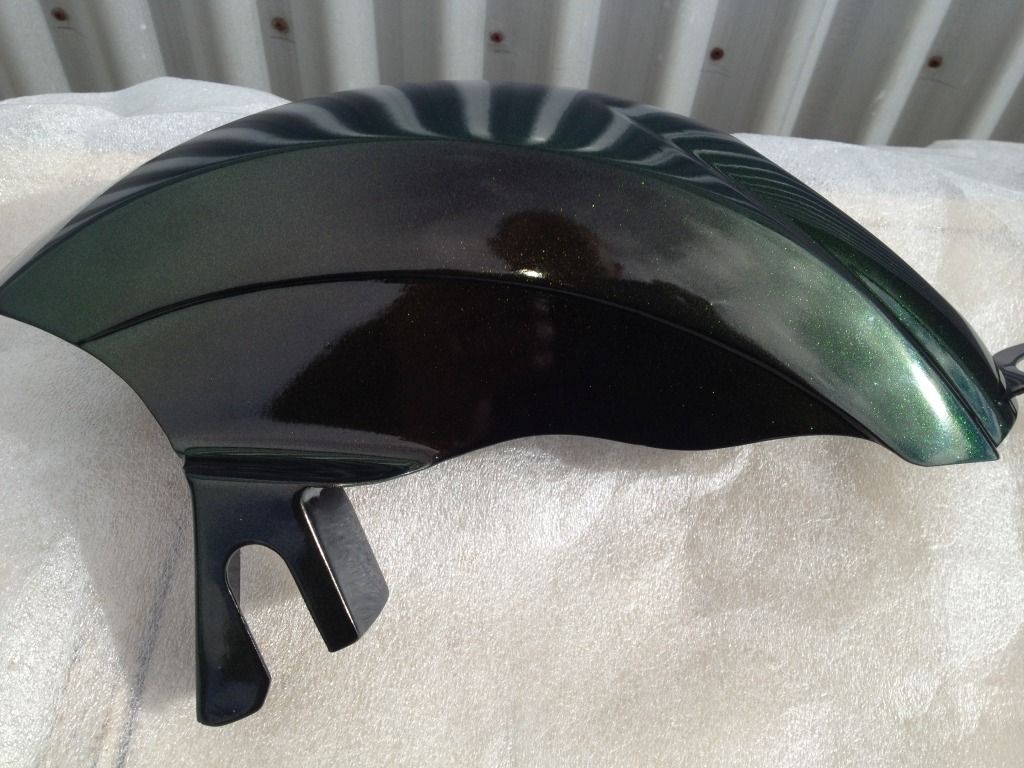
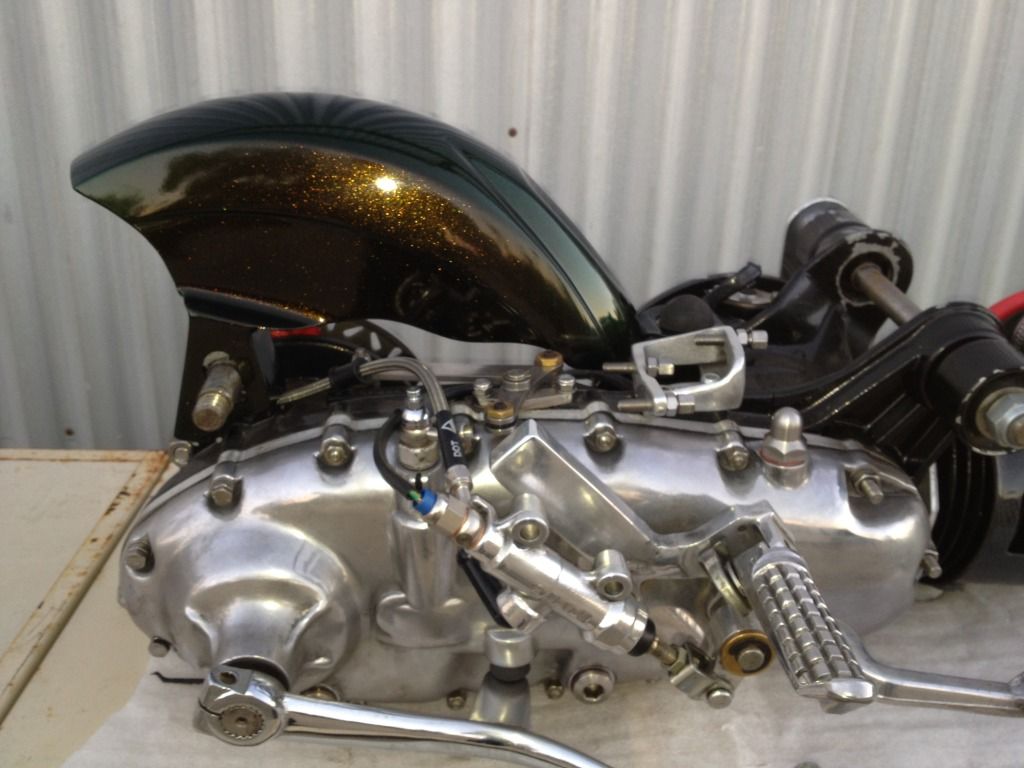
rear guard started out as a Vega rear but with a bit of work turned into a hugger mounted soley on the engine at shocker mount and bump stop


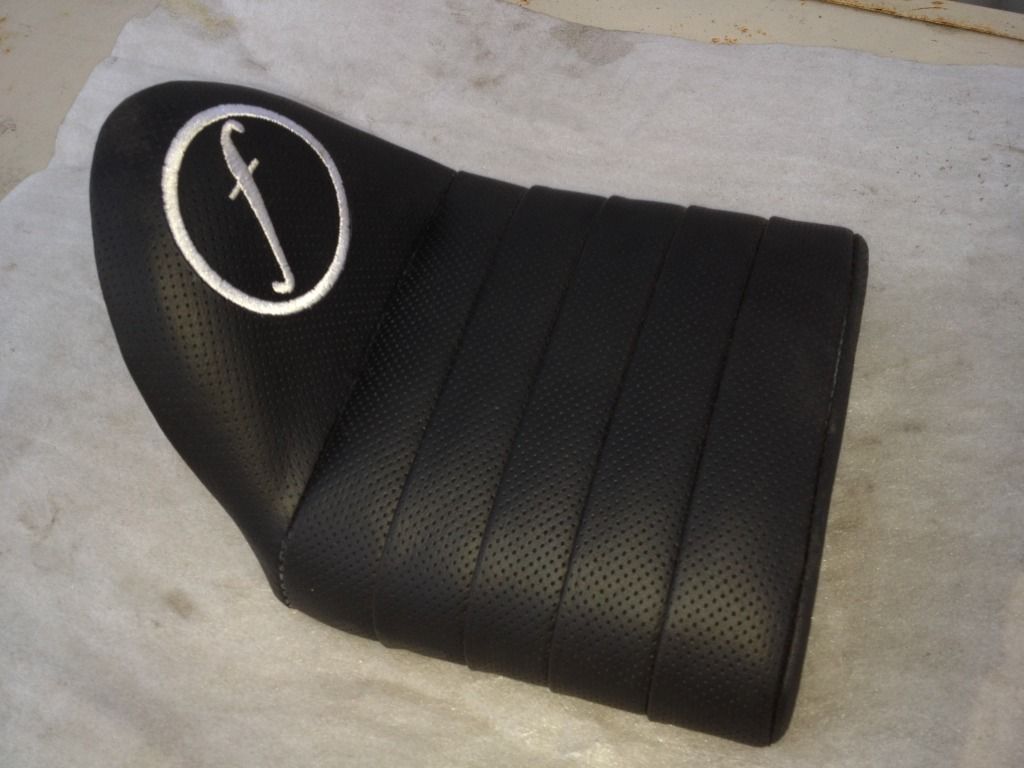
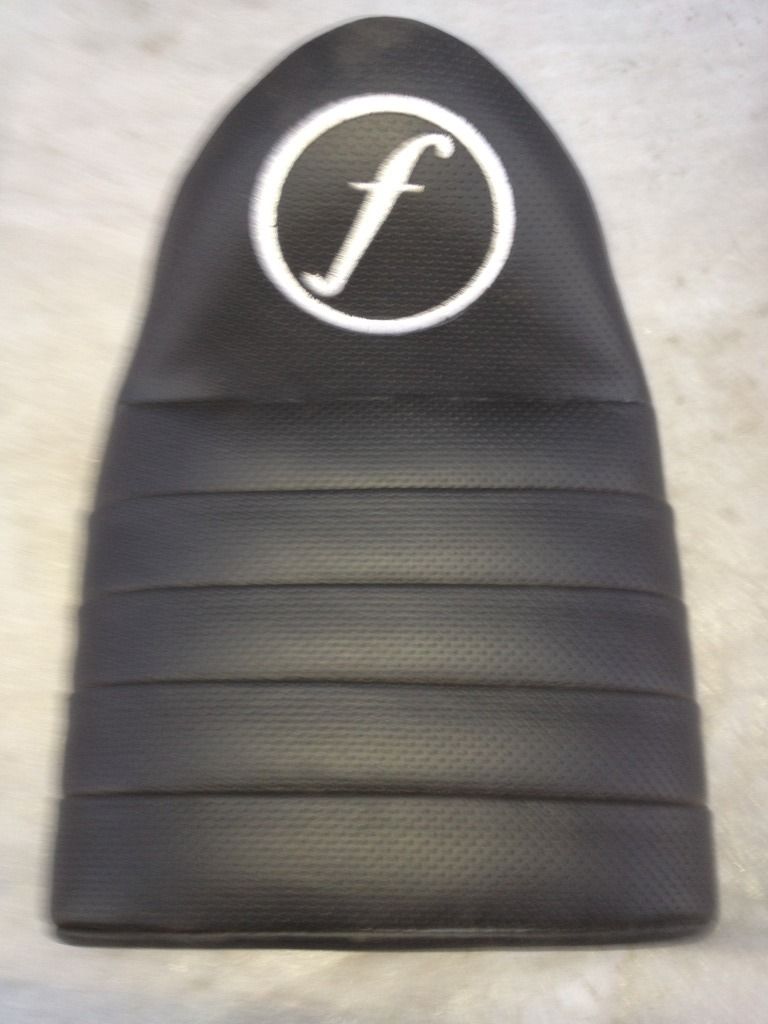
The seats that i have previously tried did not look right on the new rear end, elvington and a fibreglass race seat....so seen as though it was the last piece of the jigsaw i got a custom metal wiz to make a seat that shapes itself to the new back end so looks like was meant to be there and a steel base for the pad to fit it that bolts through the seat and retains it to the frame.
Just got the pad back today but seat base is still at the painters


:fb: sit back and wait for the painter.......hurry the fe#k up
rear guard started out as a Vega rear but with a bit of work turned into a hugger mounted soley on the engine at shocker mount and bump stop
The seats that i have previously tried did not look right on the new rear end, elvington and a fibreglass race seat....so seen as though it was the last piece of the jigsaw i got a custom metal wiz to make a seat that shapes itself to the new back end so looks like was meant to be there and a steel base for the pad to fit it that bolts through the seat and retains it to the frame.
Just got the pad back today but seat base is still at the painters
:fb: sit back and wait for the painter.......hurry the fe#k up
what exactly is the foot pegs mounted to ??Fenian Mick wrote:
i ask
as i need to make mine much lower .. i get cramp within minutes as they are
Its in bits scooter club: www.facebook.com/groups/132415046859320
-
MADSPEEDRB260
- registered user
- Posts: 305
- Joined: Mon Jul 26, 2010 11:28 pm
- Main scooter: lambretta gp200
- Contact:
Looking good well done.
-
Fenian Mick
- registered user
- Posts: 64
- Joined: Thu Dec 10, 2009 10:41 am
- Contact:
Ali plate shaped to chaincase then welded, drilled and tapped. Casing bows when welded.... i bolted it down to an old engine case and had it clamp at both ends but it still bowed a bit.......but the gasket dresses up again with a bit of careful work.RICSPEED wrote:what exactly is the foot pegs mounted to ??Fenian Mick wrote:
i ask
as i need to make mine much lower .. i get cramp within minutes as they are


thanksFenian Mick wrote:
Its in bits scooter club: www.facebook.com/groups/132415046859320
-
soulsurfer

- registered user
- Posts: 2539
- Joined: Thu Jan 08, 2009 2:43 pm
- Location: The Garden Of England
- Contact:
Would that be strong enough to stand constant use, I wouldn't think the chaincasing has that much strength?Fenian Mick wrote:
Turn On, Tune In, Cop out!