Page 3 of 8
Re: step by step watercooled lambretta kdx220 setup
Posted: Fri Oct 01, 2010 8:09 pm
by RICSPEED
rocho68 wrote:RICSPEED wrote:is the spiggot part under size at the moment? and are you going to make some kind of jig to ensure the new billet peice is in the right position?
Im in the process of making a tool that fits into the billet then locates in whats left of the old barrel spigot , this will then keep it central when the it is "tacked into position " ,The spigot has a tolerance of 0.5mm which is the same as the standard motorcycle casings but quite large in engineering terms so offers a little give from the off and im hoping that i wont have to do any major machining later as i want to be as builder friendly as possible ,plus the guy who does my ali welding is an absolute god with very little distorting happening in previous work ive had done , so fingers crossed .................
not only that but what i was allso concerned about was ensuring the gasket face was square as before as theres no room for error here ,do you intend to have this machined after welding?
Re: step by step watercooled lambretta kdx220 setup
Posted: Fri Oct 01, 2010 8:28 pm
by rocho68
RICSPEED wrote:rocho68 wrote:RICSPEED wrote:is the spiggot part under size at the moment? and are you going to make some kind of jig to ensure the new billet peice is in the right position?
Im in the process of making a tool that fits into the billet then locates in whats left of the old barrel spigot , this will then keep it central when the it is "tacked into position " ,The spigot has a tolerance of 0.5mm which is the same as the standard motorcycle casings but quite large in engineering terms so offers a little give from the off and im hoping that i wont have to do any major machining later as i want to be as builder friendly as possible ,plus the guy who does my ali welding is an absolute god with very little distorting happening in previous work ive had done , so fingers crossed .................
not only that but what i was allso concerned about was ensuring the gasket face was square as before as theres no room for error here ,do you intend to have this machined after welding?
Its not a problem for me to true this face up at work , the billet is 25mm thick and with only the rear of it being welded id be very unhappy with my welder if he distorted something that thick after what hes done in the past !! but things can happen so when it comes to the calculations regarding the crankcase milling i can always add in extra to take into account later facing off of the gasket area .
Re: step by step watercooled lambretta kdx220 setup
Posted: Sun Oct 03, 2010 4:45 pm
by RICSPEED
Re: step by step watercooled lambretta kdx220 setup
Posted: Sun Nov 21, 2010 8:58 pm
by rocho68
Re: step by step watercooled lambretta kdx220 setup
Posted: Sun Nov 21, 2010 9:06 pm
by rocho68
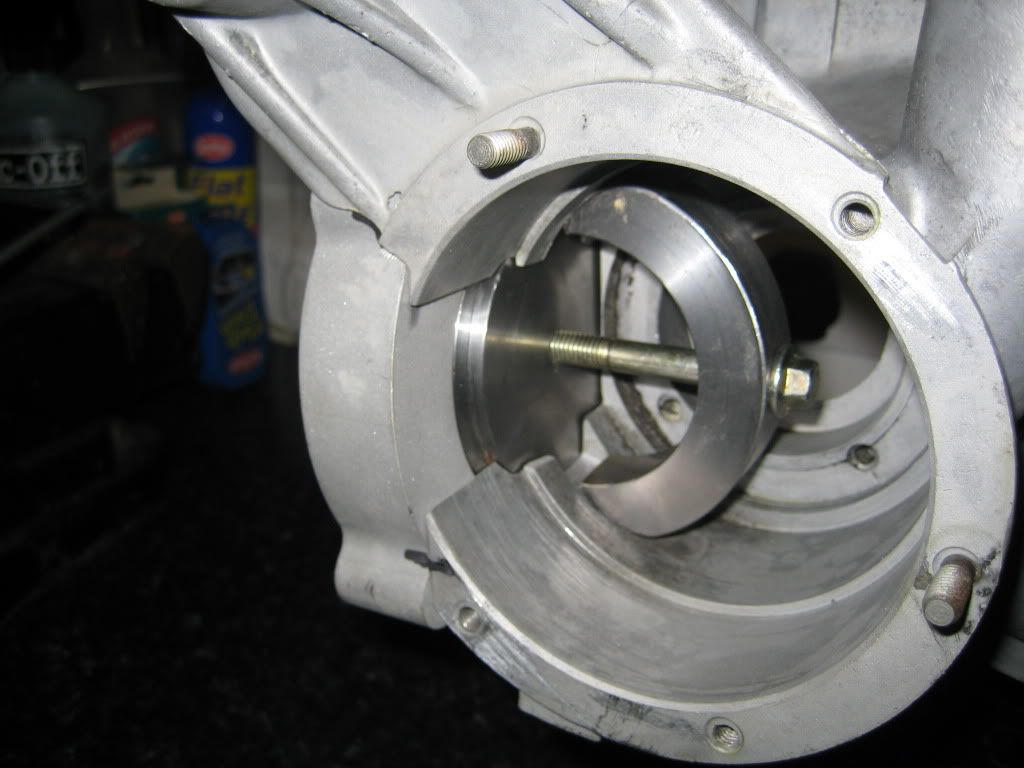
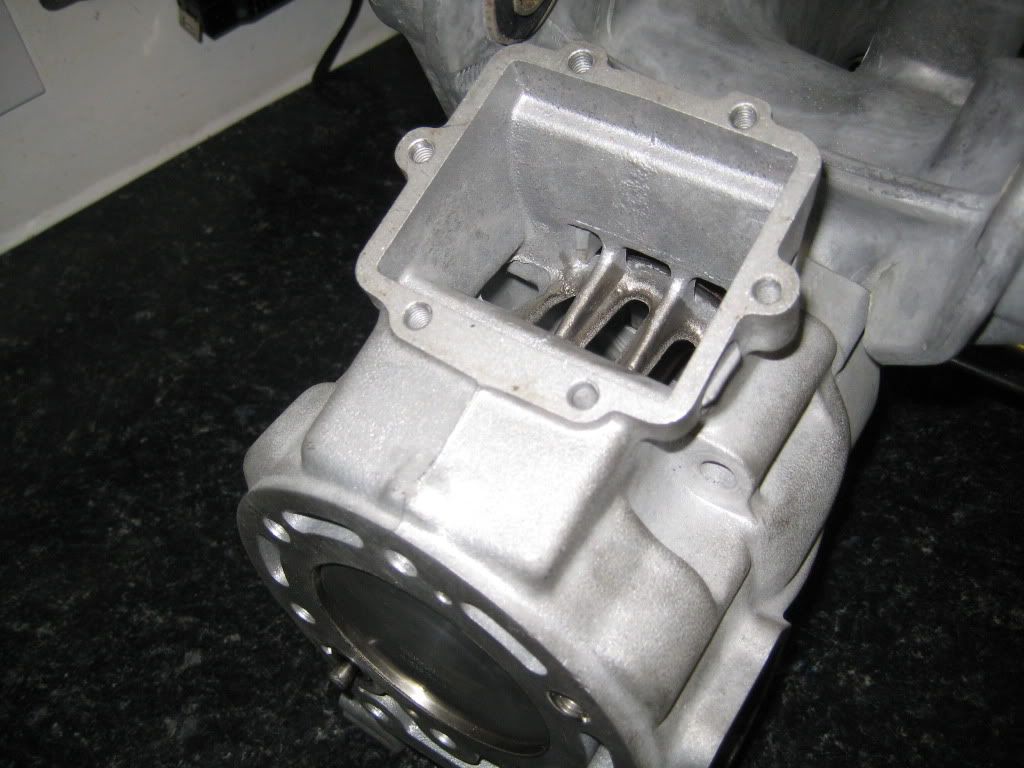
heres a picture of the holding tool and barrel showing amount to be machined for final settings
Re: step by step watercooled lambretta kdx220 setup
Posted: Sun Nov 21, 2010 10:56 pm
by J1MS
Nice work...


Re: step by step watercooled lambretta kdx220 setup
Posted: Sun Nov 21, 2010 11:03 pm
by Wayne Miller
rocho68 wrote:powervalve operation is another problem though as electrics are not my cup of tea , a cable operated one is easy as is a electric manual indicator type switch , a fully automatic one kicking in at 6000 revs is a different matter but something i can sort later .....................

Try these guys,
IGNITECH
I used one of there STPS Servo controlers on my Rotax barrelled smallframe, it works a treat and can be hooked up to a laptop and programmed to open/close at any RPM.
When you go to there site click on Products, scroll down to Others and click on STPS
PS I love the packer plate, your inspiring me to redo mine, mines currently simply bolted on at the moment. I think I have another crack at it and weld it this time. Keep up the good work

Re: step by step watercooled lambretta kdx220 setup
Posted: Sun Nov 21, 2010 11:45 pm
by RICSPEED
that looks bloody good ...is the mag side transfer going to cause a prob if you machine back the mag gasket face ????
Re: step by step watercooled lambretta kdx220 setup
Posted: Sun Nov 21, 2010 11:48 pm
by RICSPEED
i think i want one :bouncing:
did you use 150 or 200 case ???
Re: step by step watercooled lambretta kdx220 setup
Posted: Mon Nov 22, 2010 9:04 am
by willwander
Looks very neat. I love this thread, thanks for the update.

 [/photobuckvid]