Page 2 of 5
Re: Rally 200 Re-build
Posted: Tue Jan 27, 2015 6:22 pm
by paulnobodyimportant
Hi cgt75b
Yes, did buy all that stuff and it’s still here. Lots of original mechanical bits, bolts, oil seals etc., but nothing to get excited about.
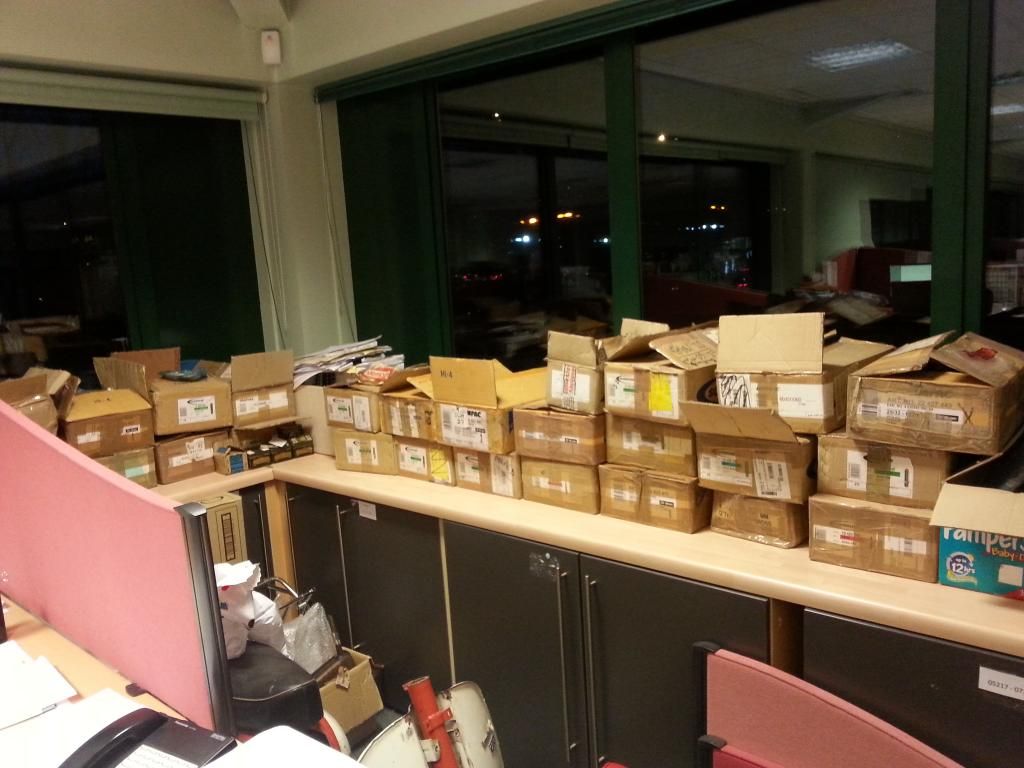
Now I can identify every Lambretta part, but just learning about Vespa parts and therefore spent ages going through every cardboard parts box looking for what I want and in general find it. Now once I've finished this Rally, I might know a bit more and start to get rid of them.
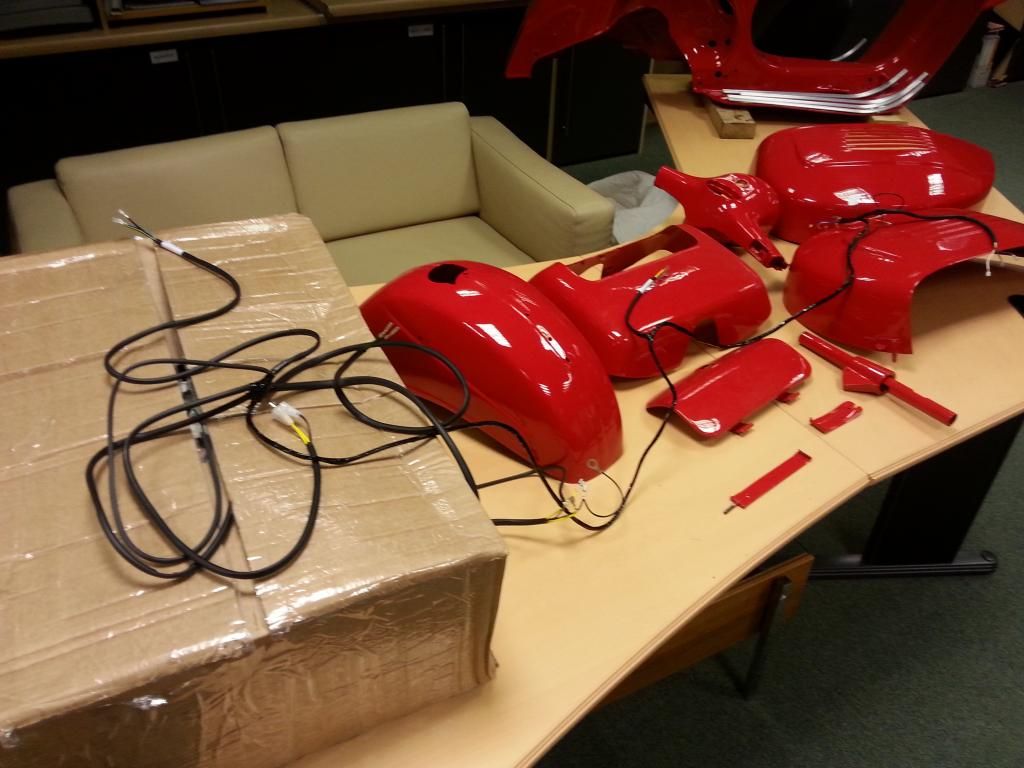
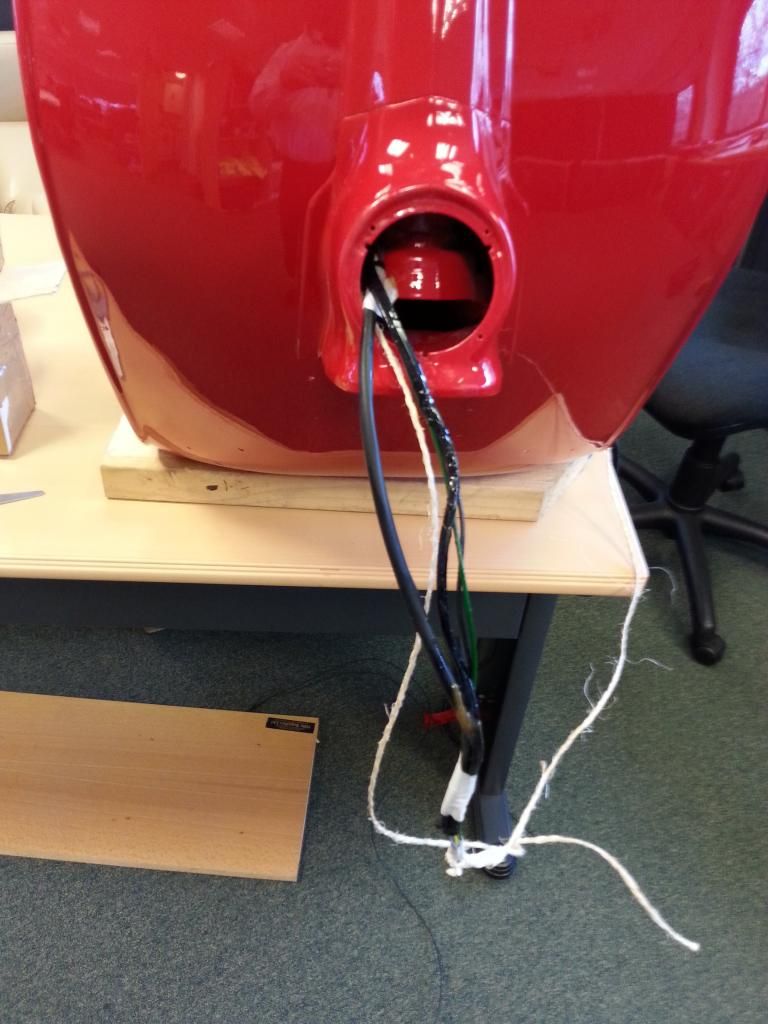
And the loom, taking some time trying to figure out what goes where.
Barnsley Bill, its OK because its my office, so they can't say a lot. However, most are technically minded, so on a positive note, they often throw in good ideas. Only in my office as no room at home at the moment.
Re: Rally 200 Re-build
Posted: Tue Jan 27, 2015 7:09 pm
by GLscoot
Yeah, feeding the loom through a Vespa frame is probably the hardest part of the rebuild. Rear brake wires, I normally put white electrical tape around the wires, to identify them and use a small hooked piece of wire to fish the wires through the whole. After you have the wiring loom done, cables next, then I fit the assembled front end.
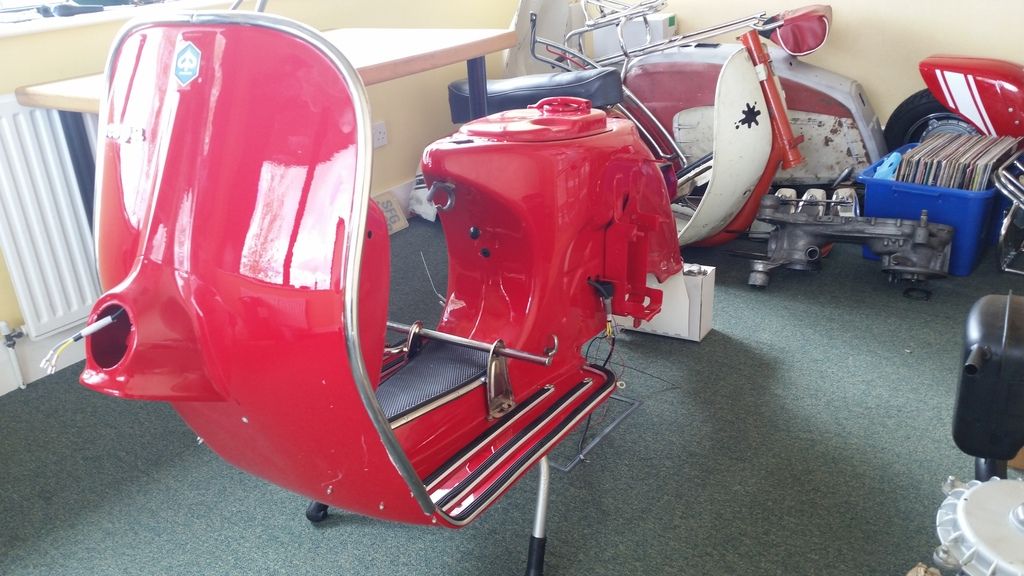
Good looking project & paint job
Re: Rally 200 Re-build
Posted: Wed Jan 28, 2015 11:11 am
by T5-190
Looking good, love that colour red.
Re: Rally 200 Re-build
Posted: Wed Jan 28, 2015 11:25 am
by cgt75b
Hello Paul
Where did you get the loom from ?
Re: Rally 200 Re-build
Posted: Wed Jan 28, 2015 12:50 pm
by paulnobodyimportant
Hi cgt75b
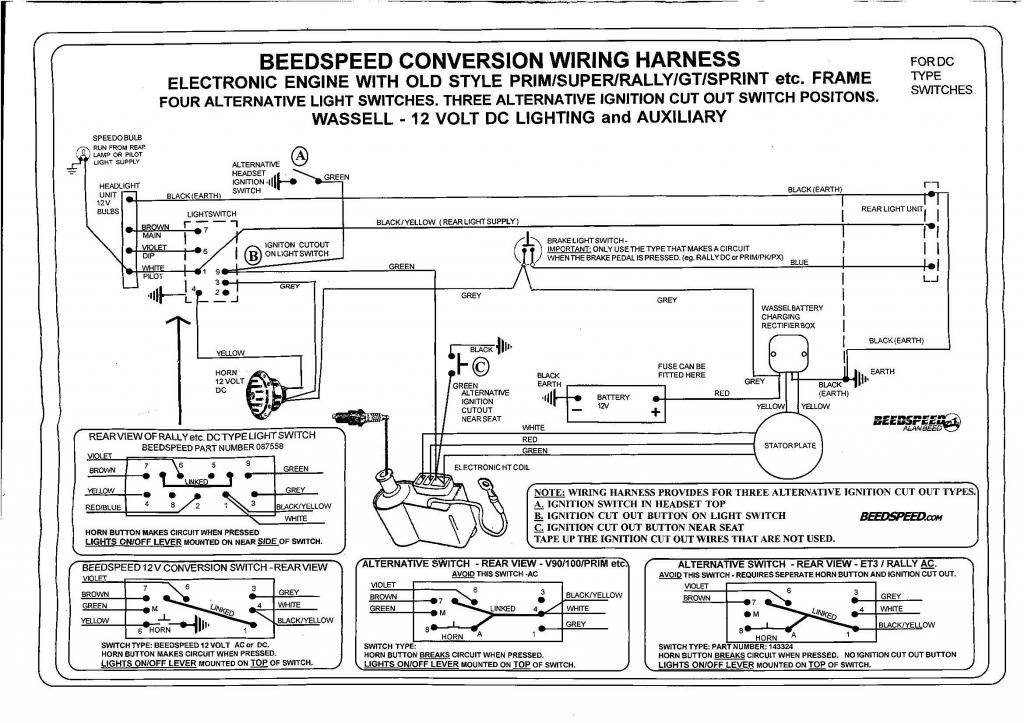
I got it from Beedspeed to suit a Wassel DC conversion with dry battery(12 Volts), see photo. Labelled it all up last night and must say it looks well made.
This lunchtime I'm going to have a go at threading this loom through the frame using the tips that you have all given, especially the one about the foot brake cable.
Re: Rally 200 Re-build
Posted: Wed Jan 28, 2015 3:14 pm
by paulnobodyimportant
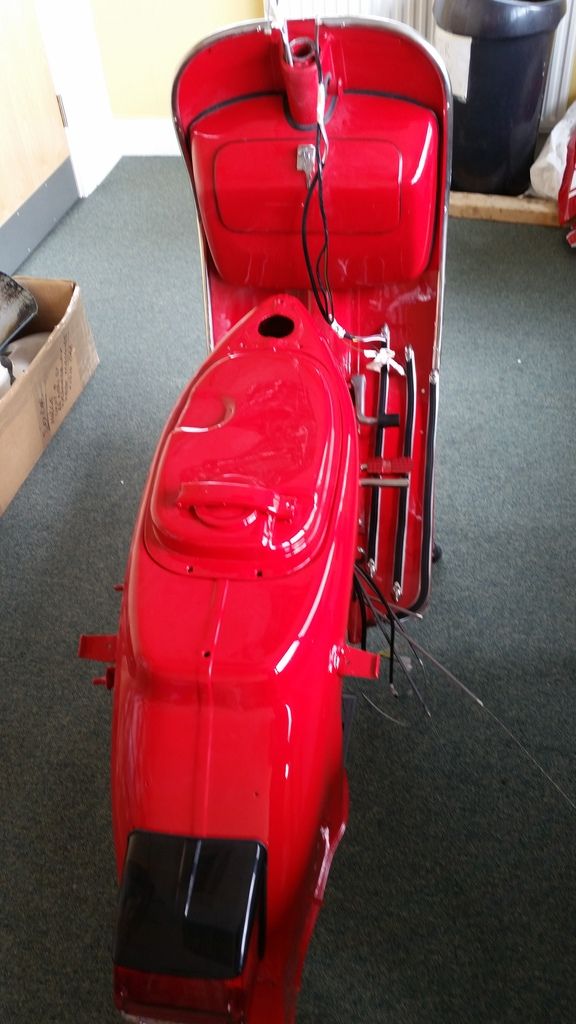
Just spent no more than half an hour threading loom into place, so quite pleased.
So pulled main loom to horn area by baling string that I've kept in a continuous loop; to help with next stage of cables.
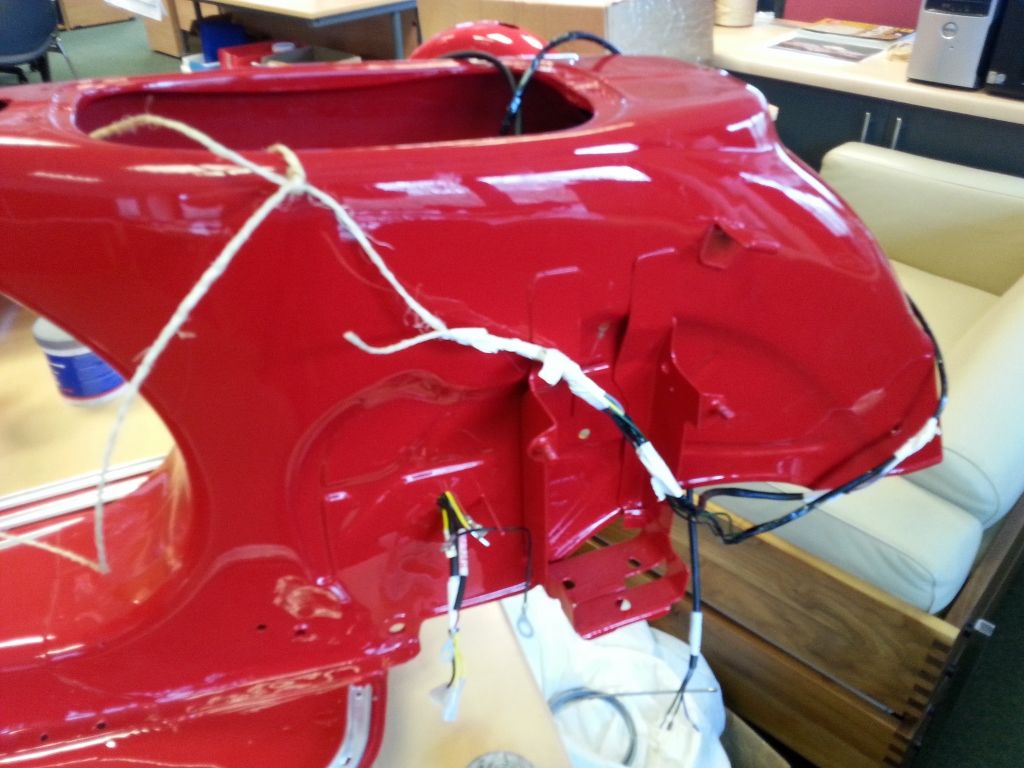
Then garden wire down side of fork tube to pull up all the headset stuff. This was the most fiddly bit, in trying to get a bulk of wires up through the narrow gap at the top of the fork race.
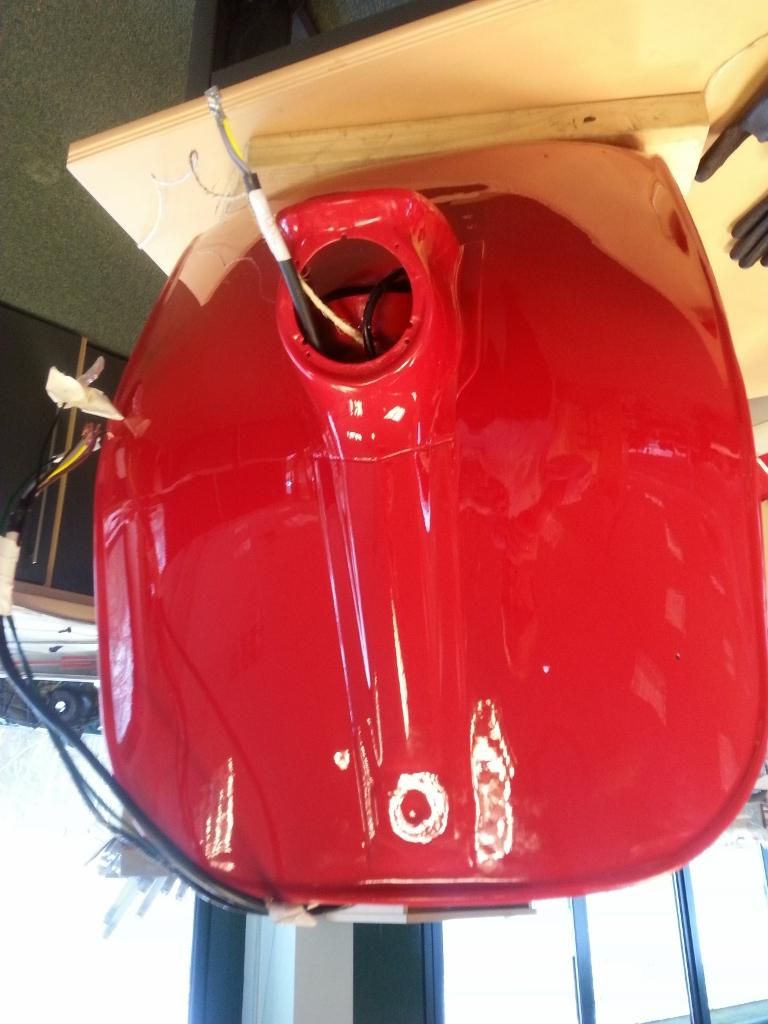
Rear brake cable, used a.lo.v2's great tip and of pushing a stiff garden type wire down the brake pedal hole back into the large void below the petrol tank. Wrapped this wire and taped it to the brake cable and pulled through really easy.
One area I need to re-visit is all the wires that i have pulled through towards the Wassel area, I think I have too many wires here.
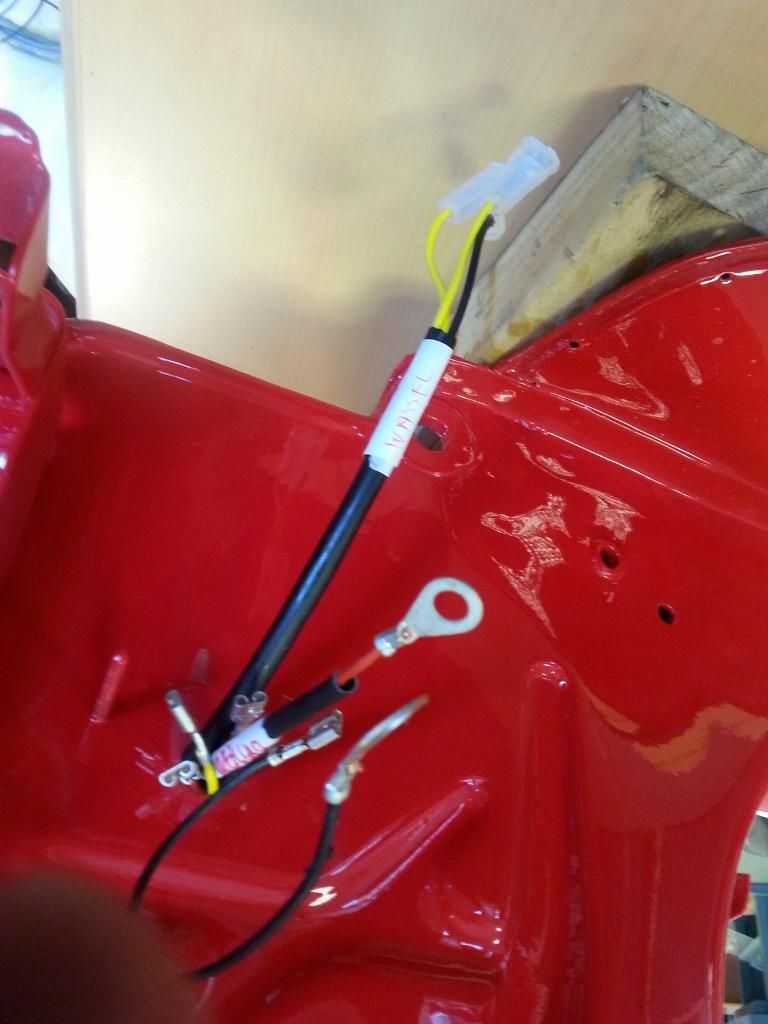
One lesson learn't is don't Waxol the tunnel until you have everything in place. It may have helped lubricating the pull through, but me and the paintwork got gunge up.
All shown pictorially below for reference.
Finally, this is a good picture guide for re-building a rally frame or any large framed vespa. I've found it useful for making sure things are in the correct order.
http://gallery.vespresso.nl/mr10/Rally200?page=1
Re: Rally 200 Re-build
Posted: Sun Feb 08, 2015 2:26 pm
by paulnobodyimportant
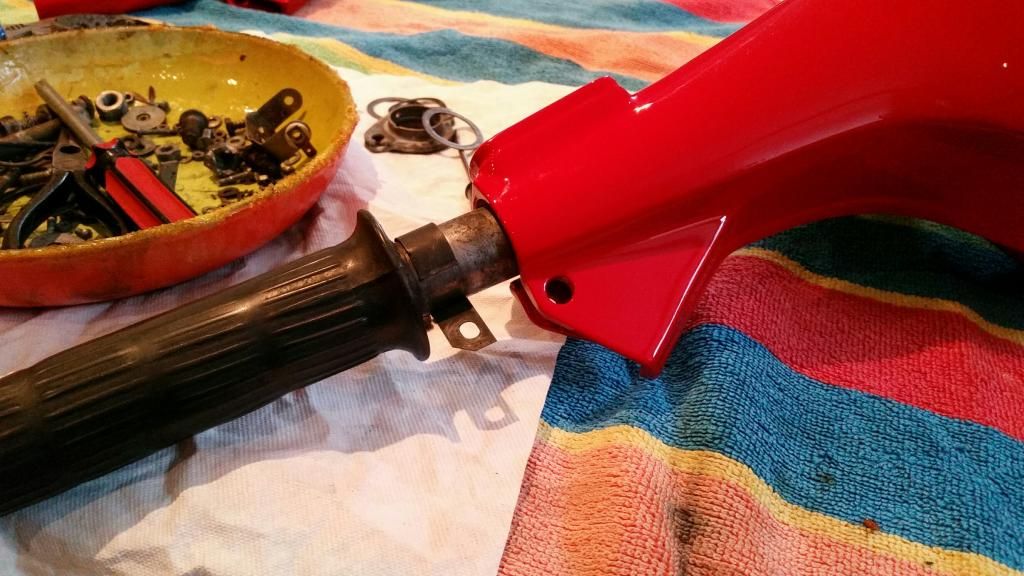
Just putting together my headset, from a selection of bits that came with it, bit of a jigsaw, but I've nearly sorted it, except for this below.
It is a rally component and sits on the throttle tube and I can see that the hole is captured by the front lever bolt. I'm guessing that its some sort of throttle spring, but it just spins round the throttle tube.
Any suggestions on how I should fix it????
Thanks
Re: Rally 200 Re-build
Posted: Mon Feb 09, 2015 2:58 pm
by cgt75b
It doesn't need fixing ! Just push the throttle tube in and put your lever bolt through it .
Re: Rally 200 Re-build
Posted: Tue Apr 28, 2015 3:32 pm
by paulnobodyimportant
The Rally 200 re-build has been going slowly so far due to busy day job, holidays and stripping down two Lambrettas, tweaking engines and re-building. Anyway, in the last few days I seem to have got past a lot of the fiddly jobs. All that's left is to put the forks in tomorrow, engine in next week, after we come back from Benidorm and connect all the wires up.
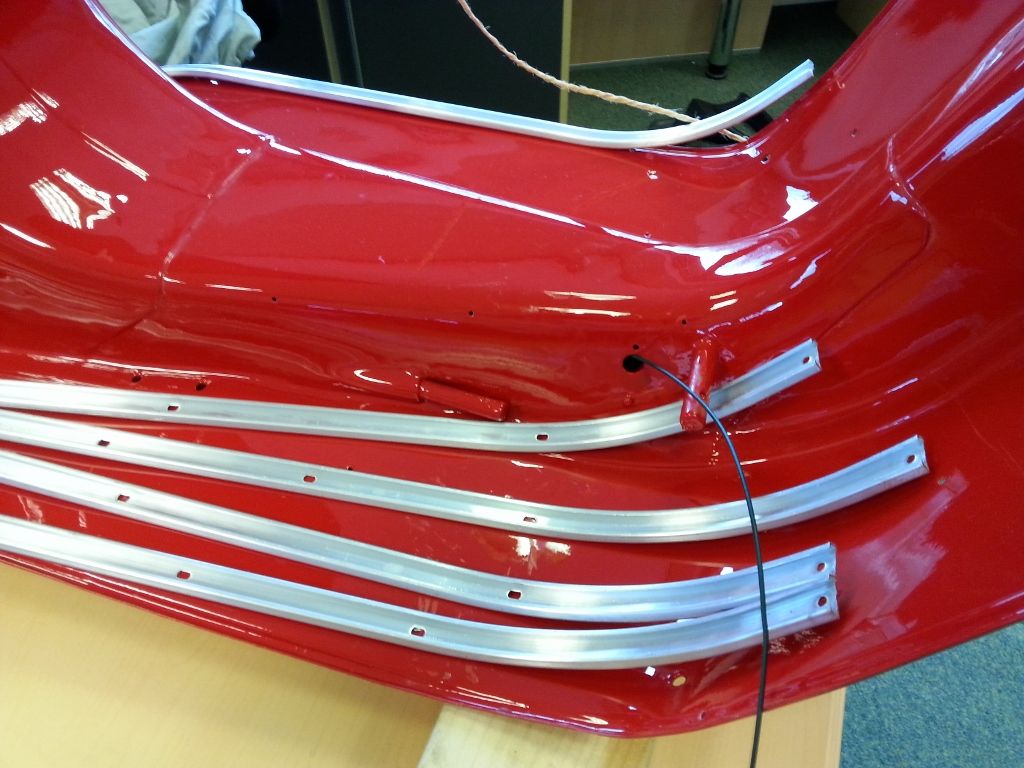
Panicking about putting the legshield beading on. But in the end, both sides went on relatively easily.
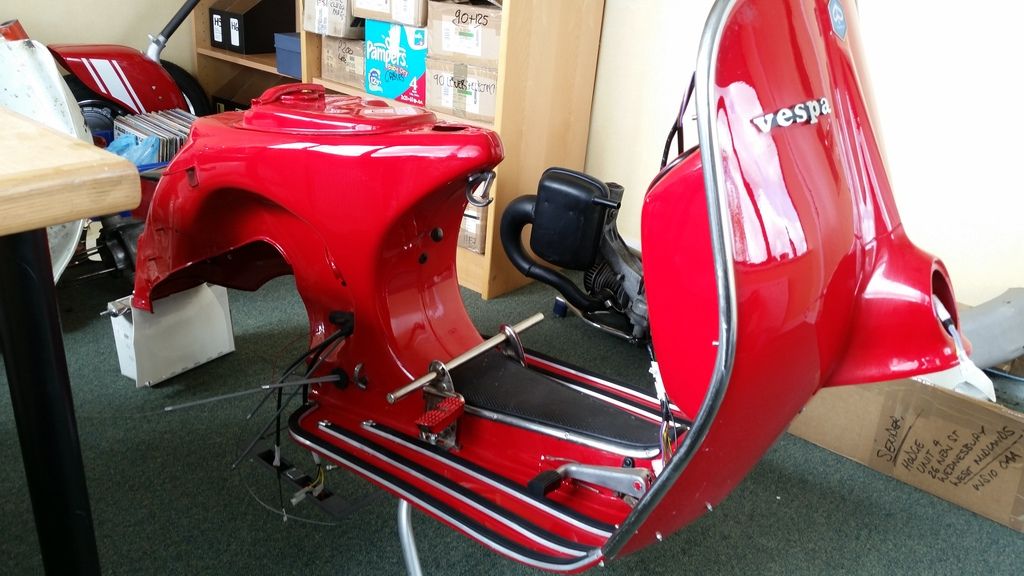
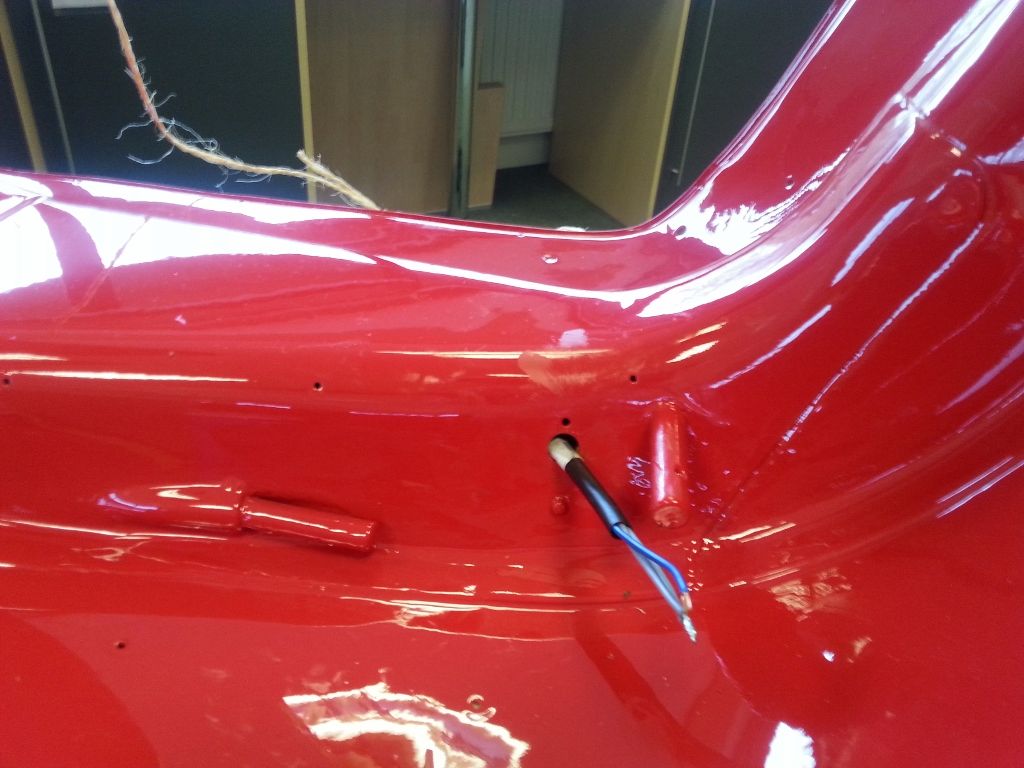
Fiddly bits here were the floor runners as most of the original holes had been sprayed over. Used nuts and bollts instead of rivets. Toolbox was a bit fiddly, but sorted. Worst thing was brake switch as again, both fixing holes had been sprayed over. And seeing as I have never done a Vespa before, it was a voyage of discovery to find these holes.
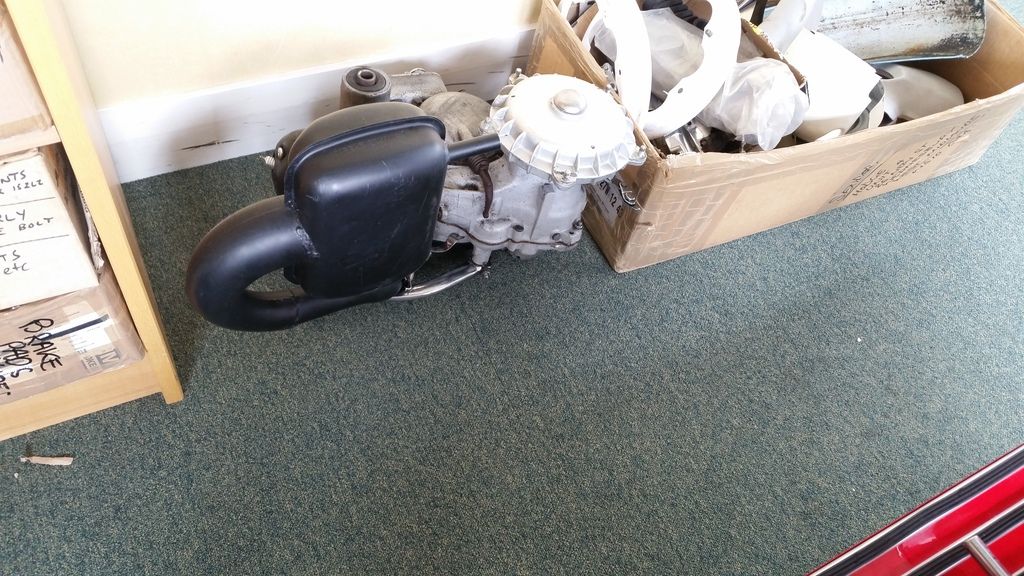
Tweaked Malossi engine, which i re-built last year with full DC conversion and Ky-Tronik ignition
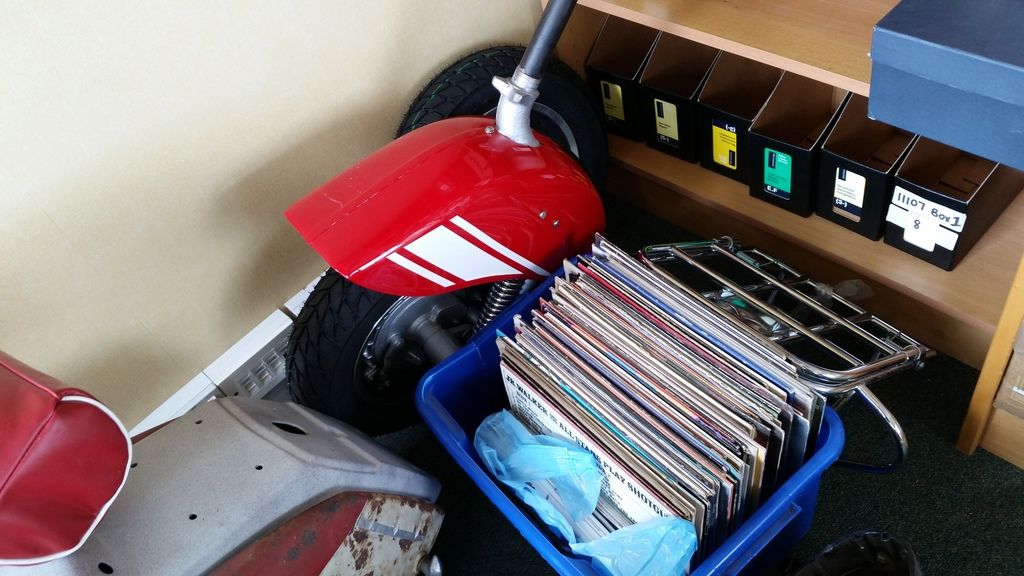
Front forks, all re-built last year, lurking next to a few soul vynlll LP's
Re: Rally 200 Re-build
Posted: Tue Apr 28, 2015 7:32 pm
by Norrie Bodge
great colour m8, bet its smart as when built


