MARK CHRISTIES KWAK 500 S6

Post pics & videos of your scooter, projects you're working on, a lovely Vespa that you saw at a rally, or anything else scooter related.
User avatar
T5-190
registered user
Posts: 573
Joined: Thu Jan 08, 2009 3:25 pm
Contact:

A few more pictures.

Image

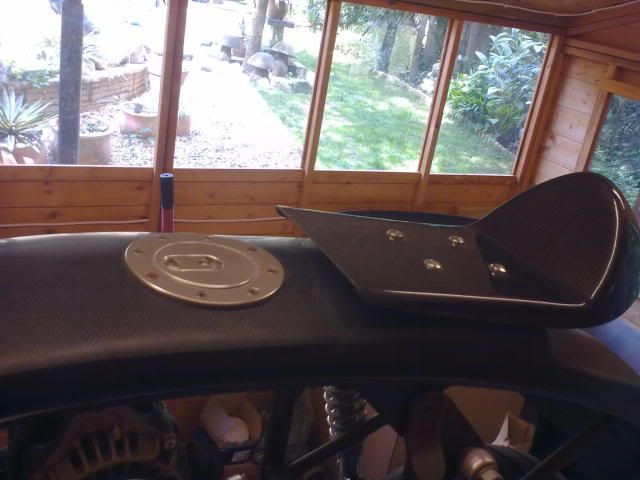
Seat mounted, I mounted it on exhaust type rubbers. This may help lose some of the vibration it will have. Seat pad is out for upholstery.
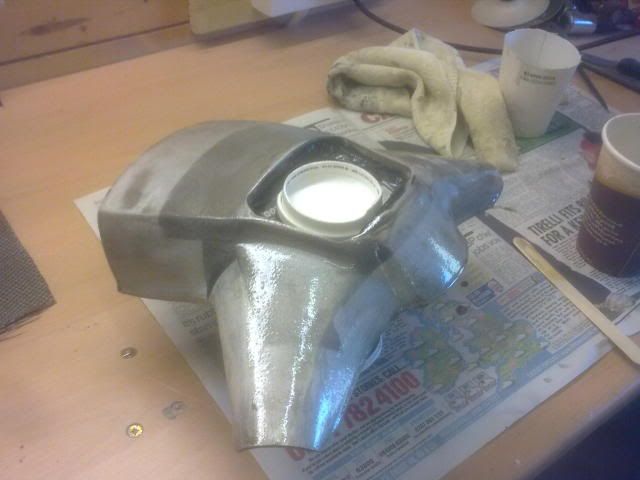
Fuel filler fitted as well.

Image

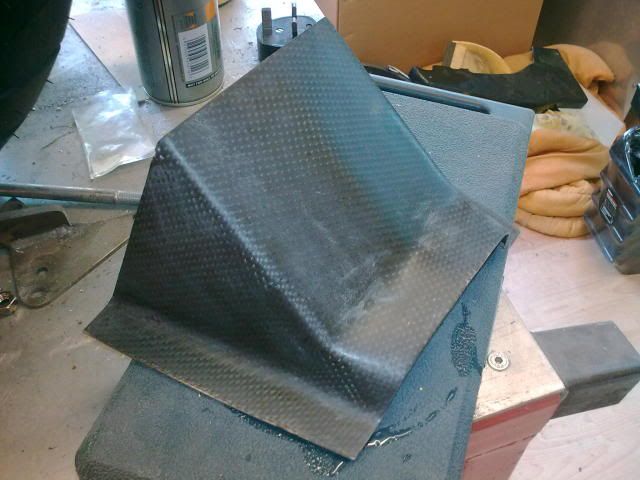
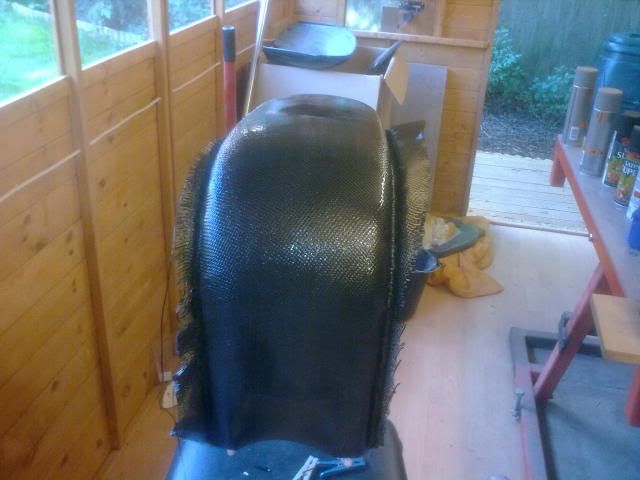
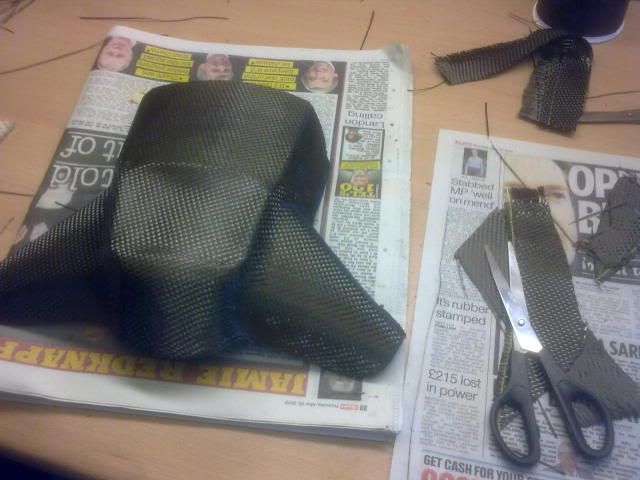
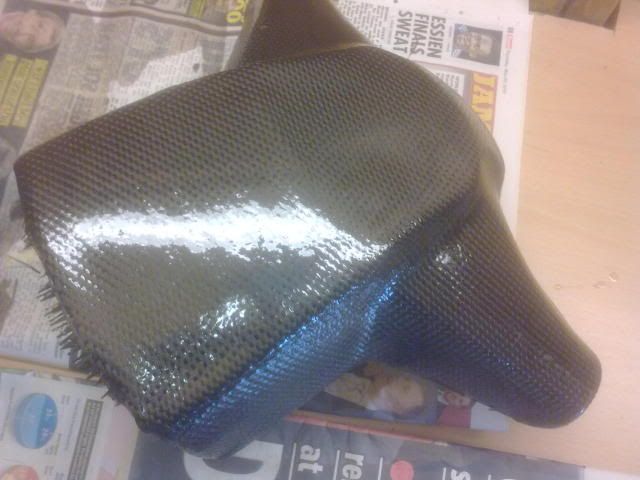
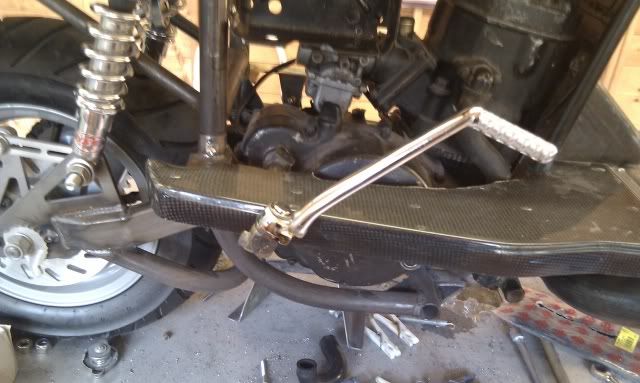
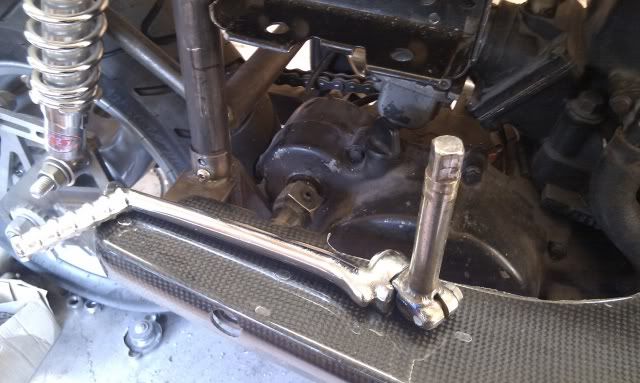
New bridge piece made from carbon fibre. Its very large compaired to the standard one, just needs clear coating to finish it.

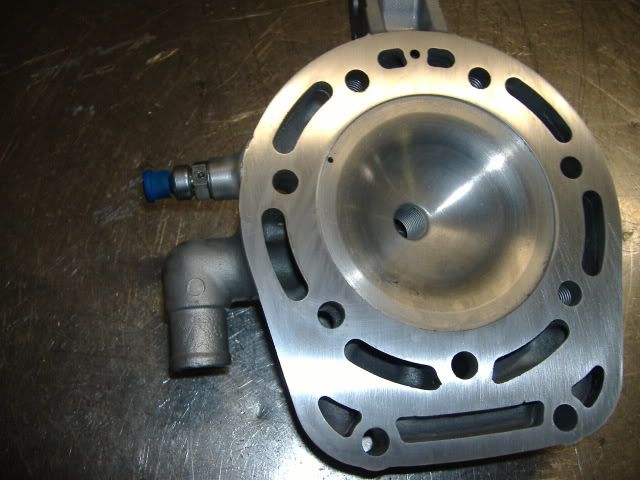
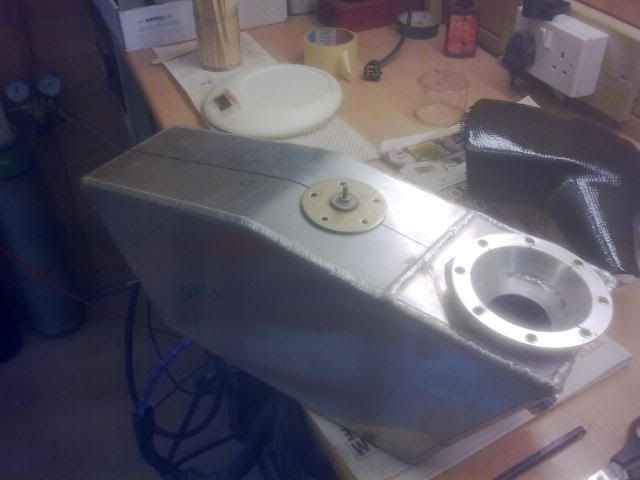
All the water pipes made up and fitted today. I have used 22mm copper and Samco hoses. The copper will be powder coated black later.
User avatar
twin peeks
registered user
Posts: 121
Joined: Sun Jan 24, 2010 7:47 pm
Main scooter: gp200 ts1
Location: swindon
Contact:

this bike is absolutley awsome .how long is it going tobe till its finished,i hope the engineis good one these big singles r an absolute b@5t@rd to start ,there is a nack nto it if you need to no how let me no
User avatar
T5-190
registered user
Posts: 573
Joined: Thu Jan 08, 2009 3:25 pm
Contact:

I know what you mean, starting a KX 500 is a real pain in the ass for sure. So I have addressed this by fitting a small manual de-compressor. I won't take all the credit for the idea, I stole the idea from the KX riders forum. They do a little mod where they weld a small boss to the head and drill a 2mm hole into the combustion chamber. The de-compessor is off a large chainsaw. They fit them to large chainsaws to prevent pull cords snapping. You simply push it in and start the engine, when the engine starts the de-compressor snaps shut.

Image
User avatar
RICSPEED
registered user
Posts: 3334
Joined: Sun Jan 04, 2009 11:30 pm
Location: YORK

bloody good idea ,another good reason is kick back ,either breaks your leg or throws you off :shock:
Its in bits scooter club: www.facebook.com/groups/132415046859320
User avatar
sean brady scooters
Dealer
Posts: 2040
Joined: Mon Jan 05, 2009 12:09 pm
Location: Ripon, North Yorkshire
Contact:

i thought the decompressor was a std feature on the KX 500.. :D
Sean Brady Scooters - 01765 690 698
User avatar
twin peeks
registered user
Posts: 121
Joined: Sun Jan 24, 2010 7:47 pm
Main scooter: gp200 ts1
Location: swindon
Contact:

this bike is well thourt out ,you cant beet the power of a500 crosser ,ive got to build one of these one day ,what chainsaw are the de compresser off ,
User avatar
T5-190
registered user
Posts: 573
Joined: Thu Jan 08, 2009 3:25 pm
Contact:

Hi guys, the de-compessor was off E-bay, less than £10 deliverd. It has a M10x 1.0 thread on it which is a standard thread for brake parts like banjos etc. I had a tap anyway. Snapping kickstarts is another reason to fit one. A kickstart for this engine is £90 + vat form Kawasaki.

fattspeed
Dealer
Posts: 58
Joined: Wed Jan 07, 2009 10:41 am
Location: barnsley
Contact:

T5-190 wrote:Hi all just a quick update. The new shed has been put up and is powered. But in the mean time my company went bankrupt and re-formed over night. This left people in my company including myself all over the world stranded. We had 6 in Germany, 2 in the States, 2 in Indonesia and 4 in Spain. Anyway I digress. Most of the body parts on the scoot are carbon fibre but the headset top and frame loop are not. So I took the plunge and covered them myself. This seems the wrong way to do it but the easiest way by far. If I had the time I would have made moulds then made the parts from that.

Image

on the bench.

Image

welded, filled and painted.

Image

Image

First coat of clear epoxy brushed on.

Carbon fibre laid on, this sticks to the tacky epoxy then is left to dry.

Image

Build up the epoxy to a thick layer then let dry over night.

Image

Then rub back to remove high spots and to give a key for the nexy 3-4 layers of epoxy. After the epoxy is dry and at the right thickness its time to rub back to a flat finish. I went from P120 git down to P1500 this in turn gives the right finish to clear coat or polish back.

The same thing was done to the head set top.

Image

Image

Image

The head set top has been cut out, welded, filled and moulded to take an Acewell digital speedo.

Image

The tank was next for the chop. It has been cut and modded to take an aero cap and a fuel sender fitted. Then re pressure tested. More picks by the weekend.
The new shed has been put up :shock: when you start this up you will have to get a steel shed mate :D
User avatar
T5-190
registered user
Posts: 573
Joined: Thu Jan 08, 2009 3:25 pm
Contact:

A few more.

Image

Image

I had a go at making a carbon can from scratch. I had some carbon cloth left over and some resin. Made an inner mould from a lenth of ally tube and the outer from some 100mm drain pipe. It came out really well but was a sod to get out of the mould. Bought all the other parts like the end caps and perforated tube from PJ engineering.

Image

Image

Next was mounting of the speedo sensor for the Acewell unit. I welded a small bracket onto the caliper arm.

Image

Image

Battery mounting was next. I used a Vespa battery box and strap. The battery is a 9 ah and fits snug.

Image

Image

Kickstart has been made so that starting can be done with the pannels on. A 17mm 1/2" drive socket has been welded onto the old kickstart stub and a 1/2" extention bar welded into the new kickstart. It will live in the toolbox.
User avatar
RICSPEED
registered user
Posts: 3334
Joined: Sun Jan 04, 2009 11:30 pm
Location: YORK

is there a support for kickstark under the runner where the hole is ?
Its in bits scooter club: www.facebook.com/groups/132415046859320
Post Reply Previous topicNext topic
  • Information
  • Who is online

    Users browsing this forum: No registered users and 15 guests

cron