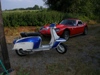
Rally 200 Re-build
Looking forward to seeing this finished, thanks for sharing so far!
-
scooterslag
- registered user
- Posts: 409
- Joined: Wed Jan 07, 2009 12:23 pm
- Location: Sunny Barnstaple
- Contact:
You're not wrong there, a Rally 200 is a vespa which I would be quite happy to swap my lammy for, excellent machinestorkfoot wrote:Even Lambretta obsessives must be able to see the beauty of this.
Please keep posting, Paul
The mack daddy on the left!
-
paulnobodyimportant

- registered user
- Posts: 299
- Joined: Sun Jan 03, 2010 12:33 pm
- Main scooter: varies
- Location: Skipton
- Contact:
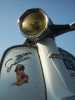
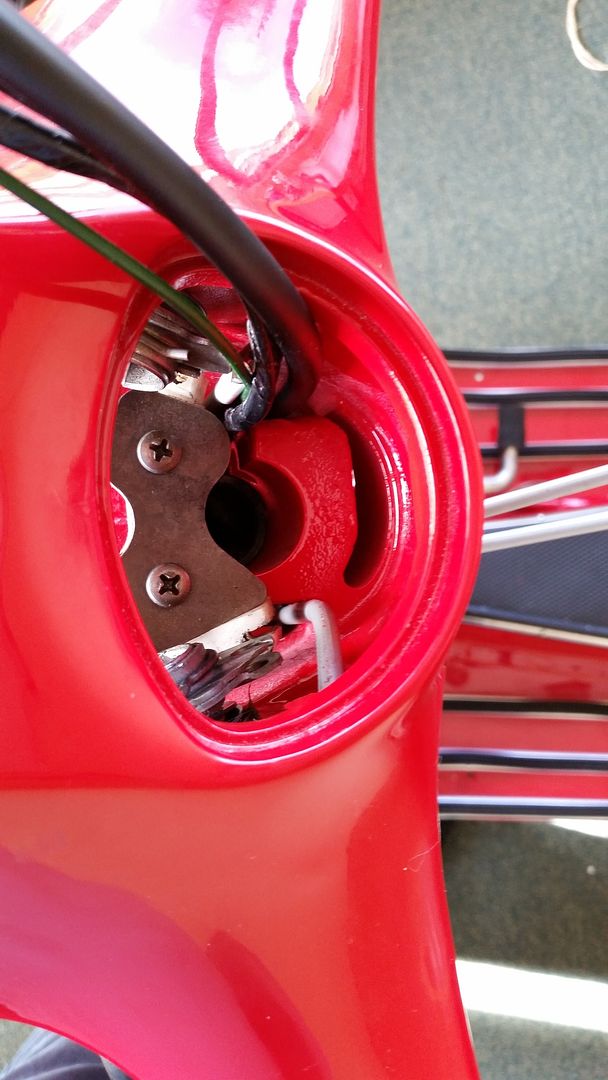
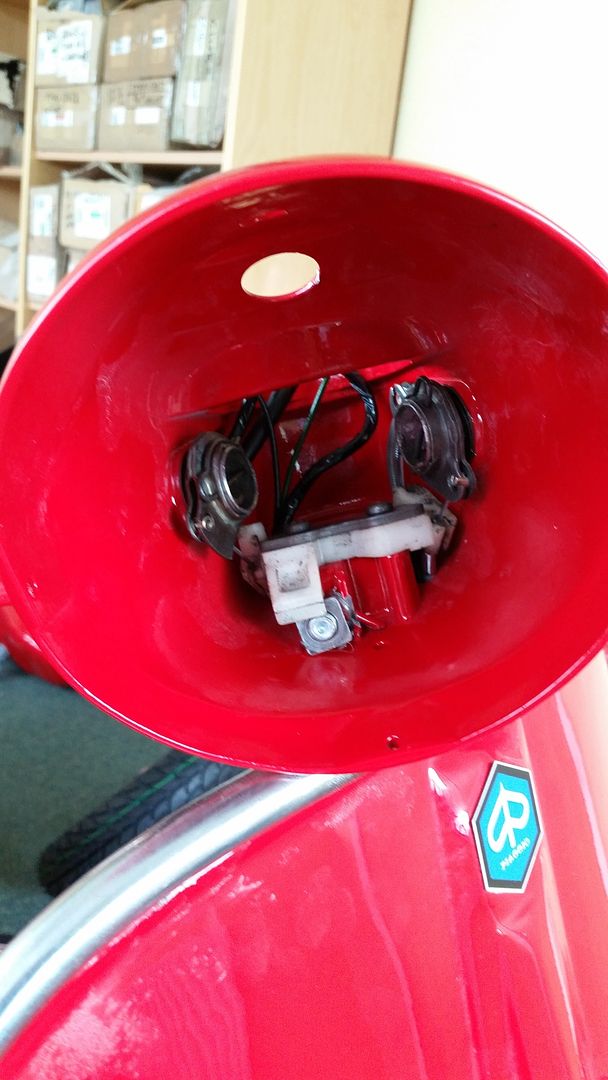
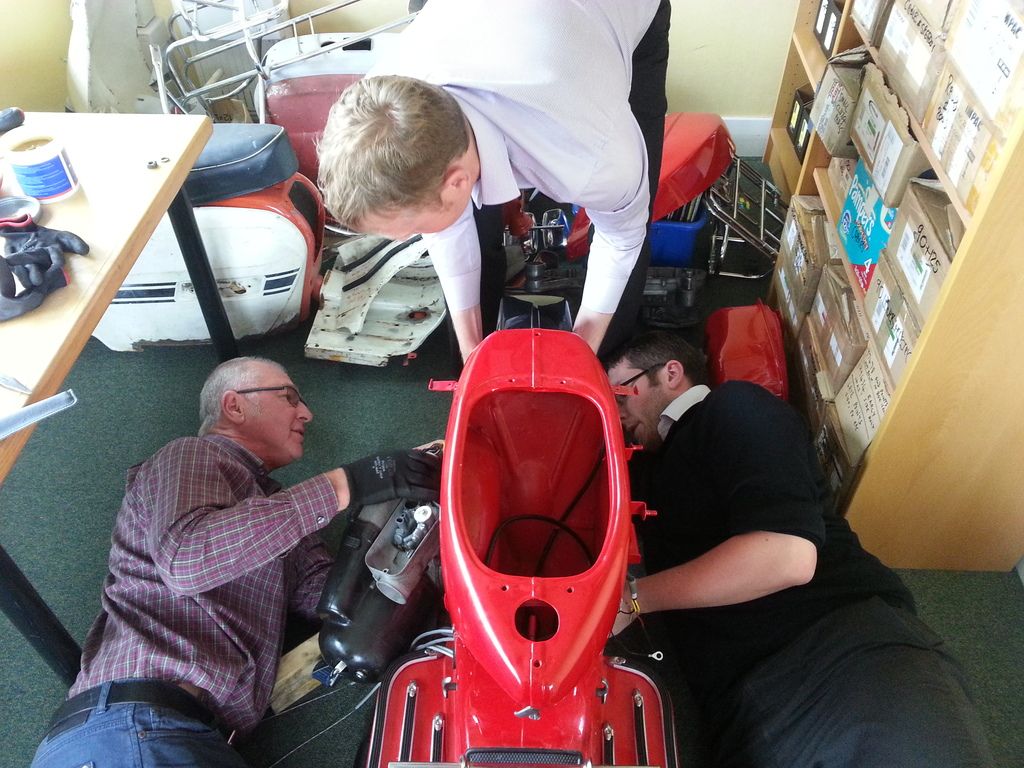
Hoping to get my headset wired up this lunchtime, but can anyone recommend which slot my loom slots into. On the photo, I have put the loom into the right hand slat, when viewed from sitting on the seat. Or, does it all feed through the rear slot shown in the photo.
Thanks Paul
Thanks Paul

-
cartmel808
- registered user
- Posts: 467
- Joined: Tue Feb 04, 2014 10:35 am
- Main scooter: 1975 Vespa Rally 200 Femsa
- Location: Durham, England
- Contact:
I always thread the wiring through the right side slot as you have... but don't think it matters too much tbh - as long as its not obstructing owt else & theres enough length on it to feed where it needs to go... 
Looking really good & I love the fact your building it up @ work & in your office .....Look forward to seeing it finished.
Looking really good & I love the fact your building it up @ work & in your office
-
paulnobodyimportant
- registered user
- Posts: 299
- Joined: Sun Jan 03, 2010 12:33 pm
- Main scooter: varies
- Location: Skipton
- Contact:
Thanks Cartmel808
Forks in and headset bolted in place, with all cables and wires sat in correct place. Off to Benidorm tomorrow, so engine next week
I've seen that the Rally can dive when braking, hence upgrading the suspension with a BGM shock
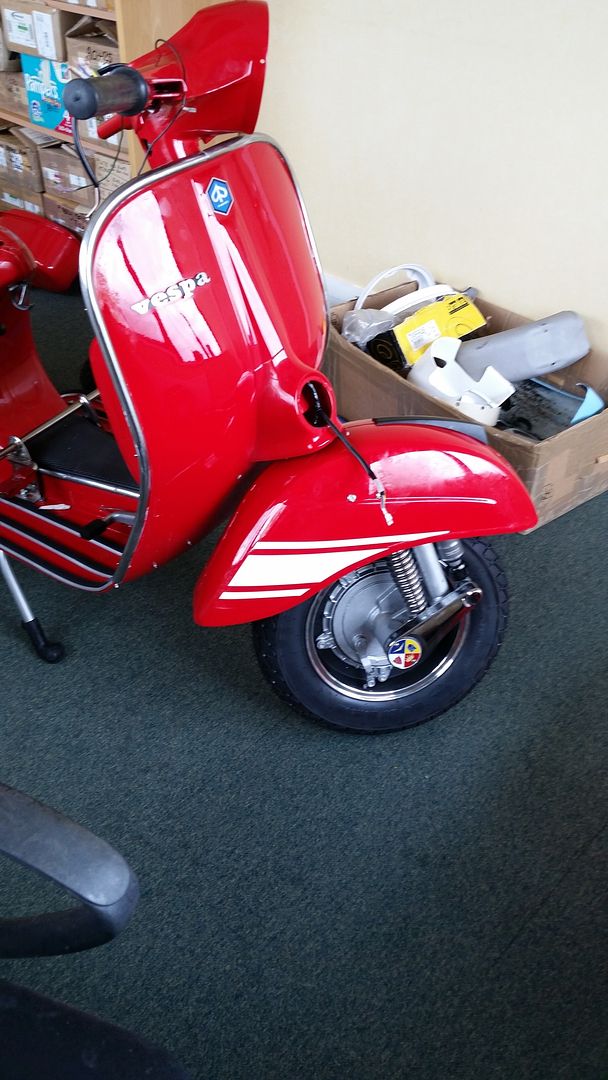
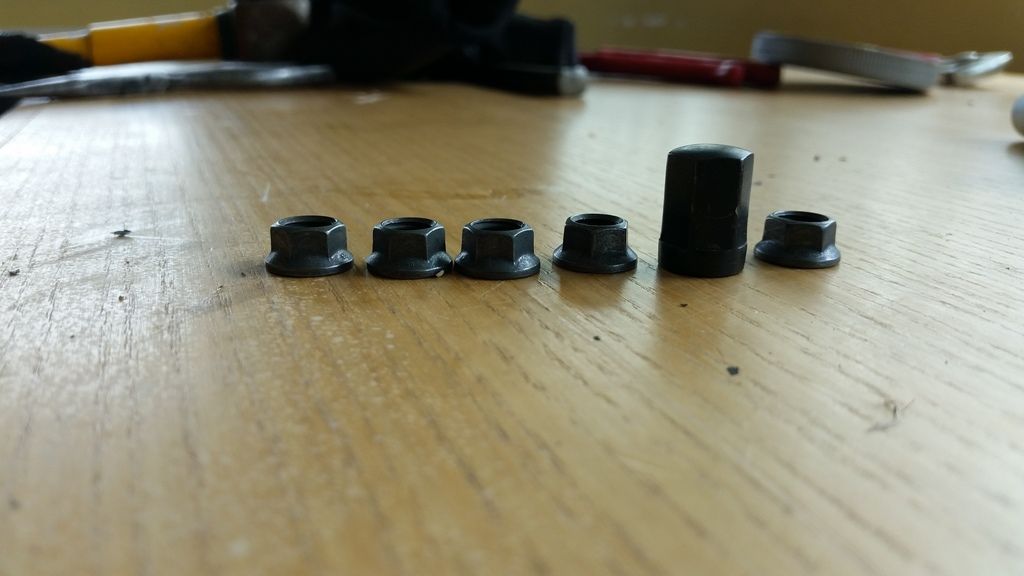
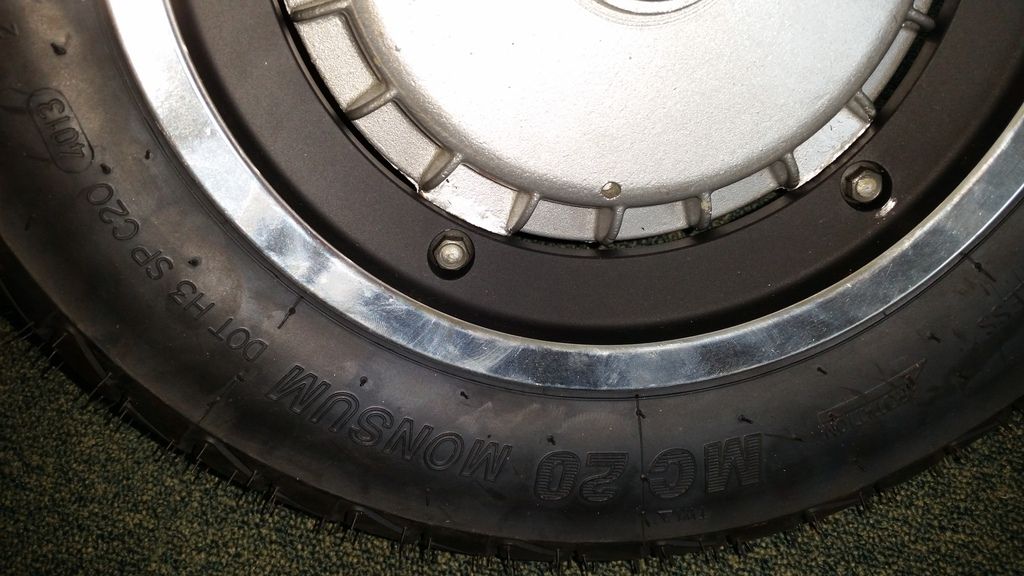
Also bought a cracking SIP wheel set from Corrado. However, the studs on a Vespa are no greater than that on a Lambretta, but SIP make no mention of replacing studs. Did some searching and lots of Vespa owners have had problems with the SIP nuts coming loose as there is insufficient thread, as I initially found. However, from Modern Vespa forum, a chap in Toronto had the same problem and fitted K Nuts. Two years later he says they are still working. K Nuts have been mentioned on this or the LCGB forum, so I ordered a set for the wheels. They look flimsy, but come with a good pedigree from the racing circuit.
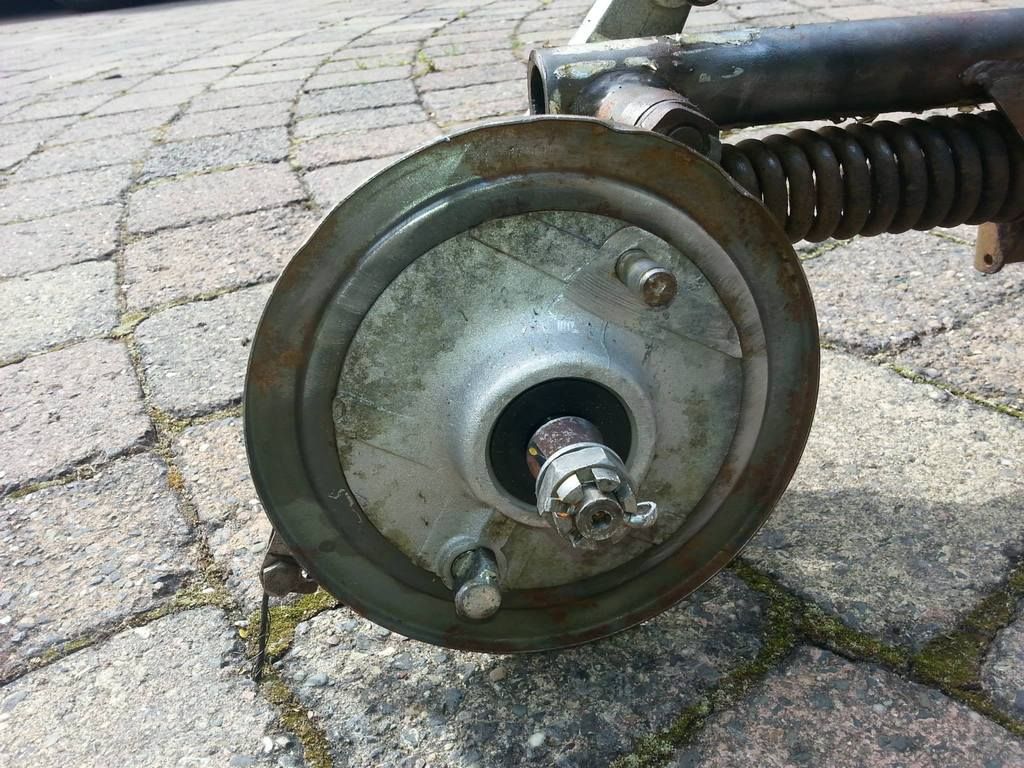
And finally, the original forks
Forks in and headset bolted in place, with all cables and wires sat in correct place. Off to Benidorm tomorrow, so engine next week

I've seen that the Rally can dive when braking, hence upgrading the suspension with a BGM shock

Also bought a cracking SIP wheel set from Corrado. However, the studs on a Vespa are no greater than that on a Lambretta, but SIP make no mention of replacing studs. Did some searching and lots of Vespa owners have had problems with the SIP nuts coming loose as there is insufficient thread, as I initially found. However, from Modern Vespa forum, a chap in Toronto had the same problem and fitted K Nuts. Two years later he says they are still working. K Nuts have been mentioned on this or the LCGB forum, so I ordered a set for the wheels. They look flimsy, but come with a good pedigree from the racing circuit.


And finally, the original forks

-
paulnobodyimportant
- registered user
- Posts: 299
- Joined: Sun Jan 03, 2010 12:33 pm
- Main scooter: varies
- Location: Skipton
- Contact:
Pheeew, that was a struggle. Connected rear shock up first then engine bolt after, don't know if that was the right way round, although I've put one vespa engine in by myself before. Anyway, half way through ended up with a cricked back, indigestion and now a headache, but that could have been due to last weekend.

-
GLscoot
- registered user
- Posts: 805
- Joined: Thu Mar 15, 2012 10:05 pm
- Main scooter: Vespa GS150
- Contact:
Next time, engine bolt first, swing engine up and fit a screw driver through the shock & mount. Car jack under gear selector box & wind up until the holes align on the shock & mount.
I would also remove cylinder head, bolts & shroud before, If you wanted to top left bolt would be ok to leave in.
Wiring loom, fit all the cables first as they need to be seated correctly.
Just a thought, you can buy stand strengthening brackets now, which allows you to spread the weight so as you don't damage your paintwork. typical area on vespas where the paint cracks and rust sets in.
http://www.ebay.co.uk/itm/Vespa-Stand-S ... 3cf90c58f2