
I did hear that the reason so many Italian Vehicles are rust prone in the late 70's is because of a deal the then Communist Italian PM did with the USSR for steel.
Needless to say the Steel was very poor quality.
I believe the PM himself though was very popular within Italy and sadly missed when he went!
Rally 200 Re-build
-
paulnobodyimportant

- registered user
- Posts: 299
- Joined: Sun Jan 03, 2010 12:33 pm
- Main scooter: varies
- Location: Skipton
- Contact:
Thanks for the tips GLscoot, especially the engine bit. Must remember that the next time. Just a couple more questions.. Hopefully today I'm going to connect things up.
However, for the gear cables, which connect to the bat levers at the rear. For instance, taking the outer cable (ie nearest the headlamp) in the headset, does this connect to the outer gear change at the rear or to the inboard one.
For the choke, it looks like the old cable top hat has rusted into the choke tube. I've tried to drill out but the next drill size up would drill the tube away. Alternatively, could I remove the top hat from my new cable and push into the tube. Plus, do i push it all the way down so that the outer cable is past the retaining clip that you put on last.
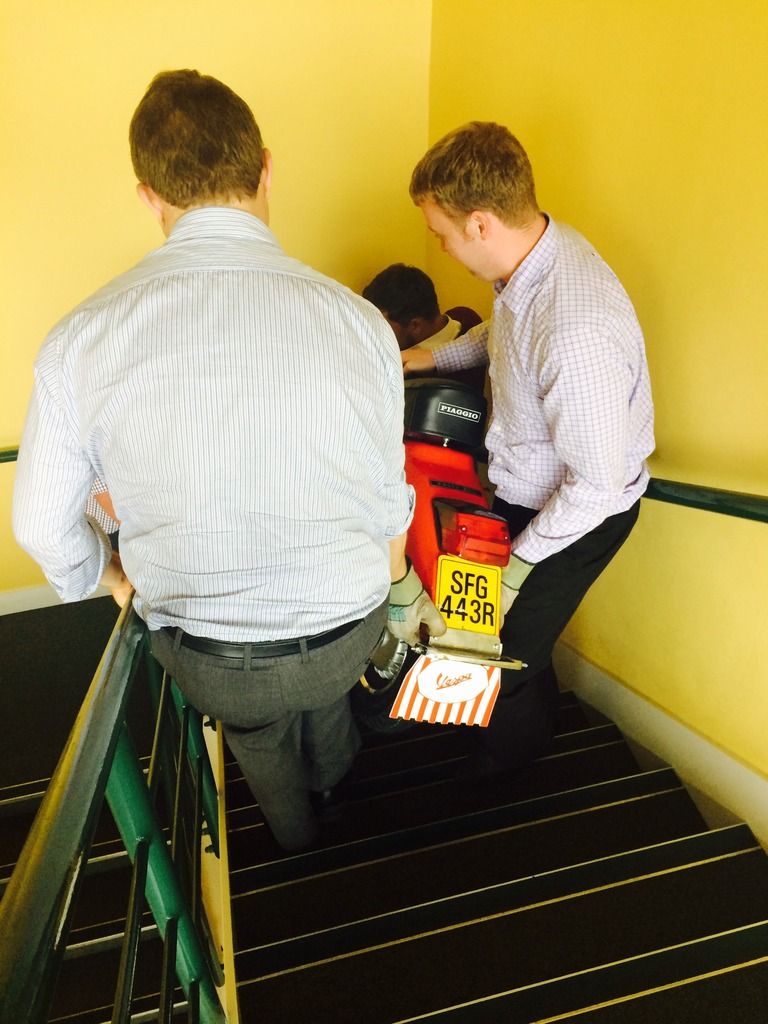
Yes LI150, that's the staff happily volunteering, during their lunch hour of course. And when its finished, they have also volunteered to carry it downstairs!!!!
However, for the gear cables, which connect to the bat levers at the rear. For instance, taking the outer cable (ie nearest the headlamp) in the headset, does this connect to the outer gear change at the rear or to the inboard one.
For the choke, it looks like the old cable top hat has rusted into the choke tube. I've tried to drill out but the next drill size up would drill the tube away. Alternatively, could I remove the top hat from my new cable and push into the tube. Plus, do i push it all the way down so that the outer cable is past the retaining clip that you put on last.
Yes LI150, that's the staff happily volunteering, during their lunch hour of course. And when its finished, they have also volunteered to carry it downstairs!!!!
-
ArmandTanzarian

- registered user
- Posts: 1103
- Joined: Wed Jan 07, 2009 6:26 pm
- Location: Kent
- Contact:
Its good to see that you're all smartly turned out in clean shirts.
Those floor strengtheners are a good idea, the floor of my Rally is bent to $%^&. I've now fitted a plate with a built in hook for a bungey. Very useful when combined with a floor mounted rack.
Those floor strengtheners are a good idea, the floor of my Rally is bent to $%^&. I've now fitted a plate with a built in hook for a bungey. Very useful when combined with a floor mounted rack.
Meus Lambretta est non infractus. Is est quietus.
-
GLscoot
- registered user
- Posts: 805
- Joined: Thu Mar 15, 2012 10:05 pm
- Main scooter: Vespa GS150
- Contact:
Cant help on the gear cable front, as Im not familiar with the headset and gear cable carrier, but the best way to work it out is to feed one cable down and connect it to the bat wing. You should be able to work out which one connects to where, once you have done that I usually mark/tape the cable at each end so I know whats what.
-
paulnobodyimportant
- registered user
- Posts: 299
- Joined: Sun Jan 03, 2010 12:33 pm
- Main scooter: varies
- Location: Skipton
- Contact:
Nearly there, been a bit slow due to other stuff, but post up more pics later of how the build has progressed, once I've sorted the following.
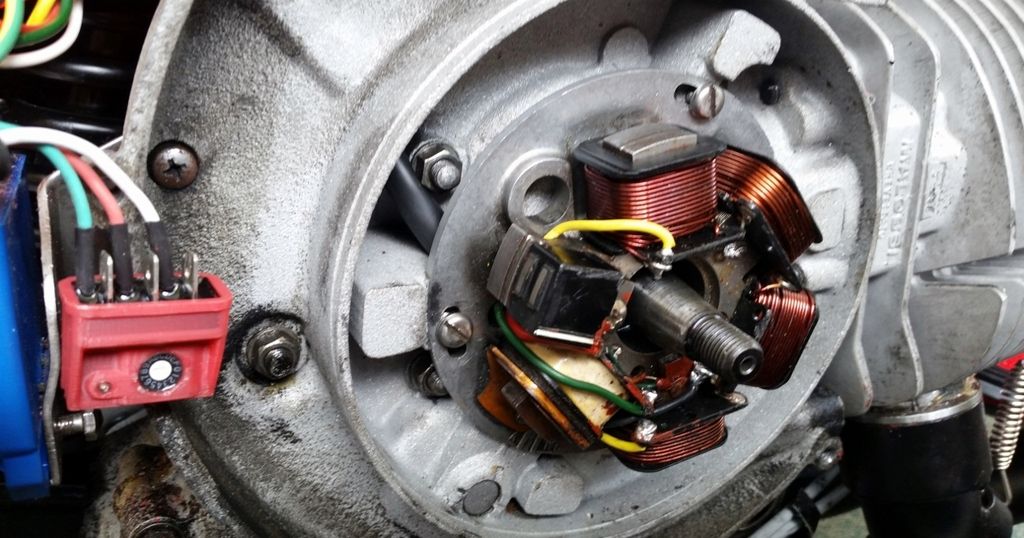
I'm at the stage of no spark. Now as with all things Lambretta and Vespa, it's an elimination process where I have eliminated the green ignition earth wire, by disconnecting. The stator I have checked the resistance on red, green and white and all within limits. CDI unit by replacing with 2 Ducati CDI's and in both cases taking the Ky-tronik ignition thing off line. Two new HT leads and spark plugs, but still no spark.
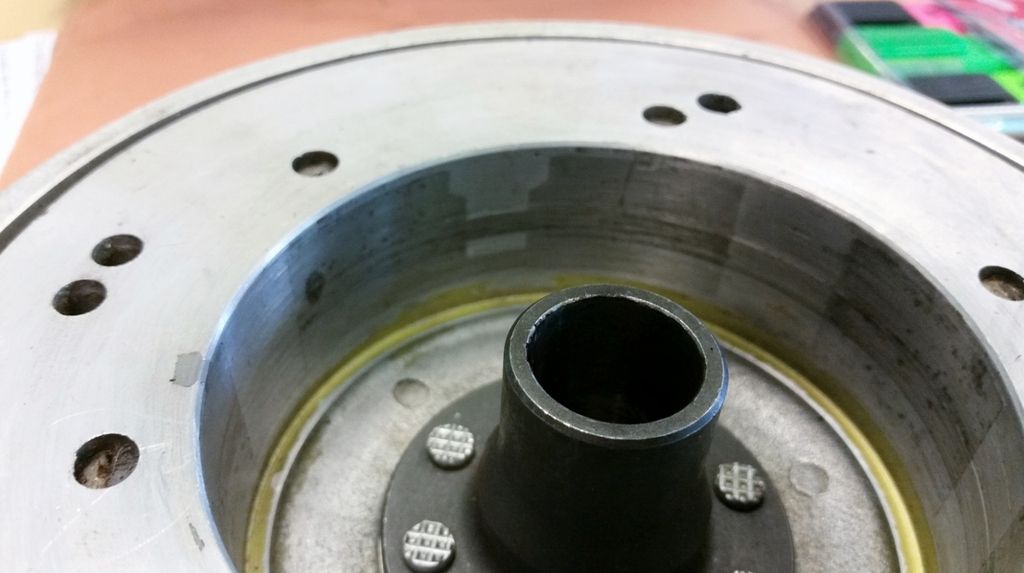
All that's left is the flywheel, see photo's below. Now I took this flywheel off a spare P200 engine, that I have never seen running, but it looked a lighter flywheel that i felt may be suited to the P210 tuned mallosi engine that is in the Rally frame. From looking at the inside of the flywheel, there is a rub mark going across the firing points, could this be the problem.
Now I could put the original flywheel back on, but I would have to find it on an engine tucked away in my garage, so could do with some feed back 1st
I'm at the stage of no spark. Now as with all things Lambretta and Vespa, it's an elimination process where I have eliminated the green ignition earth wire, by disconnecting. The stator I have checked the resistance on red, green and white and all within limits. CDI unit by replacing with 2 Ducati CDI's and in both cases taking the Ky-tronik ignition thing off line. Two new HT leads and spark plugs, but still no spark.
All that's left is the flywheel, see photo's below. Now I took this flywheel off a spare P200 engine, that I have never seen running, but it looked a lighter flywheel that i felt may be suited to the P210 tuned mallosi engine that is in the Rally frame. From looking at the inside of the flywheel, there is a rub mark going across the firing points, could this be the problem.
Now I could put the original flywheel back on, but I would have to find it on an engine tucked away in my garage, so could do with some feed back 1st


I will happily confess to know very little about Vespa's
But on your last photo, the red box (which I guess is the Kytronic), you have the wires in between the connectors.
Should they not be on the connector's themselves ??
But on your last photo, the red box (which I guess is the Kytronic), you have the wires in between the connectors.
Should they not be on the connector's themselves ??
-
paulnobodyimportant
- registered user
- Posts: 299
- Joined: Sun Jan 03, 2010 12:33 pm
- Main scooter: varies
- Location: Skipton
- Contact:
Hi Stokky
This is the Mk2 Ky-tronik box where the spades shown are to connect the wires from the stator and the fixed wires on the Ky-Tronik go to the CDI unit. At the above picture I had isolated the Ky-Tronik box and connected the stator wires to the CDI. In the end, it was the flywheel that was the issue. I put the original heavier flywheel back on to the scooter and it breathed life. last week we carried it down to the ground floor office and next week I will ride it home.
However, hope to get some more pictures up following the re-build from last time, to carrying it down the stairs and riding off into the sunset.
-
paulnobodyimportant
- registered user
- Posts: 299
- Joined: Sun Jan 03, 2010 12:33 pm
- Main scooter: varies
- Location: Skipton
- Contact:
Just to finish this thread off, the following photos relate to the engine re-build. And just to remind you all, the original Rally 200 engine is safely tooked away in my garage to be re-built when I have time. In the meantime, I had a P200 engine with a Malossi top end on, originally built by Buzzsolomoto. However, the clutch side oil seal had gone. So part of the re-build was to:
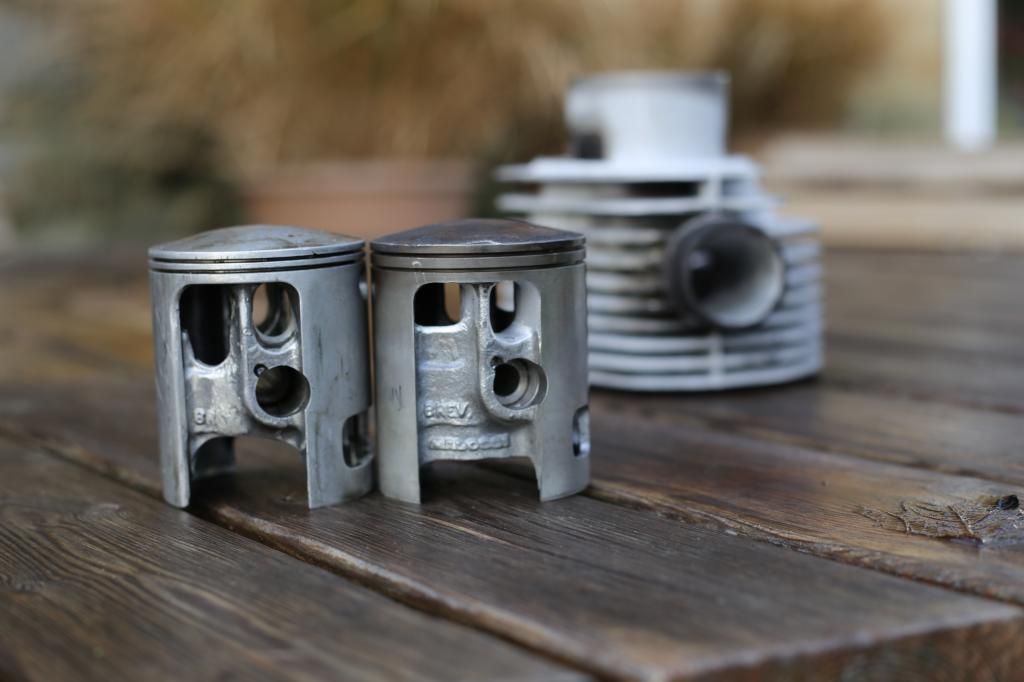
Malossi piston on RHS to go with tweaked Mallosi barrel. Piston on LHS isthe one that came with the Malossi cylinder on the above photo, the barrel to the LHS
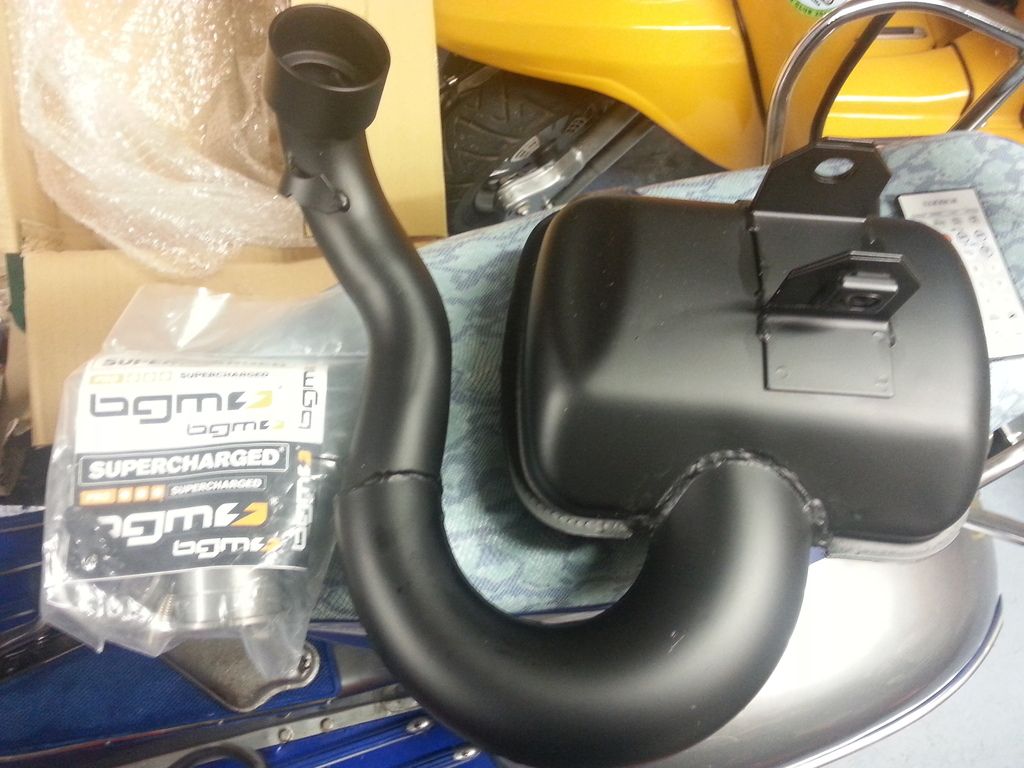
New BGM Big Box exhaust. It's well made and fits perfectly. However, when I tried to raise my center stand it fouled on the pipe, but after some investigation found that the stand that came with the Rally was for a PX. So bought a new Rally stand and all works well.
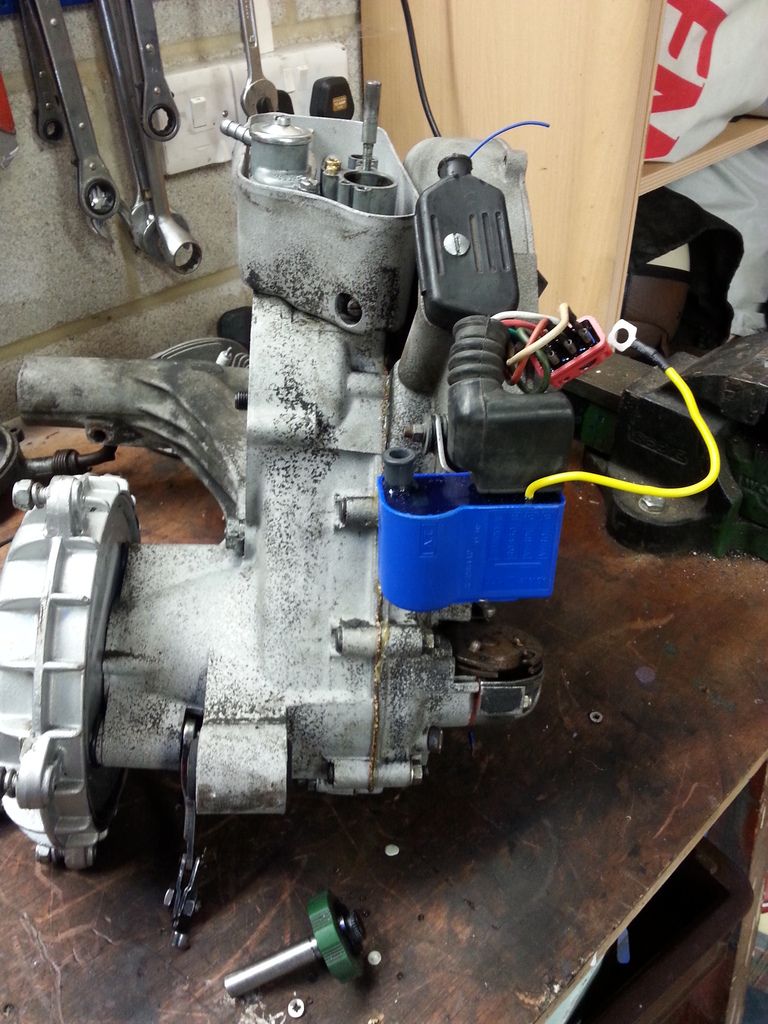
Showing new blue wire from the earth tag on the stator, could't find a yellow wire in my stock. Since then, I have had stator re-wired, so now I have the two standard yellow wires coming from the stator and connecting to the Wassell unit. Ky-Tronik box is the Mark 2 version and is the orange box in-front of the CDI unit. http://www.kytronik.com/sb2
- strip down and replace the oil seal
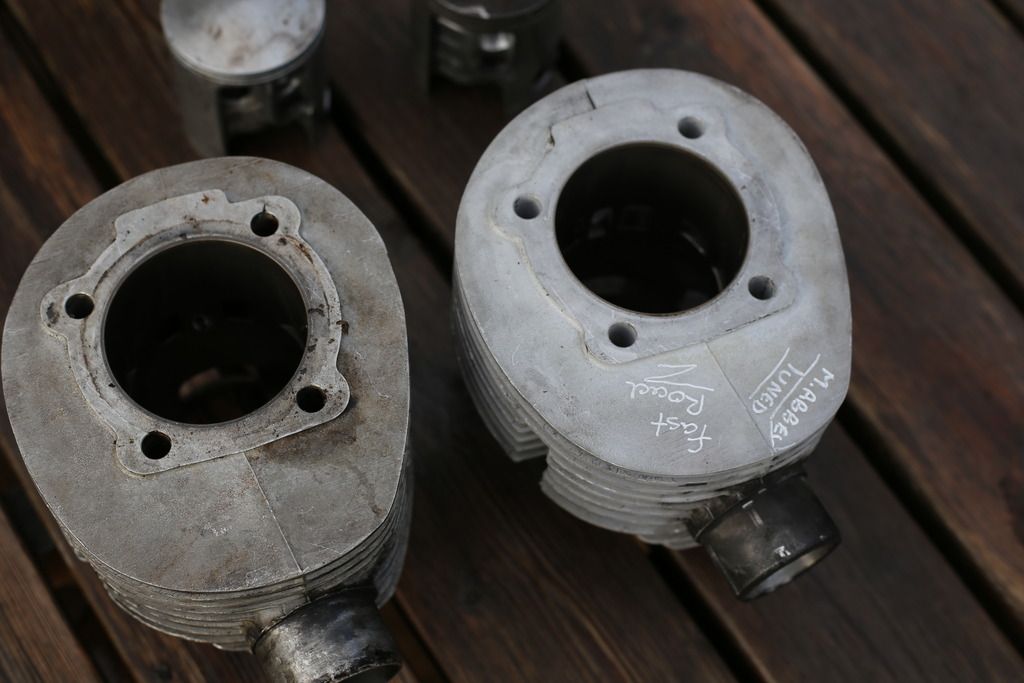
- have the barrel re-tweaked by Mick Abbey, its the barrel on the right, the one on the left is a spare Malossi barrel and piston that I bought off a local chap a few years back, which I will re-use on my GS, which has another Rally 200 engine in.
- Replace Sito plus exhaust with a new BGM BigBox pipe.
- Convert the stator to DC, just as we do on Lambrettas, with a 12V sealed battery
- Stick on a Ky-tronik box and set initial static timing to 26 degrees and curve 8 (note, still playing around with timing. Now on 24 degrees and curve 7
- Put in a new, but standard Indian clutch

Malossi piston on RHS to go with tweaked Mallosi barrel. Piston on LHS isthe one that came with the Malossi cylinder on the above photo, the barrel to the LHS

New BGM Big Box exhaust. It's well made and fits perfectly. However, when I tried to raise my center stand it fouled on the pipe, but after some investigation found that the stand that came with the Rally was for a PX. So bought a new Rally stand and all works well.

Showing new blue wire from the earth tag on the stator, could't find a yellow wire in my stock. Since then, I have had stator re-wired, so now I have the two standard yellow wires coming from the stator and connecting to the Wassell unit. Ky-Tronik box is the Mark 2 version and is the orange box in-front of the CDI unit. http://www.kytronik.com/sb2

-
paulnobodyimportant
- registered user
- Posts: 299
- Joined: Sun Jan 03, 2010 12:33 pm
- Main scooter: varies
- Location: Skipton
- Contact:
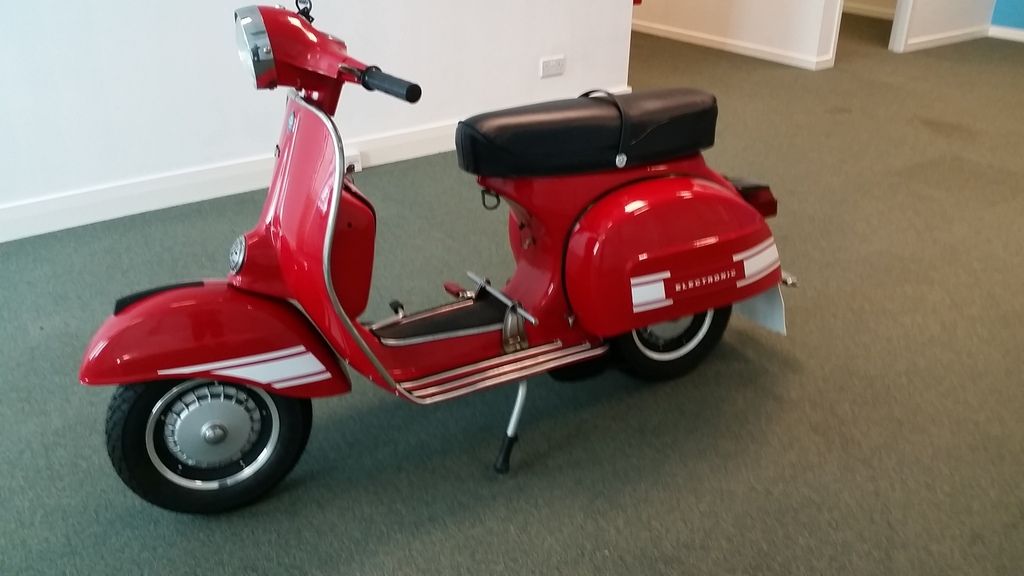
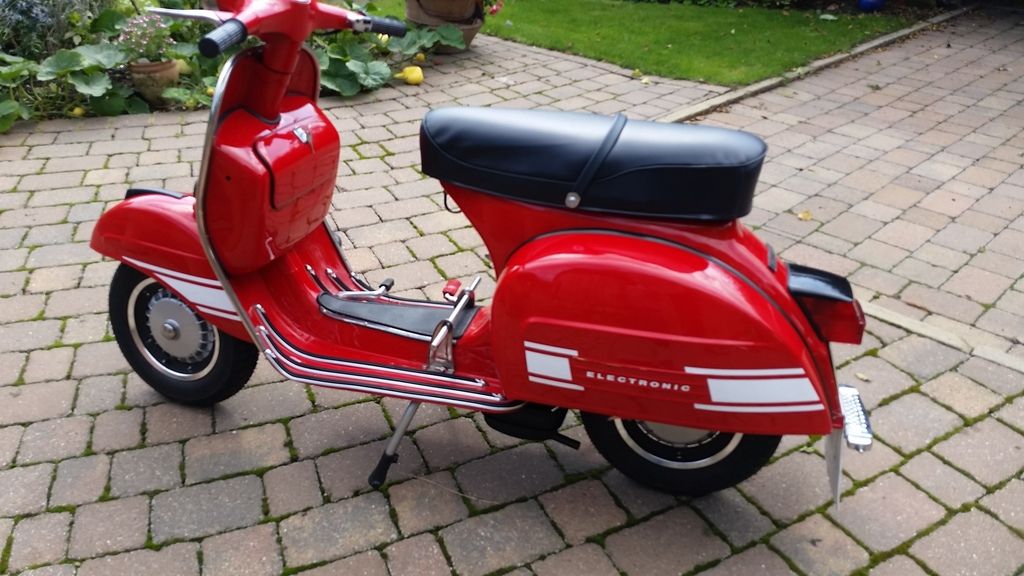
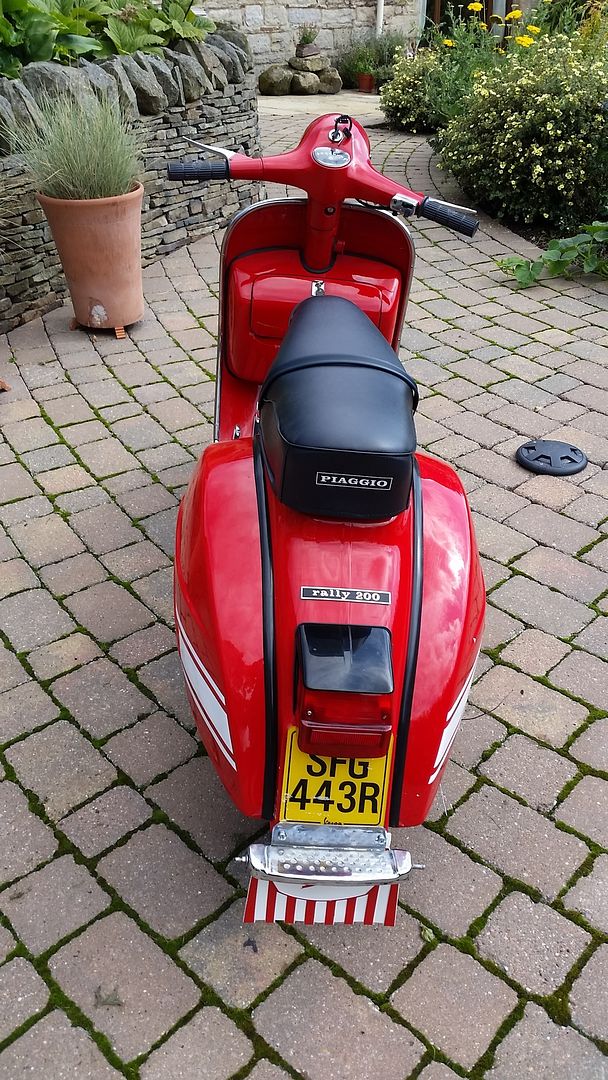
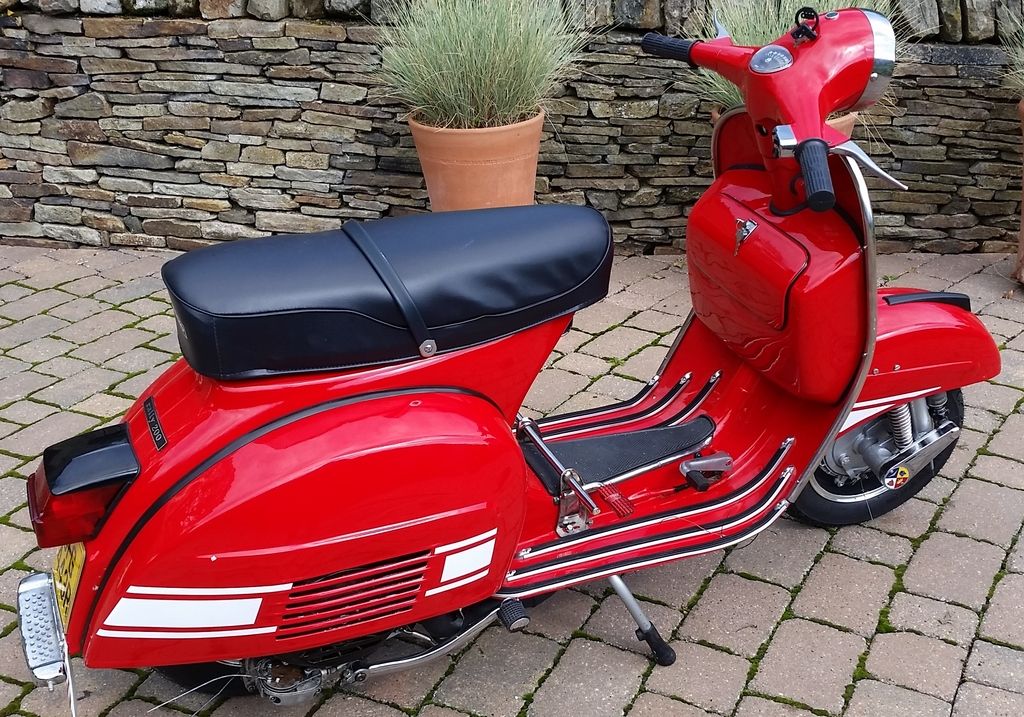
And finally, finished Rally carefully lifted down the stairs to sit in a lower office until I could find time or confidence to ride it home. I say that as i have re-built a few lambrettas and am confident. But this being the first Vespa, I was a bit cautious of riding it for the first time.
Teething problems from first ride home, which is only 3 miles away:
First flight of steps
Round the half landing
Last leg
Ground Floor resting place
Finally ridden it home on the 25th August 2015
Teething problems from first ride home, which is only 3 miles away:
- Clutch was slipping, so adjusted when I got home, which then resulted in the clutch screeching. In the end, i took out the clutch, re-soaked the corks and clutch works great now
- Despite a new loom, somewhere in the frame, the green ignition to CDI was shorting out, so I had to disconnect the green wire to ride home. In the end i had to take the stupid fuel tank out, lift off the headset and thread a new wire from headset to CDI and as other know, Storkfoot being one, its not a 2 minute job.
- Also, headlight bulbs were playing up, either on off, etc. Turned out I just needed to prize up the contacts on the bulb holder.
First flight of steps

Round the half landing

Last leg

Ground Floor resting place

Finally ridden it home on the 25th August 2015


